I love ice cream! There, I said it!
In light of this, its remarkable it took me so long to get a Ninja Creami. And now I can make homemade ice cream whenever I want!
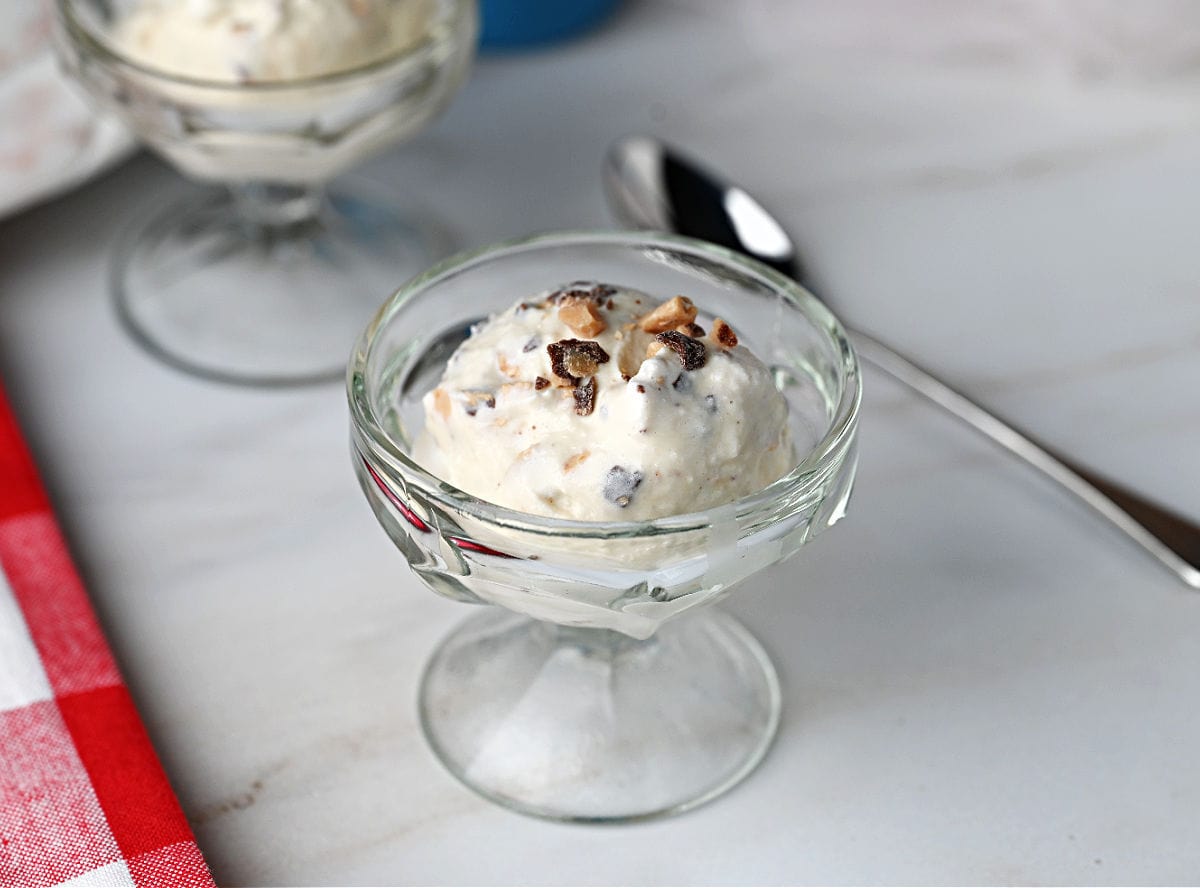
I took a pretty standard vanilla ice cream recipe and modified it to give a toffee vibe. The result is a smooth and creamy ice cream with a slight caramel flavor and chunks of toffee bits throughout.
Delicious as-is, even more decadent with a drizzle of caramel sauce. Either way, you'll want to give this one a try!

Why You Will Love This Recipe
Creating this gourmet delight at home with the Ninja Creami is not only easy but also immensely rewarding. For beginners, it’s a straightforward yet impressive recipe, while seasoned ice cream aficionados will appreciate the innovative twist on a classic treat. The simplicity of this recipe paired with the gourmet appeal makes it a must-try for anyone who enjoys crafting delicious frozen desserts.
Ingredients Needed


How to Make Toffee Ice Cream with the Ninja Creami
To start, microwave a little cream cheese for 10 seconds to soften, then add some brown sugar and vanilla. Whisk these together until the mixture resembles a thick paste.

Start adding the liquid. Since the recipe calls for one cup plus 2 tablespoons of heavy cream, I like to add the two tablespoon of cream first and mix to get the brown sugar evenly distributed and starting to dissolve.
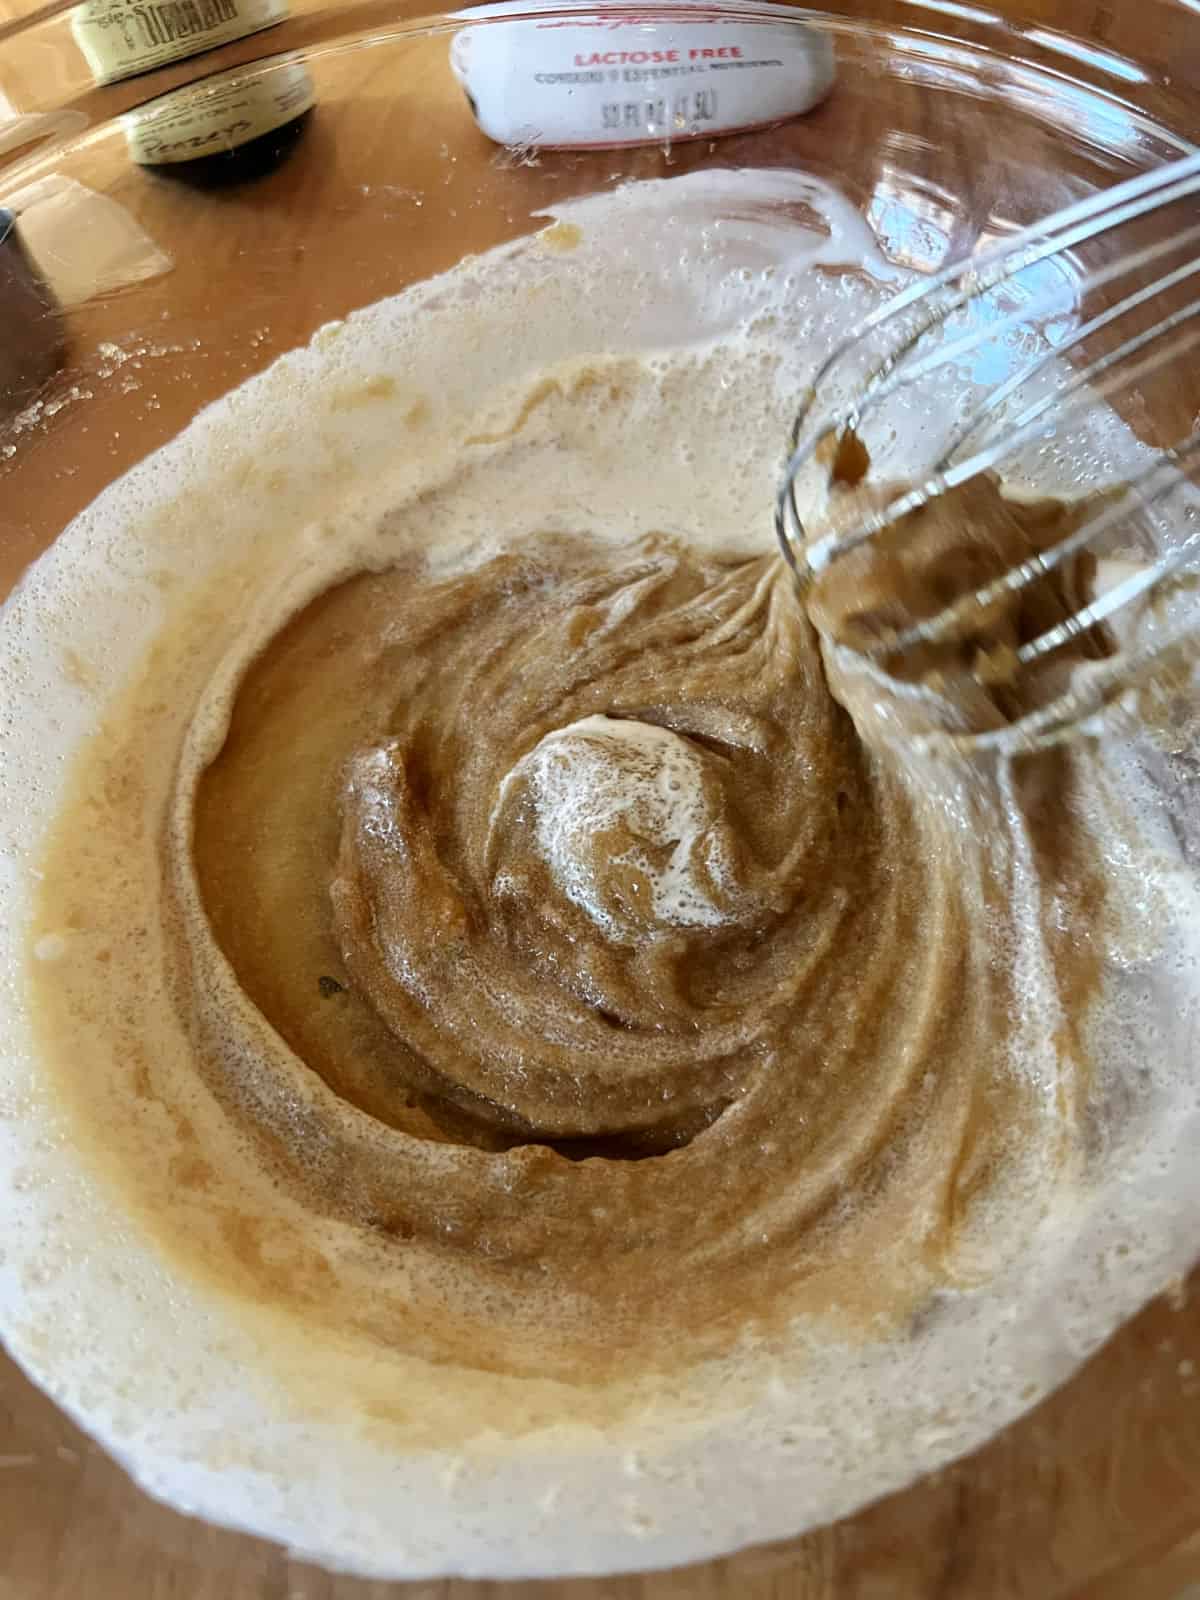
Gradually add the rest of the cream and the milk. Continue mixing until the brown sugar is completely dissolved.
Pour the mixture into a Deluxe pint. Note: The Deluxe pints are larger than the typical Ninja Creami containers. If you have the smaller sized Ninja Creami, use 2 containers for your ice cream, or see the amounts needed for a scaled down batch in the recipe notes. The liquid should come just to the max fill line.

Cover the container and freeze on a level surface for about 24 hours.
The next day is when you get to use your Ninja Creami. Remove the top from the container, and place it in the outer bowl and install on the Ninja Creami. Please refer to the manufacturer's materials for safe operation of the appliance.
The settings needed for this first processing step are: FULL, and ICE CREAM.

Once the program has finished, you will essentially have some plain vanilla ice cream. It's time to add some flavor!
Use a spoon to dig a hole in the middle of the ice cream, all the way to the bottom. Pour the toffee bits into the hole. Then place the Deluxe pint back into the outer bowl, cover, and install in place on the Ninja Creami.
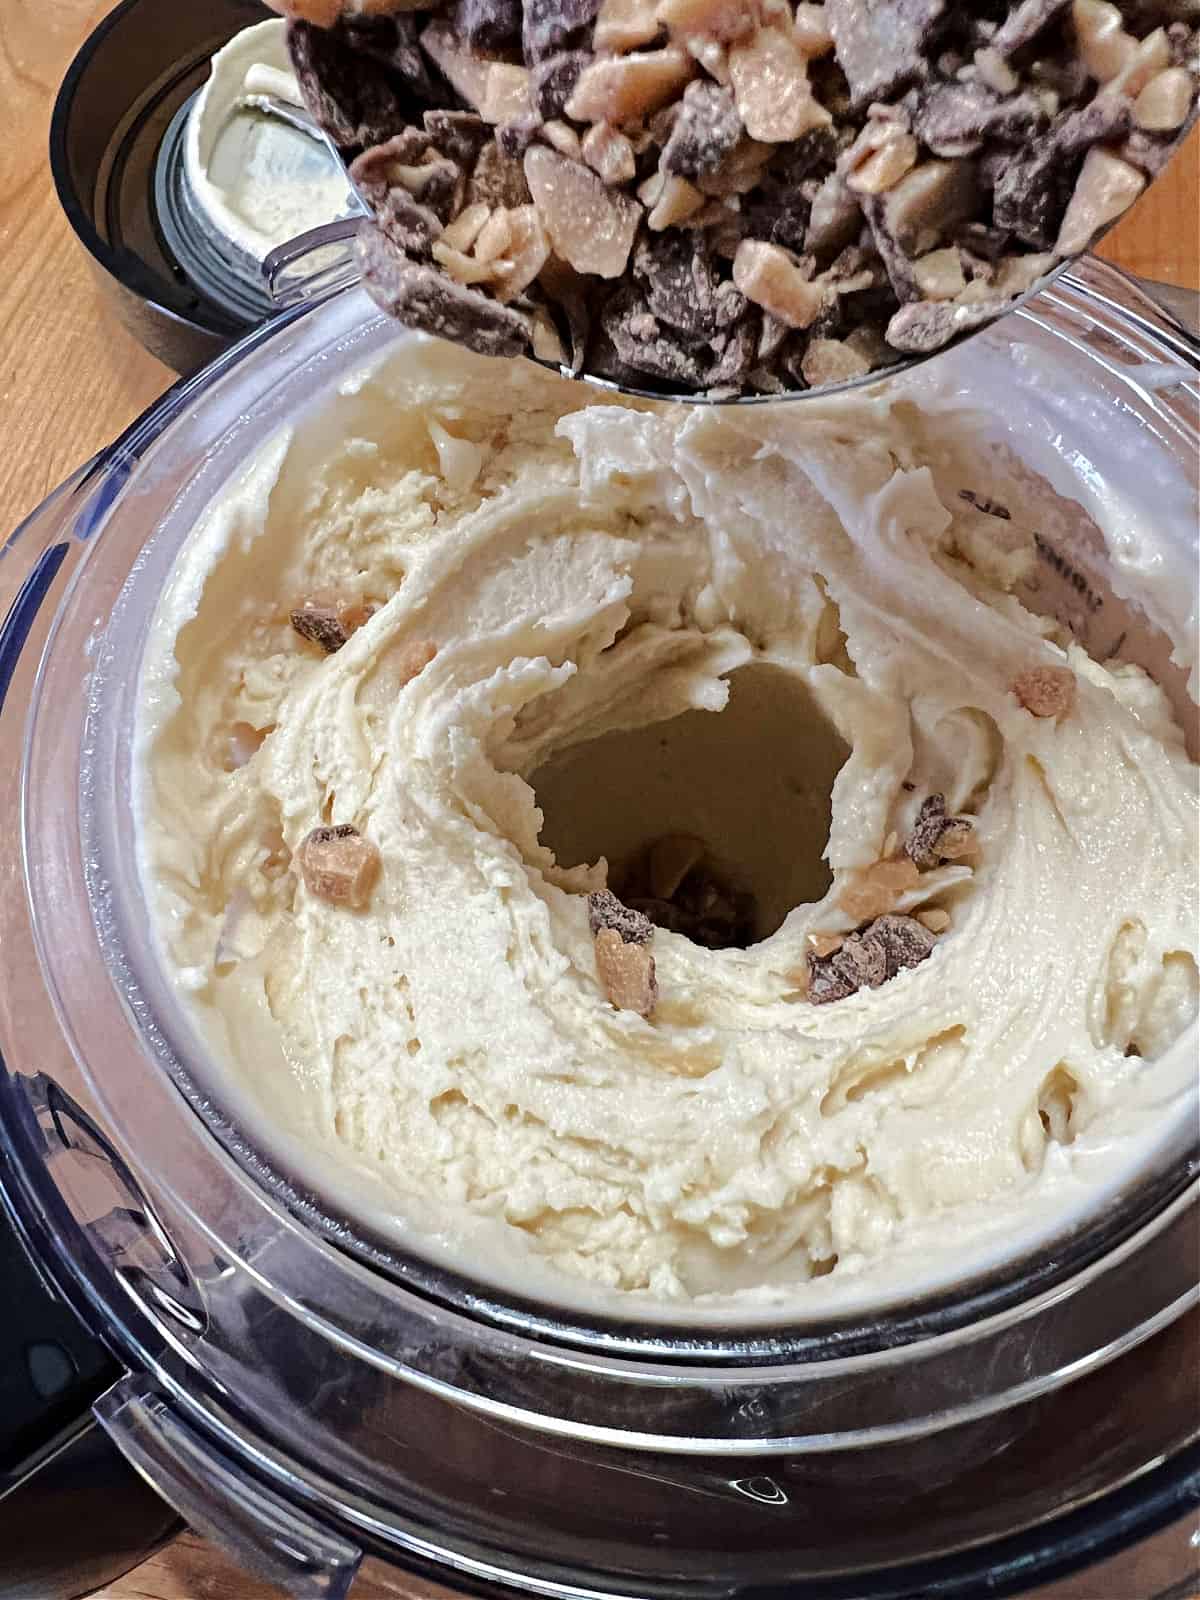
For this step, you will use the MIX IN setting. You still set the program to FULL and ICE CREAM, then MIX IN.
This step is a little shorter, and when the processing is complete you can remove the Deluxe pint from the Creami, and your ice cream is ready to serve!

Serving Suggestions
This toffee flavor ice cream is a real hit at my house! The brown sugar gives the ice cream base a slight caramel vibe, so I like to continue that theme by drizzling some caramel sauce right on the ice cream when serving.

It would also be amazing on a warm brownie, or served with some chocolate cake. You just can't go wrong with these flavors!
Storage
After churning, I like to transfer the ice cream to an airtight container to prevent ice crystals from forming. Store the container in the coldest part of your freezer to keep the ice cream at its best consistency. If the ice cream becomes too hard after prolonged storage, let it sit at room temperature for a few minutes to soften slightly before scooping. This method ensures that every serving of your toffee ice cream is as enjoyable as the first.
Frequently Asked Questions
Yes, you can certainly use white sugar if you prefer. Brown sugar adds a slight caramel flavor, but white sugar will work just as well if that's what you have on hand.
No, you don't need to crush the toffee chips. They will soften slightly as the ice cream freezes, creating delicious pockets of crunchy sweetness throughout the ice cream.
📖 Recipe
Ninja Creami Toffee Ice Cream
Ingredients
- ¾ ounce cream cheese 1 ½ tablespoons
- ½ cup brown sugar
- 1½ teaspoons vanilla extract
- 1 cup + 2 tablespoons heavy cream
- 1 ½ cups whole milk
MIX IN
- ⅓ cup toffee bits
Instructions
- In a large, microwave-safe bowl, microwave the cream cheese for 10 seconds. (this might not be necessary with whipped cream cheese)¾ ounce cream cheese
- Add the brown sugar and vanilla. Whisk for about a minute to combine, until the mixture resembles frosting.½ cup brown sugar, 1½ teaspoons vanilla extract
- Slowly add the cream and milk, whisking as you add. Continue mixing until the sugar is completely dissolved.1 cup + 2 tablespoons heavy cream, 1 ½ cups whole milk
- Pour the base mixture into a Deluxe pint. It should fill to just below the scoopable max fill line.
- Cover with a lid and place in the freezer on a level surface. Freeze for 24 hours.
- Process the ice cream with the Ninja Creami Deluxe, using the FULL and Ice Cream settings.
- Use a spoon to create a hole in the processed ice cream that reaches the bottom of the Deluxe pint container. Add the toffee bits to the hole, then process the ice cream again using the FULL, Ice Cream, and MIX IN settings.⅓ cup toffee bits
- Once processing is complete, your ice cream is ready to serve.
Notes
Nutrition
Nutrition values are estimates only, using online calculators. Please verify using your own data.






Courtney
I have been wanting a Creami for a while now, and this recipe has made the decision for me. Thank you!
Sula
It's so fun to be able to make your own ice cream and switch up the flavors in so many ways!