

Maybe you've never made a homemade pie, and the thought of it feels a little intimidating. This apple pie is my cheat code. It uses a few shortcuts, so it doesn't take all day to put together, but it still tastes homemade. I've been making it on repeat in September (apple season!). It's also a perfect way to add one more dessert to the table at Thanksgiving or Christmas.
I only use one can of pie filling mixed with fresh apples, and no additional sugar in the filling. That means less added sugar than a pie made with all canned filling. The fresh apples also give it a more natural texture.
I'll also tell you which pre-made pie crust I think is best. And the streusel-like topping means one less crust to worry about!
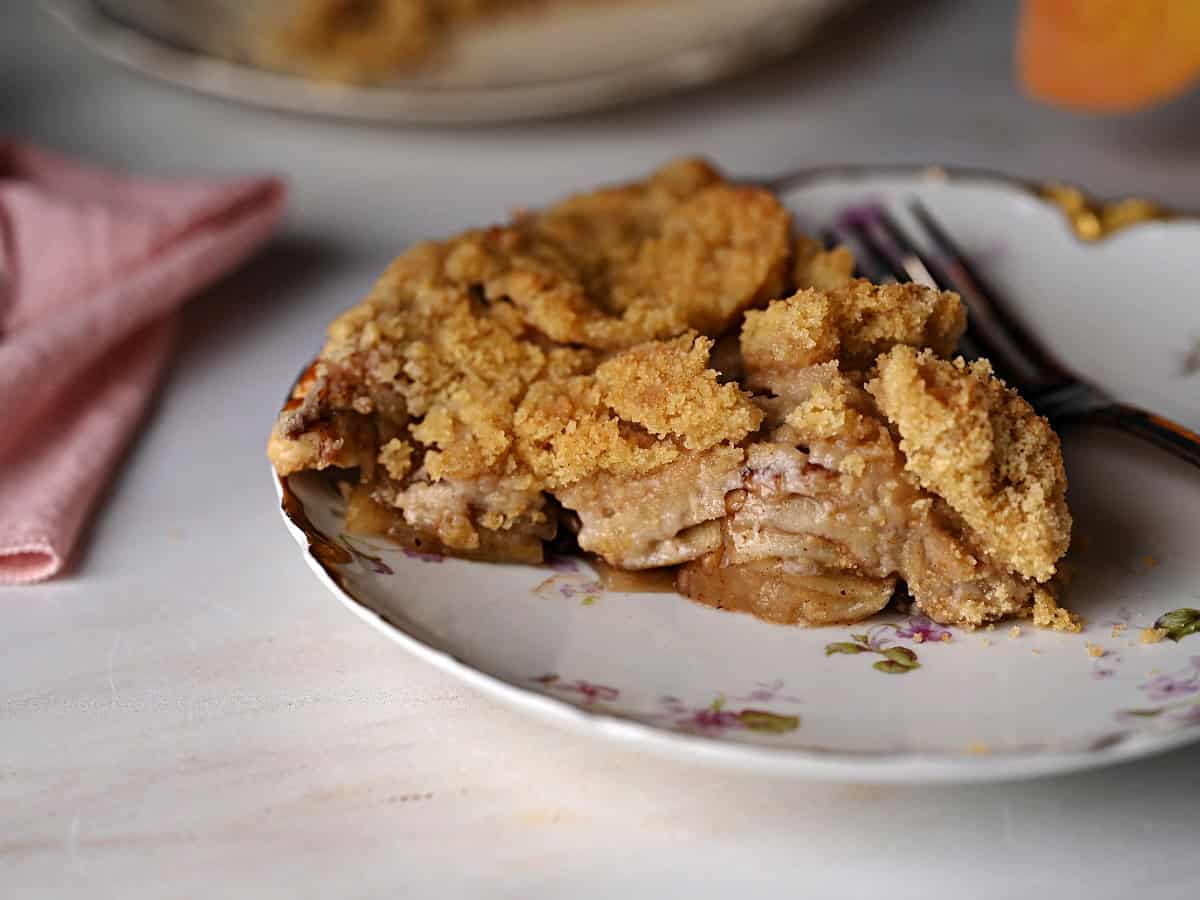
Would you like to save this recipe?
Jump to:
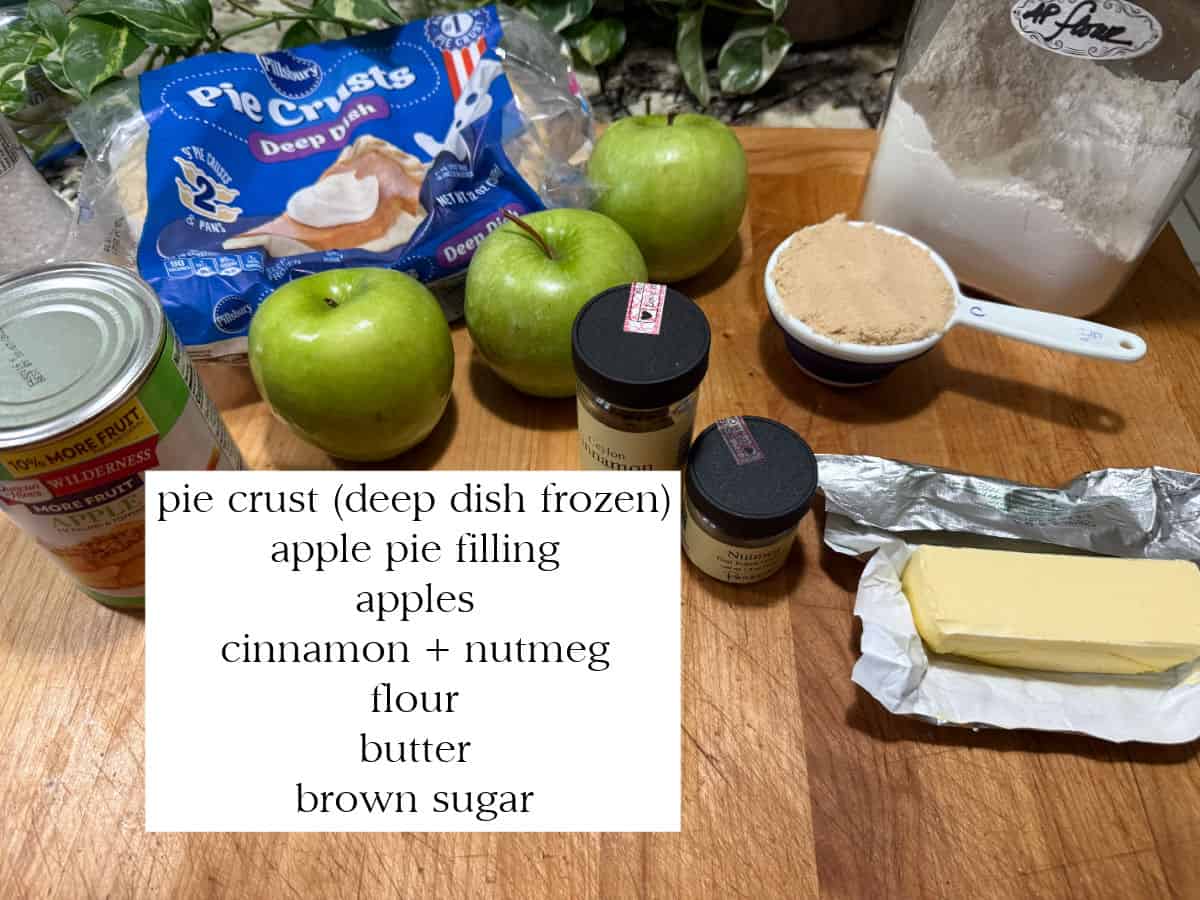
Ingredients needed for this apple pie with canned filling
- Pie crust (if it's not homemade, I like the Pillsbury frozen deep dish crusts, since the extra depth leaves room for the filling and topping)
- Canned apple pie filling (look for "no high fructose corn syrup")
- Fresh apples (Granny Smith, or a mix with Fuji for a sweeter pie)
- Brown sugar
- All-purpose flour
- Unsalted butter
- Cinnamon and nutmeg (to really give that homemade taste)
How to make a better apple pie with canned pie filling
Choose the ingredients
Like for any pie, you want to pay attention to your ingredients. For the crust, if you can't make a homemade pie crust, the best alternative I've found is the frozen crusts. I like the deep dish version, since the extra depth fits the filling and topping without overflowing. They're sold in packs of 2, and you don't have to worry about thawing time or anything. I just take one out and let it start to thaw while I'm peeling the apples. Otherwise, I don't worry about it.
The apple pie filling is the base. I have tried multiple brands and all have worked. Most cans are about 21 ounces. I specifically look for cans that say "no high fructose corn syrup," and happily they are becoming more available now.
The choice of apples is up to you, but here are my guidelines. I usually bake with a mix of Granny Smith and Fuji apples, for both sweet and tart. I've also made this pie with all Granny Smith, and another time with all Fuji. The Fuji was MUCH sweeter. I still like the mix, and recommend 2 Granny Smith and 1 Fuji.
Prep the filling
Before you start, preheat the oven to 425°F. Whatever apples you're using, they need to be peeled, cored, and sliced. I really like my mandoline slicer for this, as it's an easy way to get perfectly even slices. Just watch your fingers!
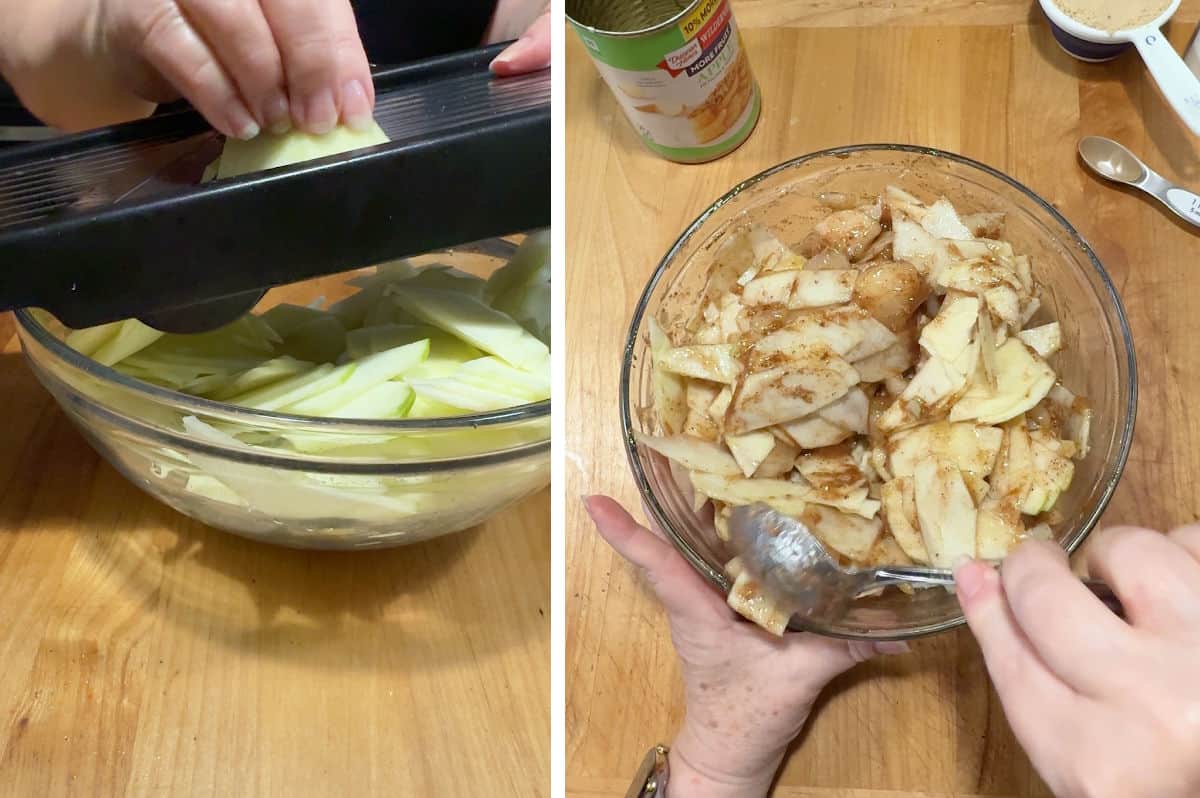
Place all the apple slices in a mixing bowl with the canned pie filling. Sprinkle the spices in and stir to coat the apple slices.
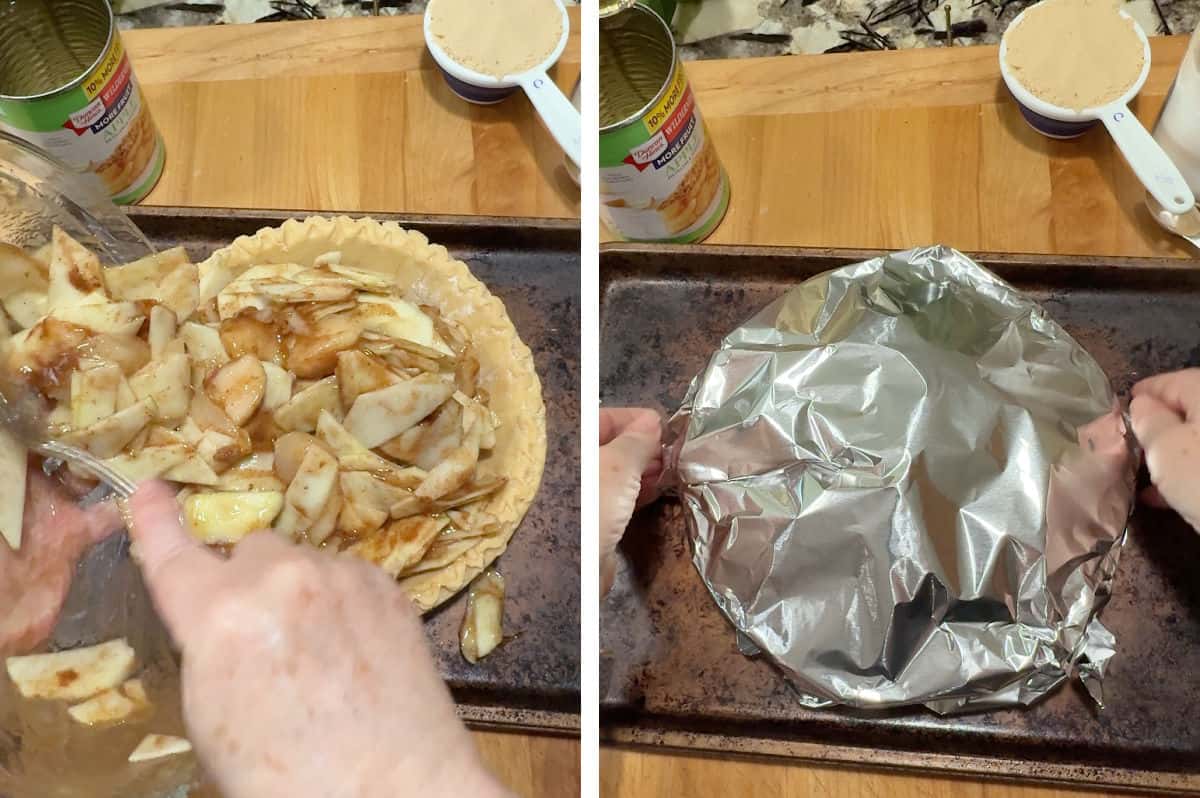
Then, transfer the filling into the pie crust. Cover the pie with a piece of foil. I also recommend baking the pie on a baking sheet. You can line the sheet with foil for easier cleanup.
Bake the pie
Bake the pie, covered, for 30 minutes at 425°F.
While the pie starts to bake, make the topping. Simply add the flour and brown sugar to a bowl with a little cinnamon. Add a stick of softened butter and mix in. The easiest way to do this is to use a hand mixer on low speed. This will break up the butter and form a nice even crumble with the flour and brown sugar.
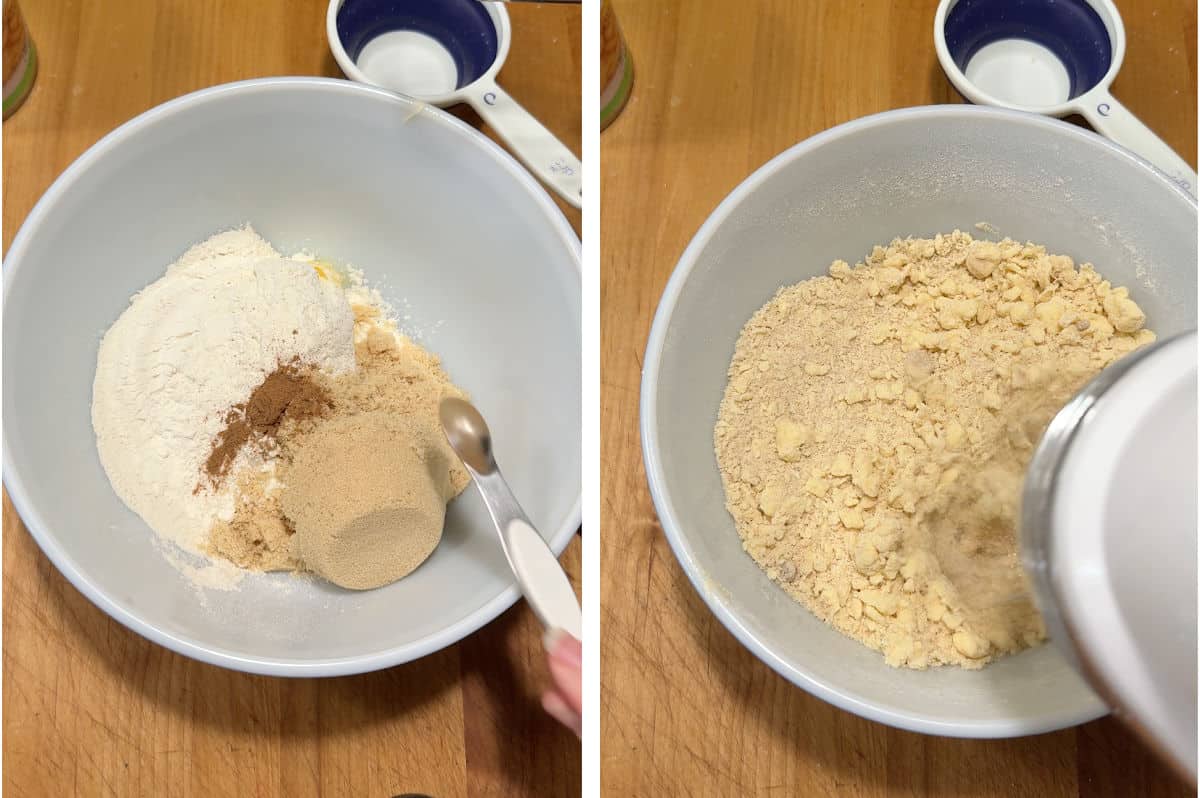
When the 30-minute bake time is done, remove the pie from the oven and reduce the temperature to 375°F.
Carefully remove the foil from the pie, watching for hot steam. If any apple slices stick to the foil, just put them back in the pie. Add the topping to the pie, covering it all around.
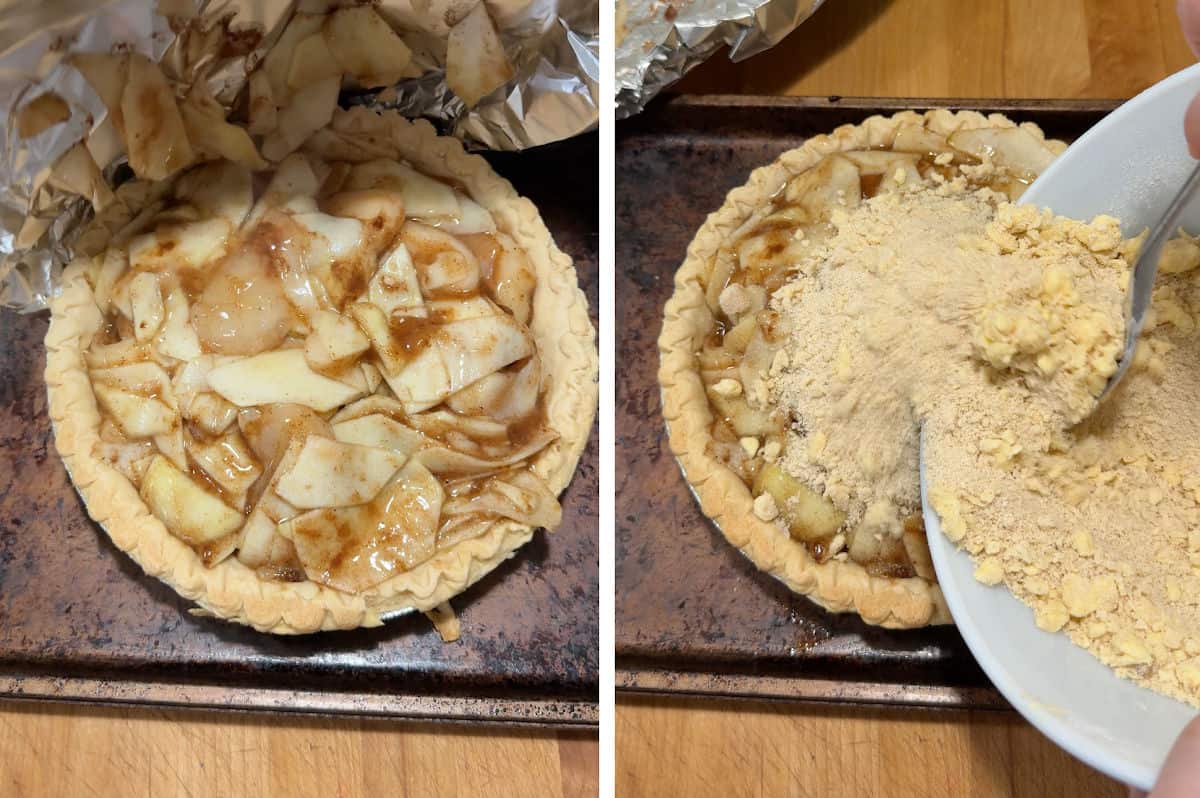
Return the pie to the oven. Bake, uncovered, for an additional 25 minutes. At the end of this baking time, the filling should be hot, and you'll probably see bubbling along the edges. It's also likely that it has slightly bubbled over in a few places. This is when you'll be happy to have a baking sheet underneath your pie. And if you lined it with foil? Just throw that away. It's a lot faster than cleaning the oven, no?
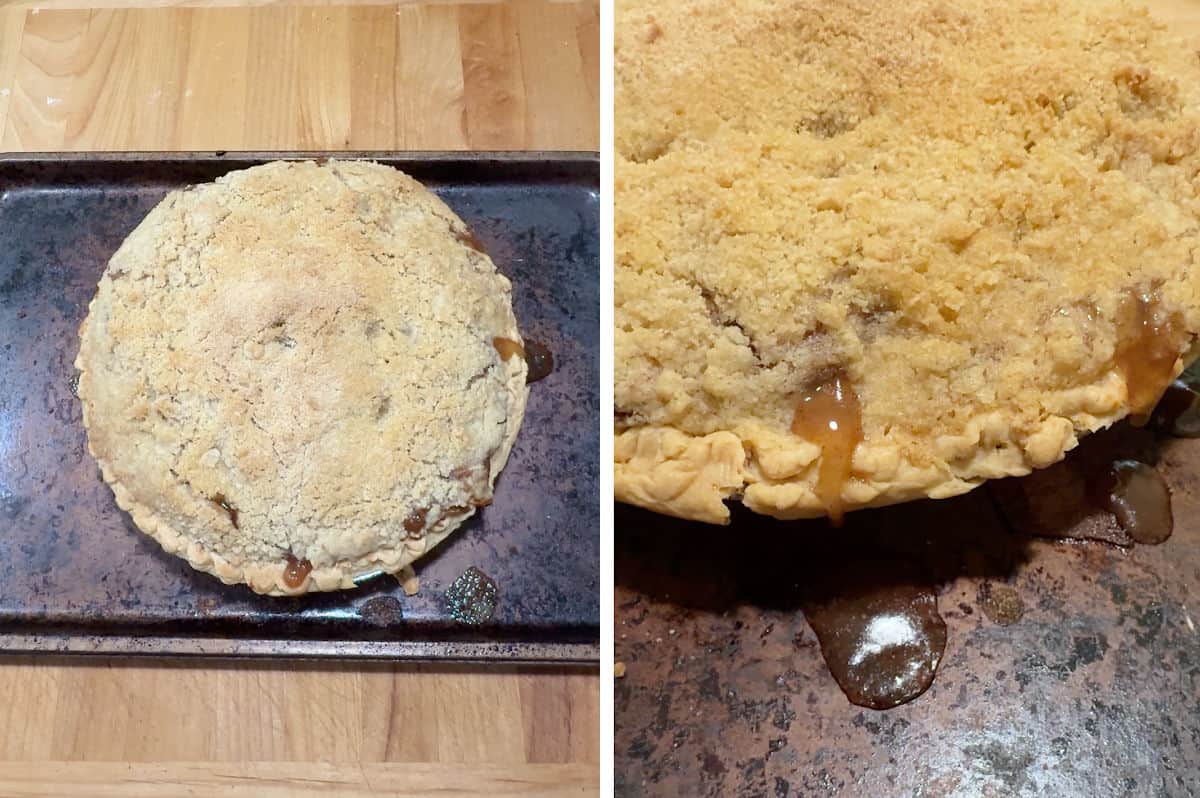
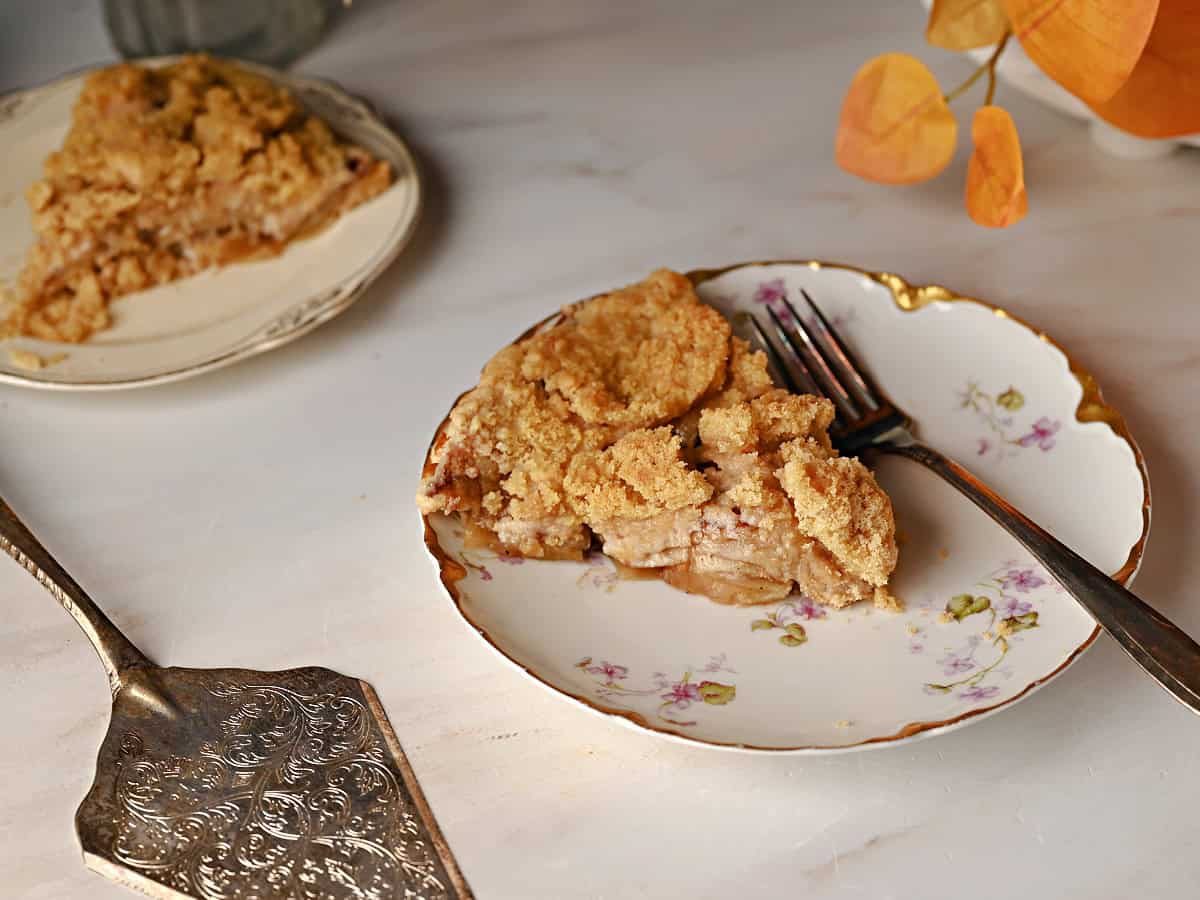
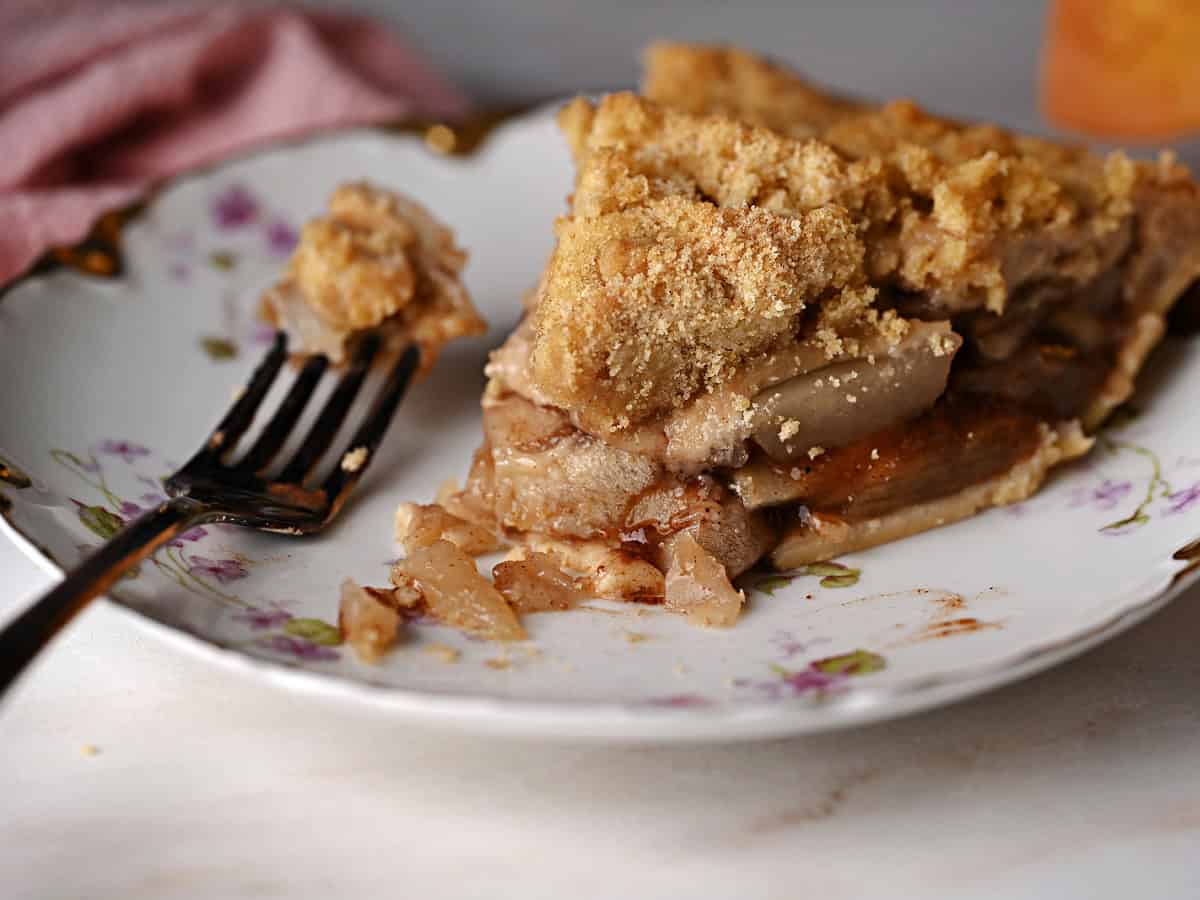
Wait a minimum of 2 hours before cutting this pie. Overnight in the fridge is even better. But if your people are impatient, it'll still be completely delicious, just maybe a little less pretty.
Serving suggestions for this apple pie
I grew up in a family who always ate apple pie with a slice of cheddar cheese. It's a classic combination, but I admit I lean a different direction. Sometimes I top my slice with whipped cream, but more often it's ice cream. Honestly, any excuse for ice cream works for me!
I make all my pies the day before any holiday, and this one is no exception. It sets up best overnight in the fridge anyway, so it's ready for Thanksgiving or Christmas. That's one less thing to do on the big day.
Variations for this pie
If all of this still seems like a lot, you can use 2 cans of pie filling and skip the fresh apples. That's the standard way to make apple pie with canned filling. My own tweak is to stir the cinnamon and nutmeg into the canned filling, using the same amounts as the recipe card. Then add the topping and bake as described. You can treat that as a first step in your pie-making journey.
Feel free to play with different apples. I described what I did with 2 types of apples, but there are lots more out there to experiment with!
Don't forget the crust. My homemade pie crust is made with butter, and if you have a food processor, it's much easier than you think. You could make two crusts to have a more traditional crust on top of your apple pie. (this version is more like a Dutch apple pie,which I find very delicious)
Once you're ready to go all-in on homemade apple pie, I have a recipe for that as well.
How to store apple pie
Once this pie has cooled to room temperature, I put it in the refrigerator. I find it helps the pie set up better before cutting. Covered, it keeps in the fridge for up to a week.
You can also leave it covered at room temperature for up to 2 days. After that, move it to the fridge for up to 2 more days.
I haven't frozen this pie yet, but fruit pies generally freeze well for up to 4 months. Thaw it in the refrigerator.
📖 Recipe
Would you like to save this recipe?
Better Apple Pie with Canned Pie Filling
Ingredients
- 1 frozen deep dish pie crust 9-inch, unbaked
- 1 can apple pie filling 21 ounces
- 3 medium apples Granny Smith or mix
- 2 teaspoons cinnamon
- 1 teaspoon nutmeg
Topping
- ½ cup unsalted butter softened
- ¾ cup flour all-purpose
- ¾ cup brown sugar
- ¼ teaspoon cinnamon
Instructions
- Preheat oven to 425°F. Let the frozen crust thaw slightly while you prep the apples. Leave it in its pan and place it on a foil-lined baking sheet.1 frozen deep dish pie crust
- Peel, core, and thinly slice the apples. A mandoline will help make evenly thin slices.3 medium apples
- Place the apple pie filling and sliced apples in a large bowl. Add the spices and mix well.1 can apple pie filling, 2 teaspoons cinnamon, 1 teaspoon nutmeg
- Transfer the apple mixture into the crust and cover with foil.
- Transfer the pie on the baking sheet into the preheated oven and bake, covered, for 30 minutes.
- While the pie is baking, mix the topping by combining the flour, cinnamon, and brown sugar. Add the softened butter and use a hand mixer to mix together. Small chunks of butter are okay as long as they are evenly dispersed. The mixture should be crumbly.½ cup unsalted butter, ¾ cup flour, ¾ cup brown sugar, ¼ teaspoon cinnamon
- Remove pie from oven and reduce heat to 375°F.
- Remove the foil from the pie (remove any stuck apple pieces and return to the pie) and add the topping to the pie.
- Leave the foil off and return to the oven. (still on the baking sheet)
- Bake, uncovered, for 25 minutes. The filling will be cooked through and is very likely to bubble over the edge a little. (this is the reason for the baking sheet under the pie)
- Remove the pie from the oven and allow to cool to room temperature, then refrigerate before slicing to serve.
Notes
Nutrition
Nutrition values are estimates only, using online calculators. Please verify using your own data.
Kelly Vitale
What a great idea: To take a bland can of filling and add fresh apples to it. The mixture of Granny Smith and Fuji apples is a perfect combination, just as you said. Thank you very much, Sula.
Kelly V
Cranbrook BC Canada
Sula
You're so welcome, and thank you for the kind review!