Time to stock up on broth
Right now, fresh produce is plentiful and we’re enjoying nature’s bounty. Although it’s not soup season yet, we in the North know that “winter is coming.” (You’re right, still haven’t let go of Game of Thrones). In winter, we need soup. And every good soup starts with soup broth, so, make room in your freezer and let’s “stock” up on vegetable broth!
I use ridiculous amounts of vegetable broth all winter long, so I was really pleased when I found this simple way to make my own. The recipe comes from the Thug Kitchen cookbook (yes, you read that right), which, by the way is a super-entertaining read. Warning: The cookbook uses a lot of profanity, their trademark (Full name: Thug Kitchen: Eat Like You Give a F***). Aside from that they provide straightforward ways to make plant-based meals for all tastes.
Start saving vegetable scraps
To make this broth, start saving your vegetable scraps. Think ends of onions, celery, carrot peels, bell peppers, and shriveled up tomatoes – anything “broth-worthy.” Nothing bitter, like broccoli or brussels sprouts. And nothing that’s moldy or starting to rot.
Store the scraps in a one-gallon Ziploc bag in the freezer and add as they accumulate. When the bag is full, get ready to make some broth.
How to make vegetable broth

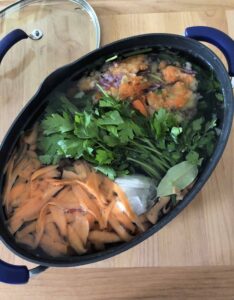
I use the biggest pot I have, a 12-quart stock pot. Dump the frozen scraps in the pot and then fill with water. Season with some salt and pepper and 2-3 bay leaves. Bring the pot to a boil, reduce heat and let the liquid simmer for one hour. Turn off the heat and let pot cool.
Straining and storage
The straining and storing of the broth requires the most time and attention. Basically, the veggie scraps need to be strained out and the broth should be frozen for future use. TK says cheesecloth strains well, but I’ve always used a colander and mesh strainer.
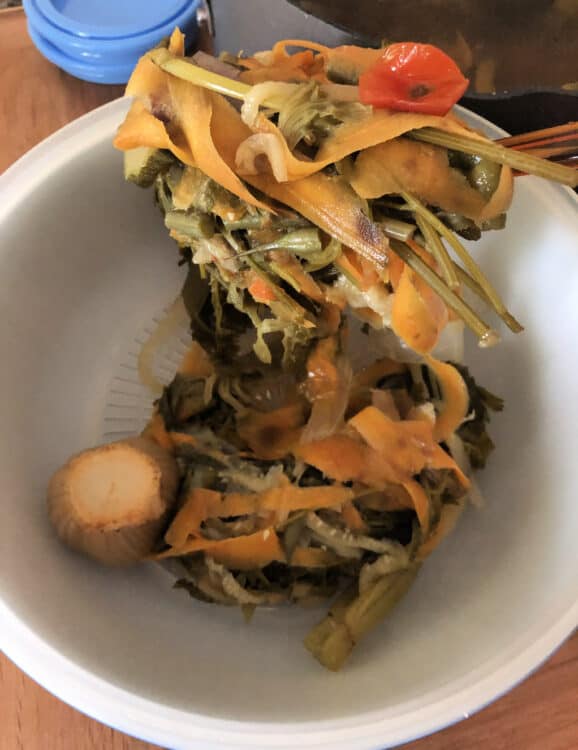
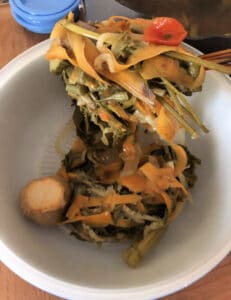
I pluck all the large pieces out of the pot and place them in a colander over a large bowl. These I just let sit to drain while I deal with the liquid.
The liquid is, of course, our end game. I place a mesh strainer over my largest (8 cup) Pyrex measuring cup and start straining the liquid into the cup. The mesh will remove any remaining chunks, leaving just liquid.
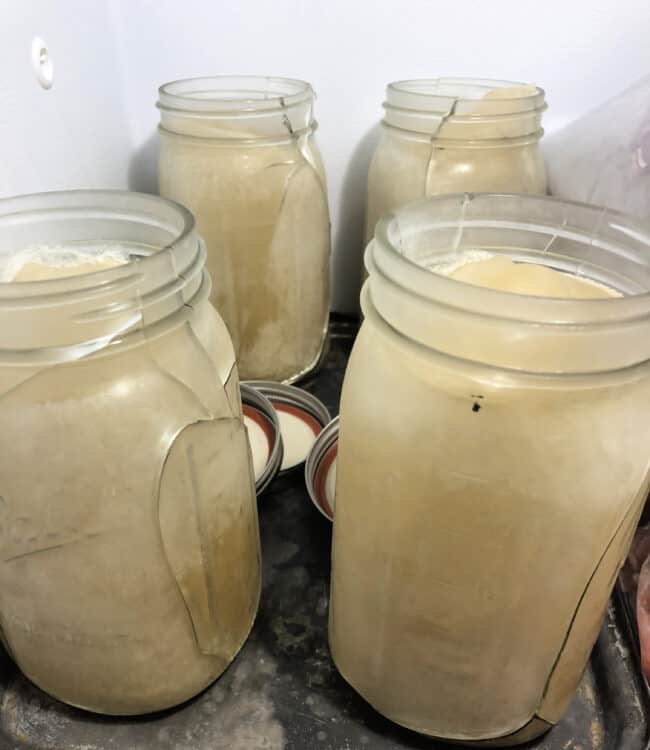
The first few times I made broth I froze it in quart-sized glass mason jars. I found out the hard way that these are not freezer safe. 😖
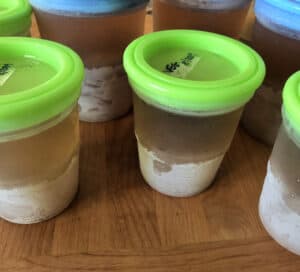
Now I use plastic screw-cap jars.
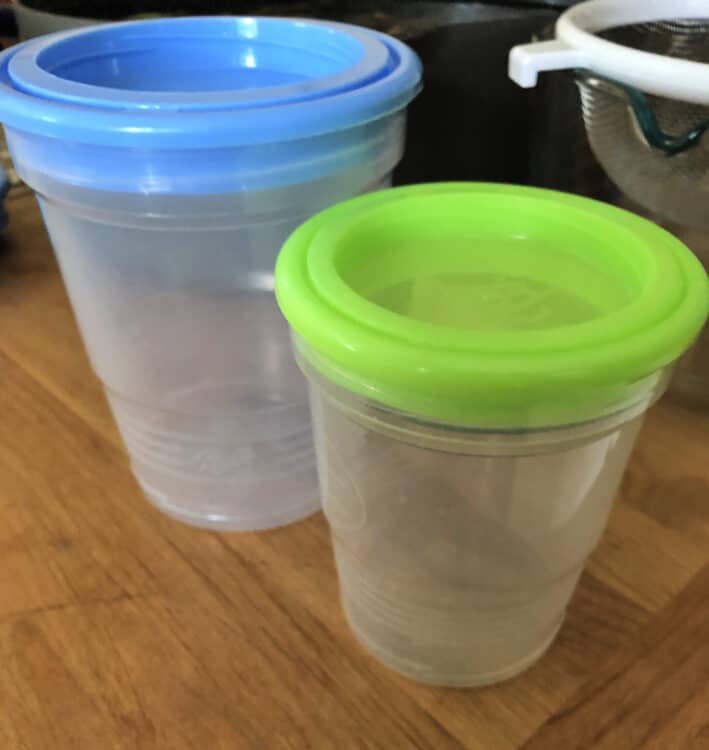
No breakage yet, and this is the fourth batch I’ve made. I think I’ll stick with this mode. They are BPA free and come in both pint and quart sizes. Very handy.
Dealing with the expansion issue
At first I had to tinker with the expansion problem. As we (unfortunately) know, liquid expands when it freezes and it sometimes freezes in weird shapes.
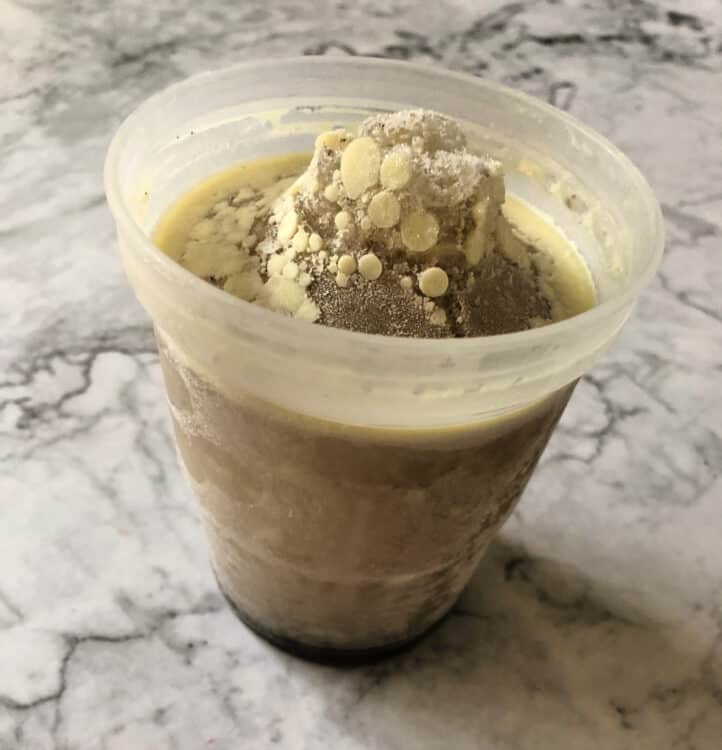
This was a previous batch of broth.
As an experiment, I left the lid loose when I placed the containers in the freezer to allow for these “ice sculptures.” Then, I “shaved” the tops from the bubble in the middle to get the lid on. It got the job done, but was kind of a pain. Yes, I thought of just underfilling the containers but that seemed counter-productive – a quart of broth should be a quart of broth, darn it!
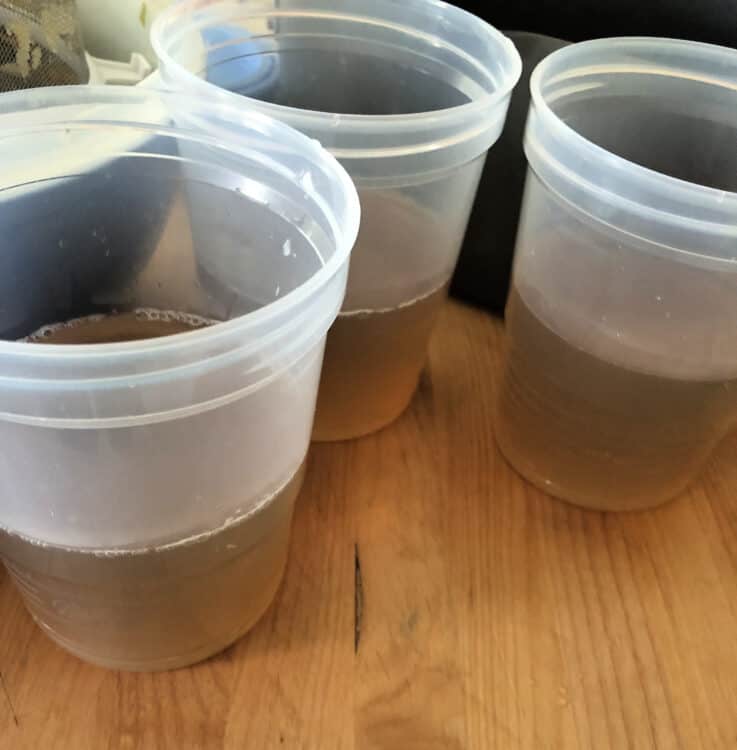
So, I arrived at a different solution. I filled the containers halfway with broth and put them in the freezer, and put the rest of the broth in the fridge.
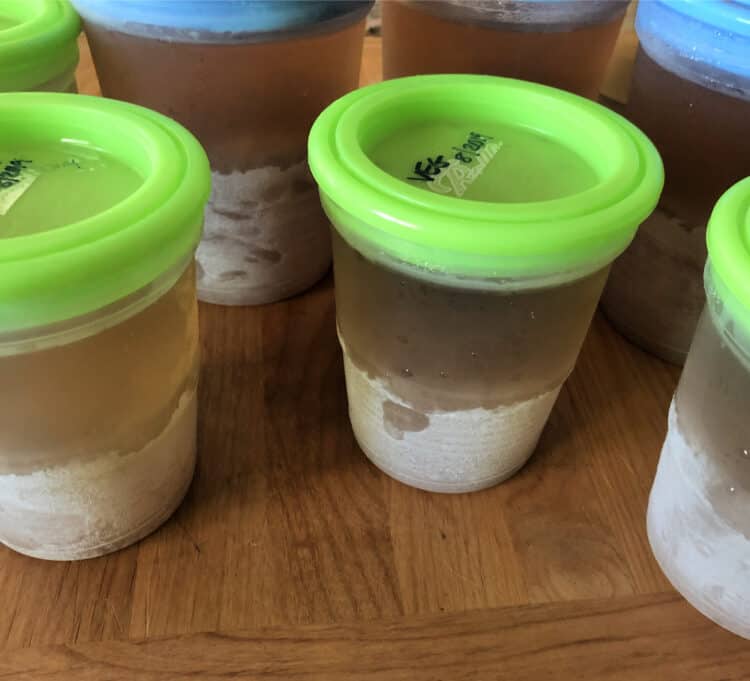
The next day, I removed the freezer containers and finished filling them with broth and put them back in the freezer. It’s a few extra steps, but this way I get full containers that aren’t bursting.
For someone like me who uses a lot of broth for cooking, this is a very cost-effective and fun way to D.I.Y.!
Vegetable broth
Equipment
- Large Stock Pot
- Freezer-safe containers for storage
Ingredients
- 5 cups vegetable scraps one gallon bag
- 2-3 bay leaves
- Salt and pepper
- 5 quarts water
Instructions
- Place the scraps and bay leaves In the largest stock pot available. Fill the pot with water.
- Bring to a boil. Add a teaspoon of salt and some pepper. Reduce heat and simmer for one hour. Turn off heat and allow liquid to cool.
- Strain solids out of broth using a mesh strainer.
- Portion into containers and freeze for future use.

There! You’re ready for winter. And if your significant other objects to your work (fun) in the kitchen, just tell him “You know nothing, Jon Snow.”
You can use this broth in so many recipes! Use it to make quinoa, brown rice, cheesy potato soup, split pea soup, or minestrone!




Lizet
This is such a good recipe. I use a lot of broth throughout the week and have lots of veggie scraps.
And will look for those little containers too 🙂
Sula
It's been a relief that I no longer run out of broth!
Big Trouble
This is brilliant, Sula! What a great way to use all possible parts of a vegetable! This will be perfect for chilly winter days and nights. 🙂
Sula
Yes, and I like knowing exactly what went into my broth.