
Don't you just love the holidays? My favorite part is that I get to indulge my love of creating cute food. 😁
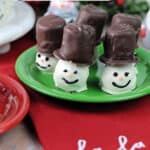
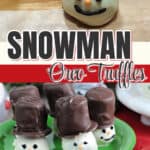
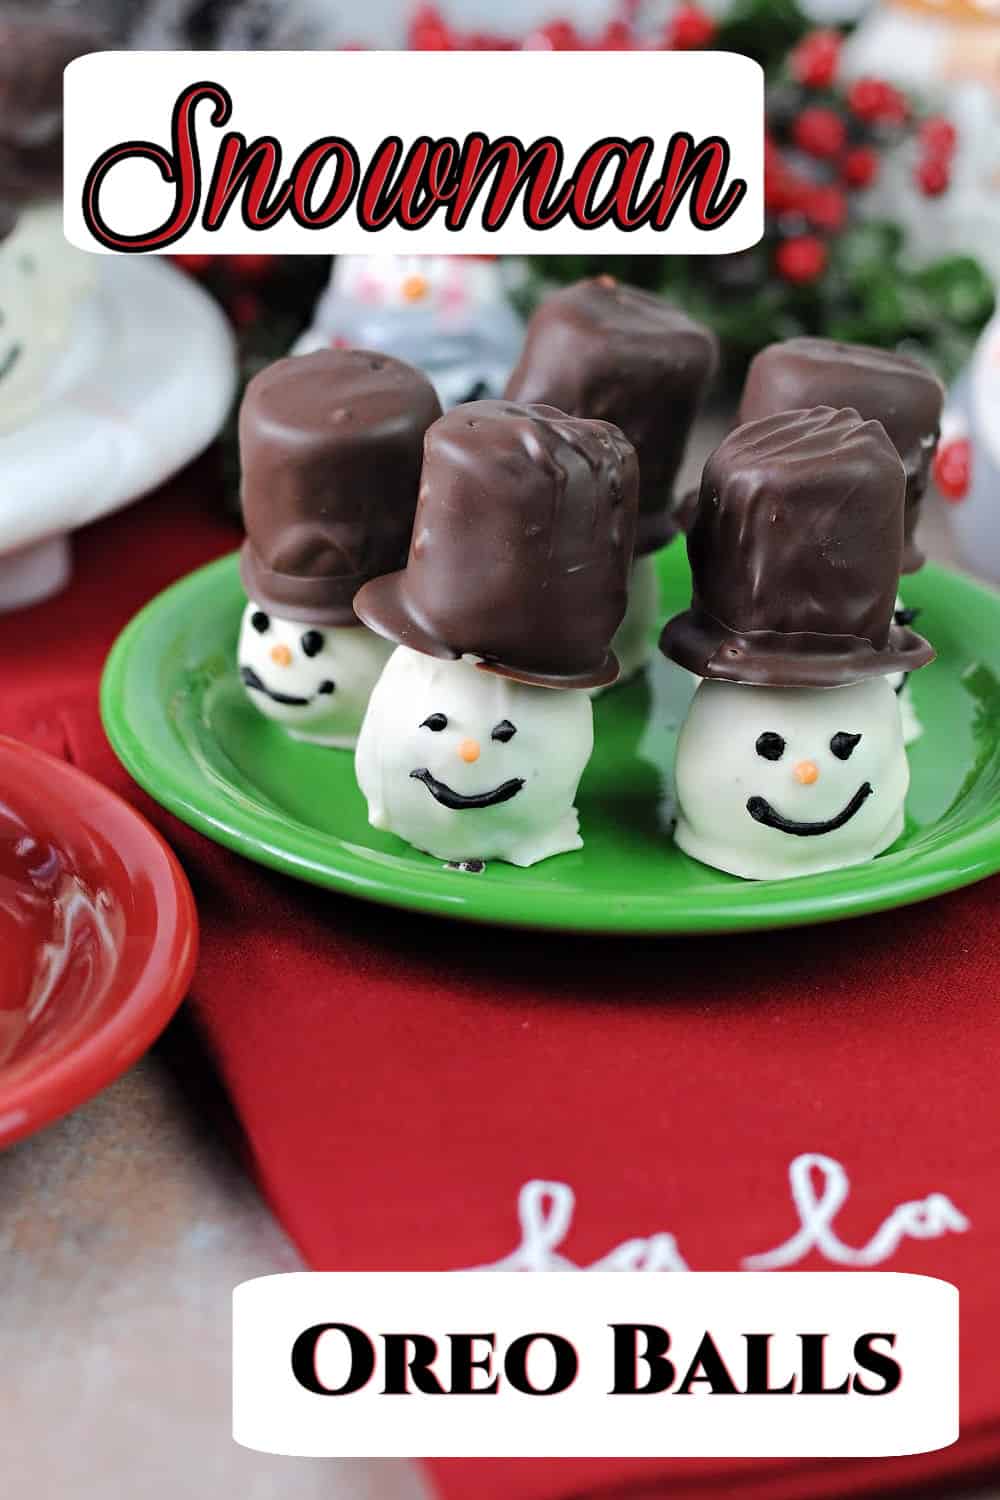
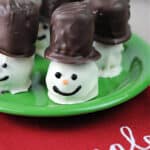
And this one is about as cute as it gets! Little snowmen made with Oreo balls. Cute AND easy! Can't beat that!
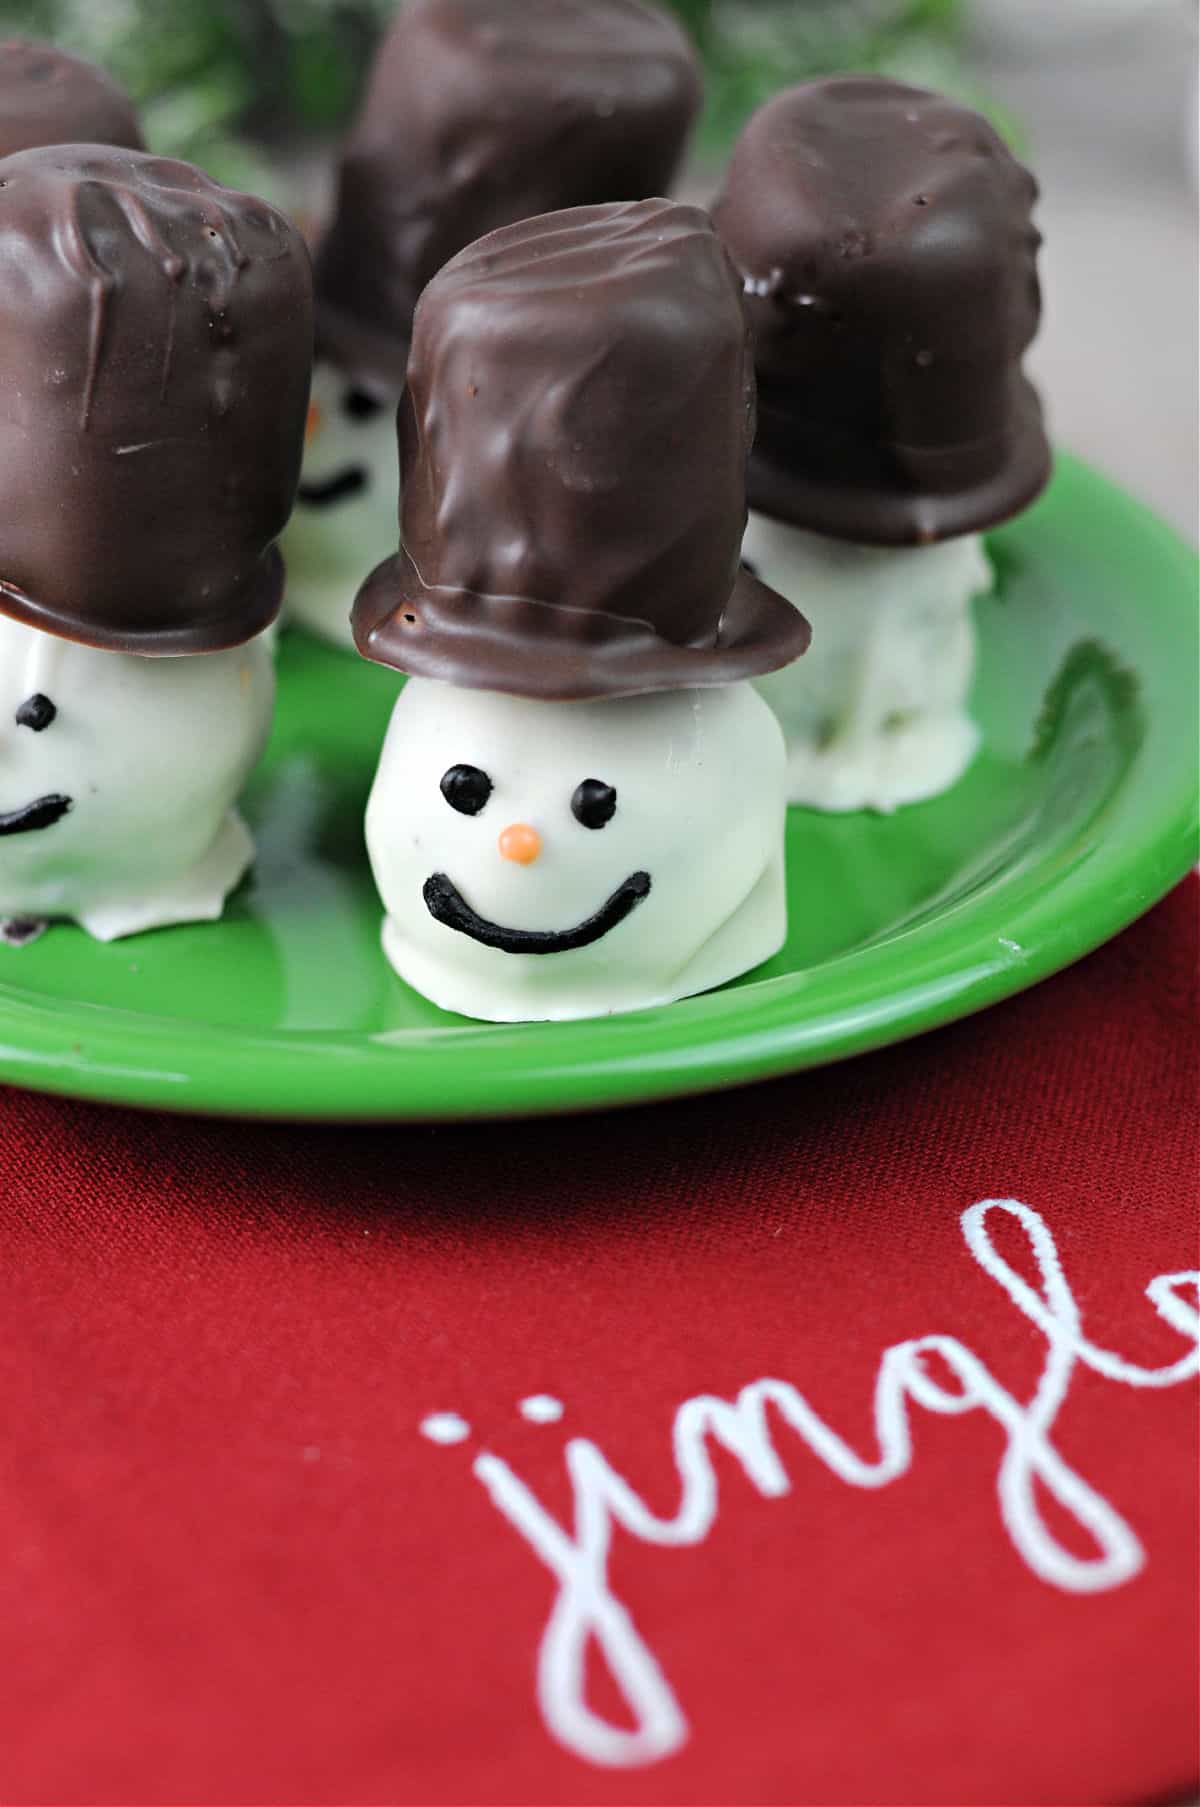
By decorating an Oreo ball with a top hat and a snowman face, you create a super-cute treat that everyone will LOVE.
Would you like to save this recipe?
Why I Love this Recipe
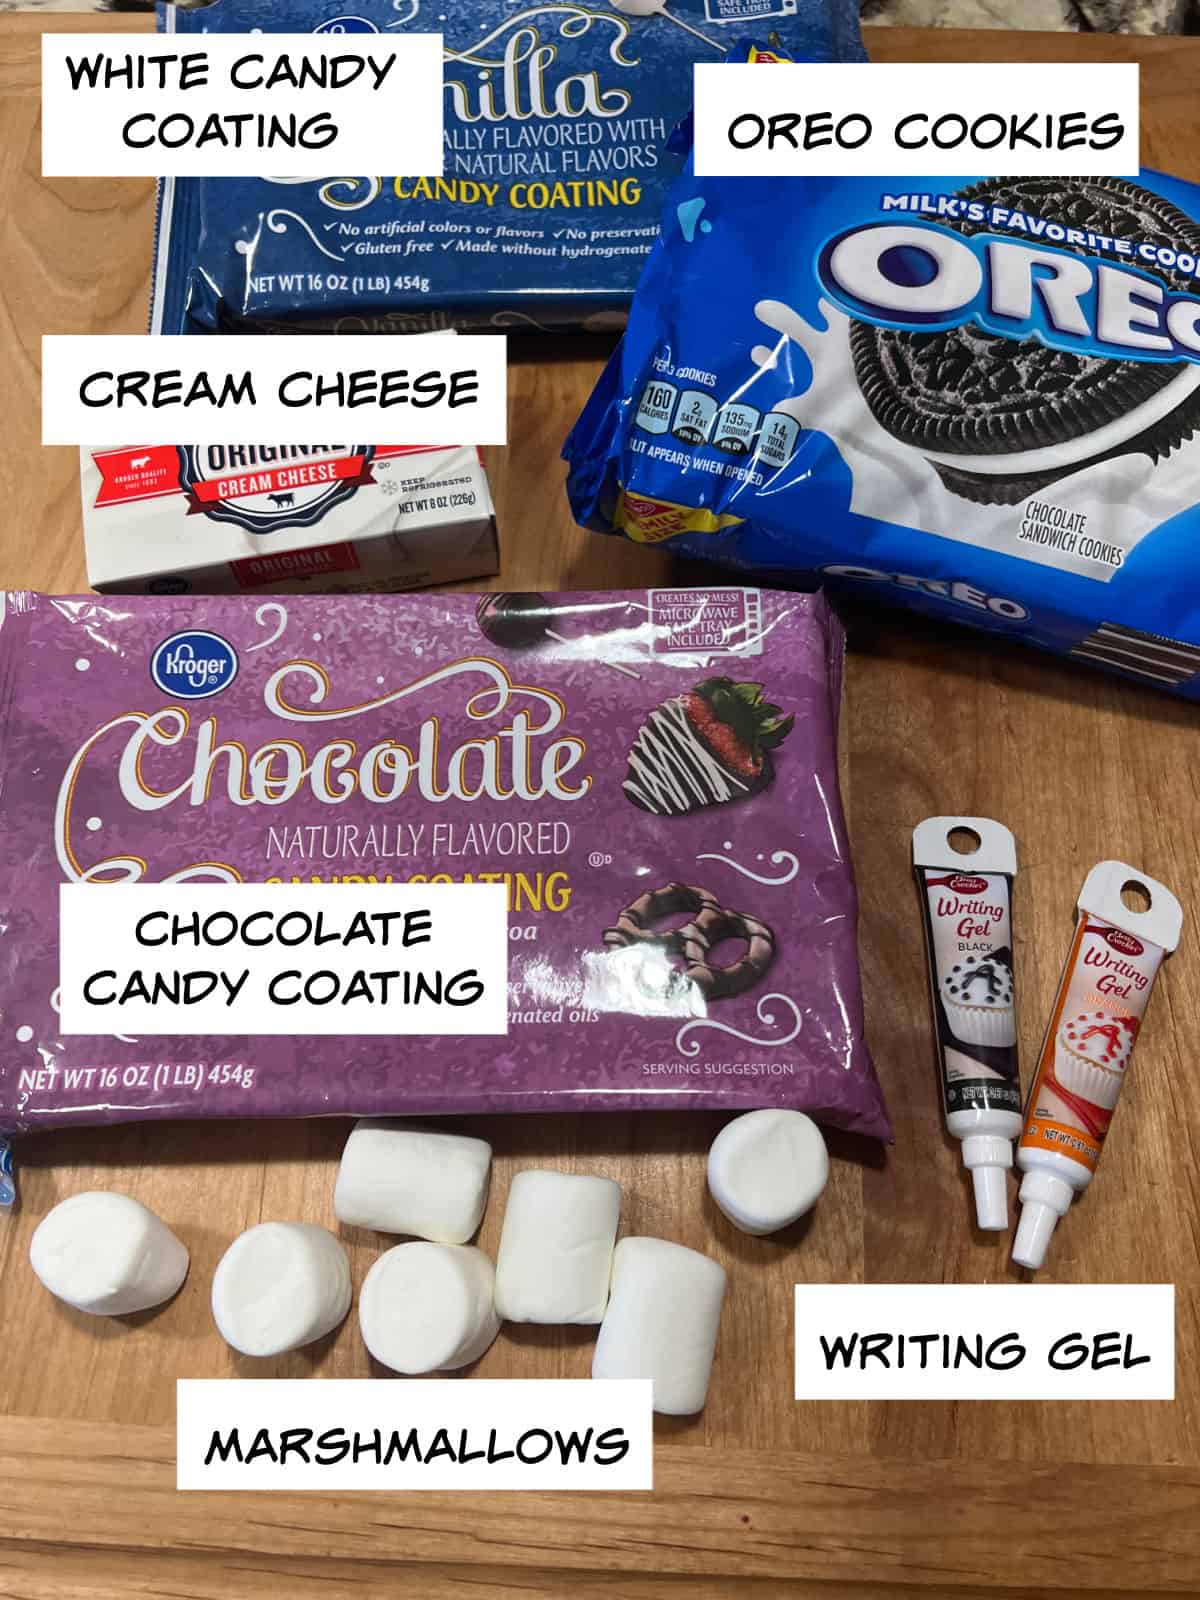
So I'm going to assume that you've already tried Oreo balls. If not, you really must. They are made by crushing Oreo cookies, combining with cream cheese, and coating in chocolate. The result is absolutely irresistible.
I took that concept one step farther. Dipping the balls in white chocolate and making a simple face creates the snowman, and a dipped marshmallow makes a delightfully jaunty top hat.
These little snowmen are the perfect holiday treat!
Ingredients Needed
How to make Snowman Oreo Balls
Make the Oreo Balls
Crush the Oreo cookies (regular, no Double Stuf) until they are fine crumbs. A food processor is your best friend for this.
Then add softened cream cheese and mix well to combine. You can do this right in the food processor if you like, but I tend to use a separate bowl to whip the cream cheese a little first and then add the crumbs to ensure everything is evenly mixed.
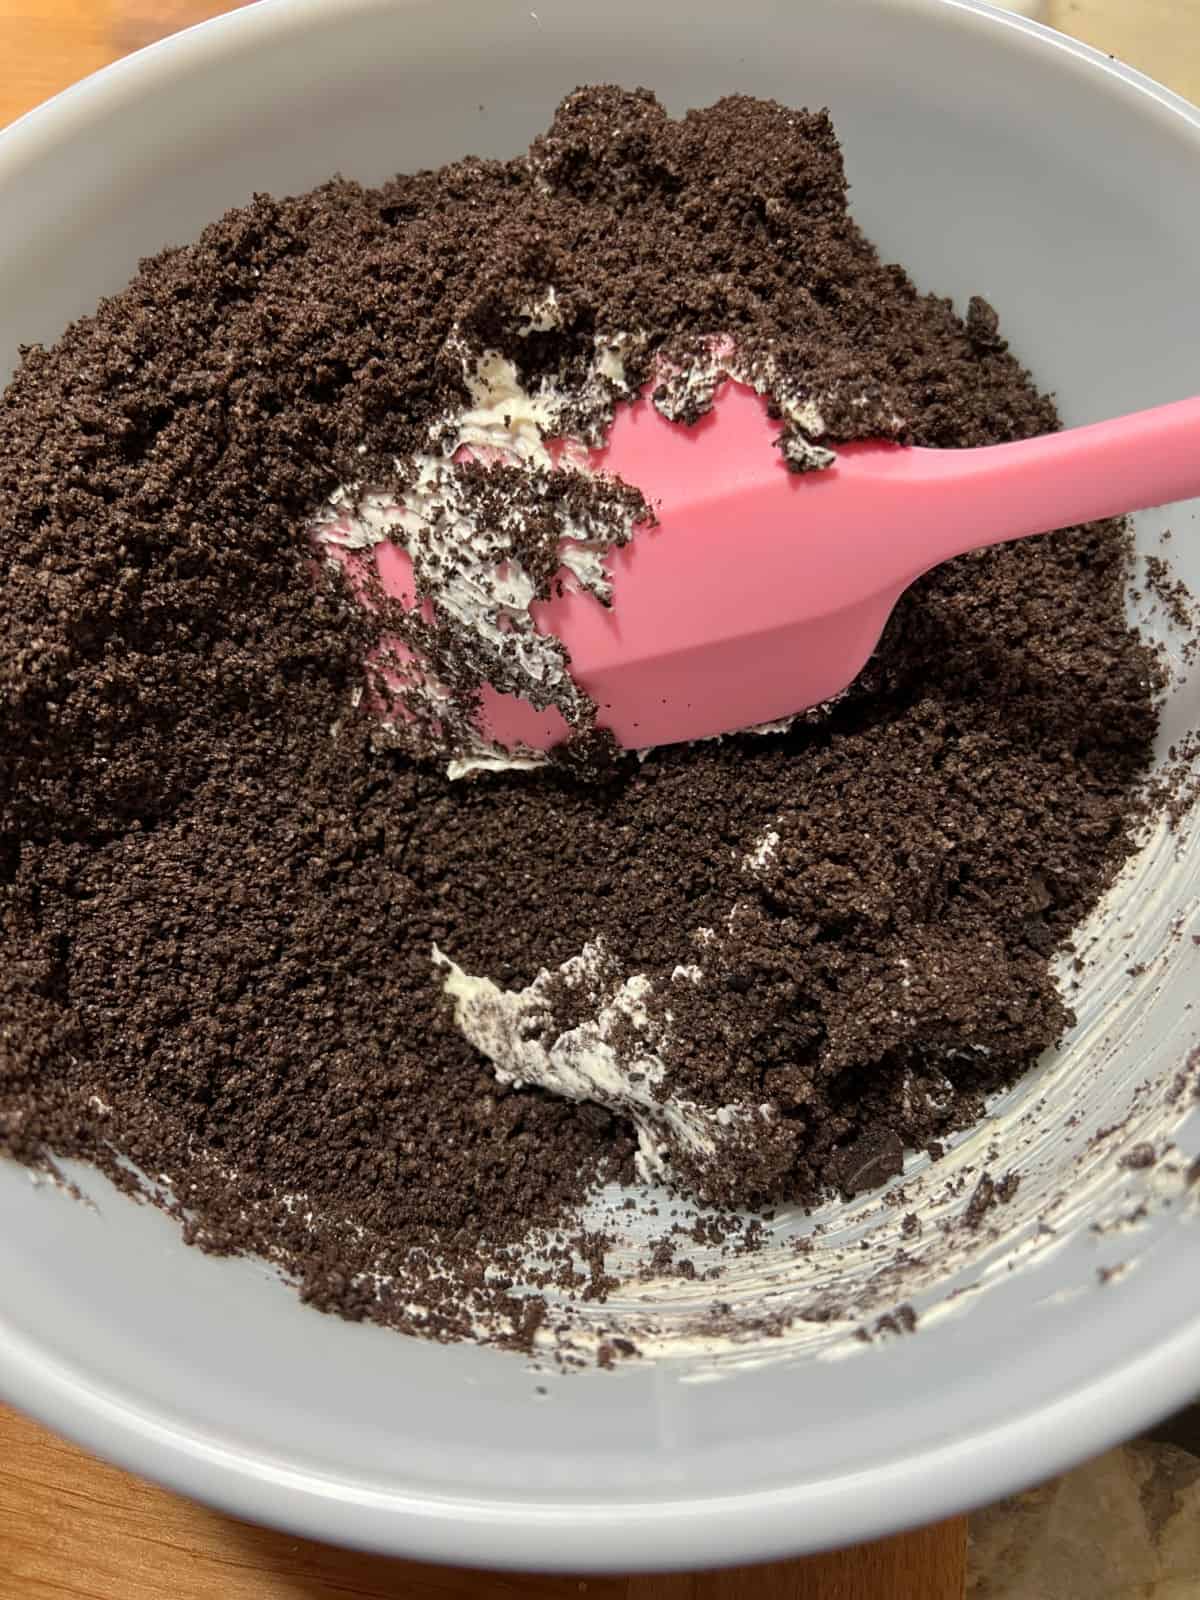
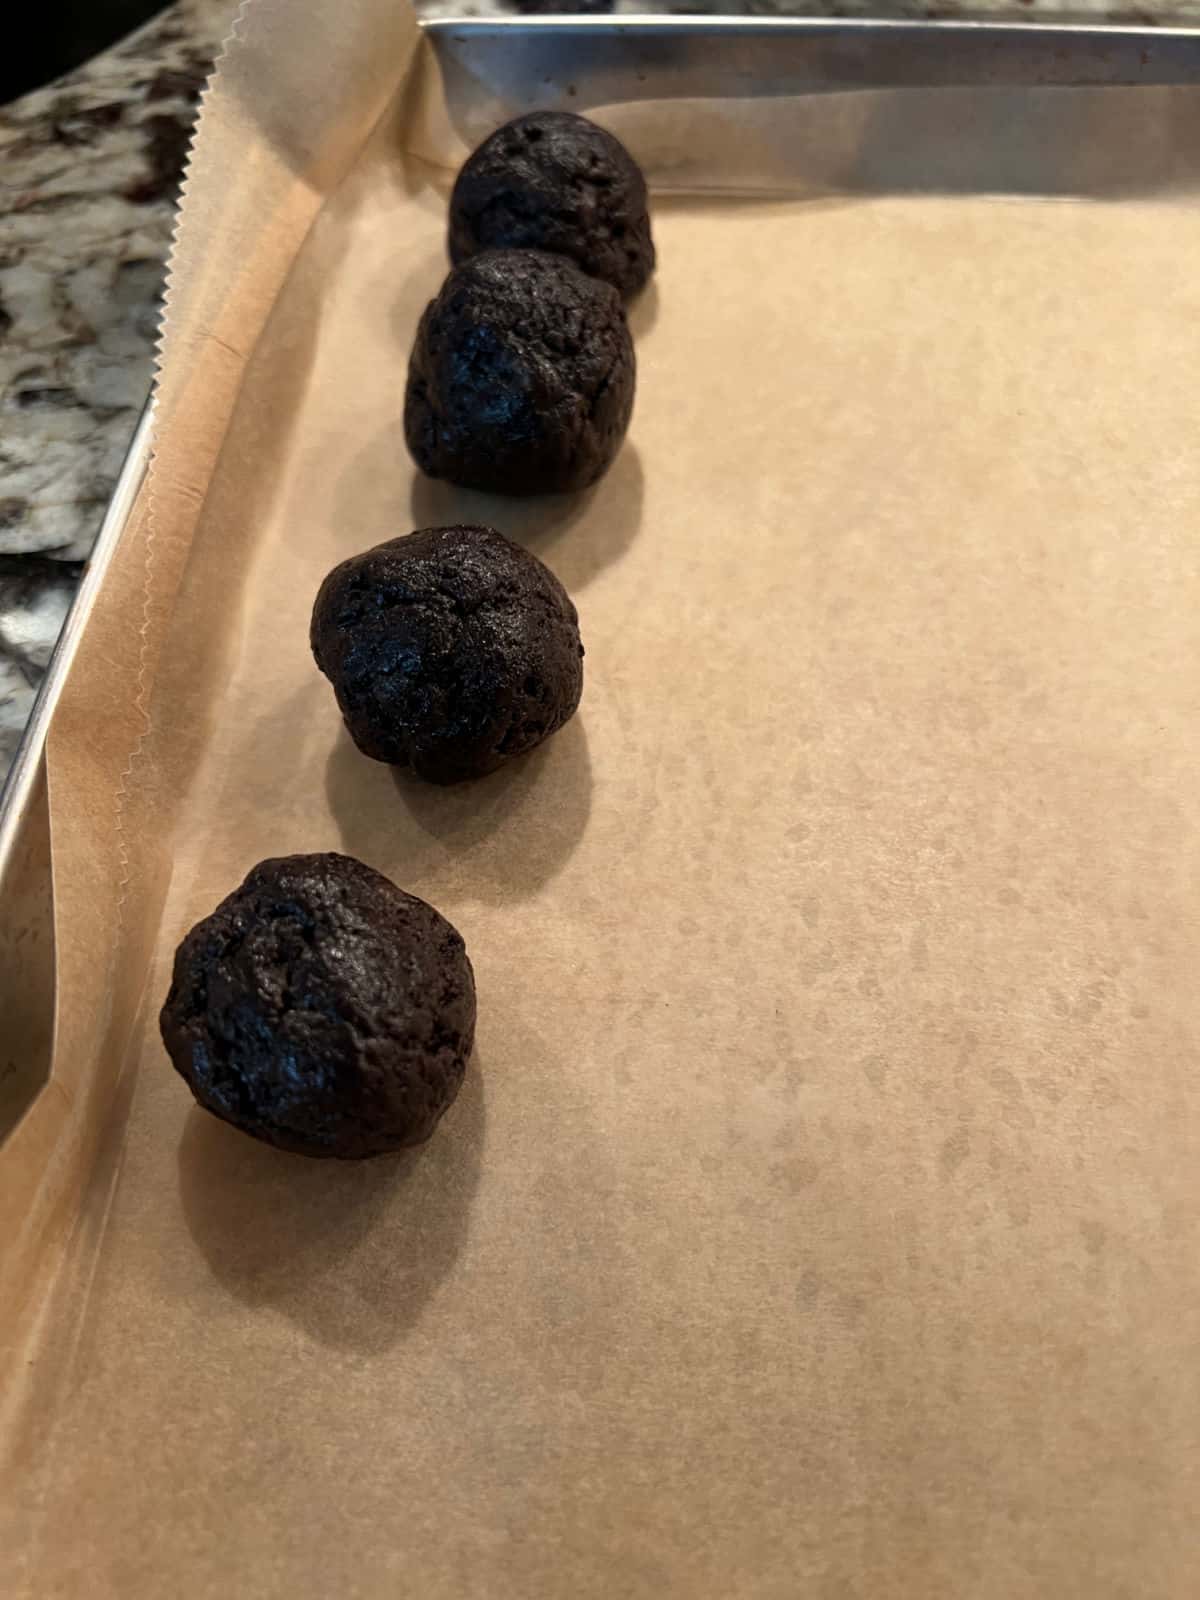
Roll out balls with the mixture (I use a cookie scoop to get uniform sizes) and place on a parchment lined baking sheet. Freeze the Oreo balls for at least 15 minutes.
Make the Top Hats
While the Oreo balls are in the freezer, you can make the top hats. (Count the number of balls so you make enough hats to match.)
Melt your chocolate melting wafers or candy coating in a small microwave safe bowl. Melt according to the package instructions. I typically use 30 second bursts, stirring in between, until the chocolate is melted.
Lay out a piece of parchment or wax paper for the hats. Dip a marshmallow into the melted chocolate, covering completely. Place the marshmallow on the wax paper on a flat end. Repeat with the remaining marshmallows.
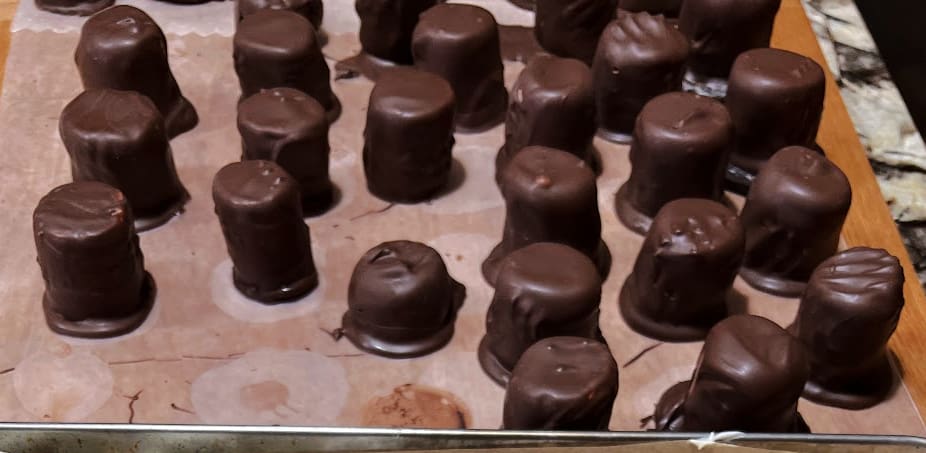
While they dry, you should see a small "hat brim" form from the excess chocolate pooling at the bottom of the marshmallow. Occasionally you might have a hat without a brim. Maybe you just didn't coat that one as much.
It's not a problem, once it is dry enough just pick up the marshmallow, dip the flat end into the melted chocolate again and place it back on the paper. I like to press those down a little just to ensure the excess chocolate forms the shape I want.
Let the hats dry completely while you coat the Oreo balls.
Coat the Oreo Balls
Melt the white chocolate/candy coating, according to the package directions, until it is smooth and stir-able.
Dip each cold Oreo ball into the white chocolate, covering completely. It works well to use 2 utensils, either a fork and spoon to pour the chocolate over, or 2 forks to help you turn the Oreo ball in the bowl, and then remove the excess chocolate to minimize dripping.
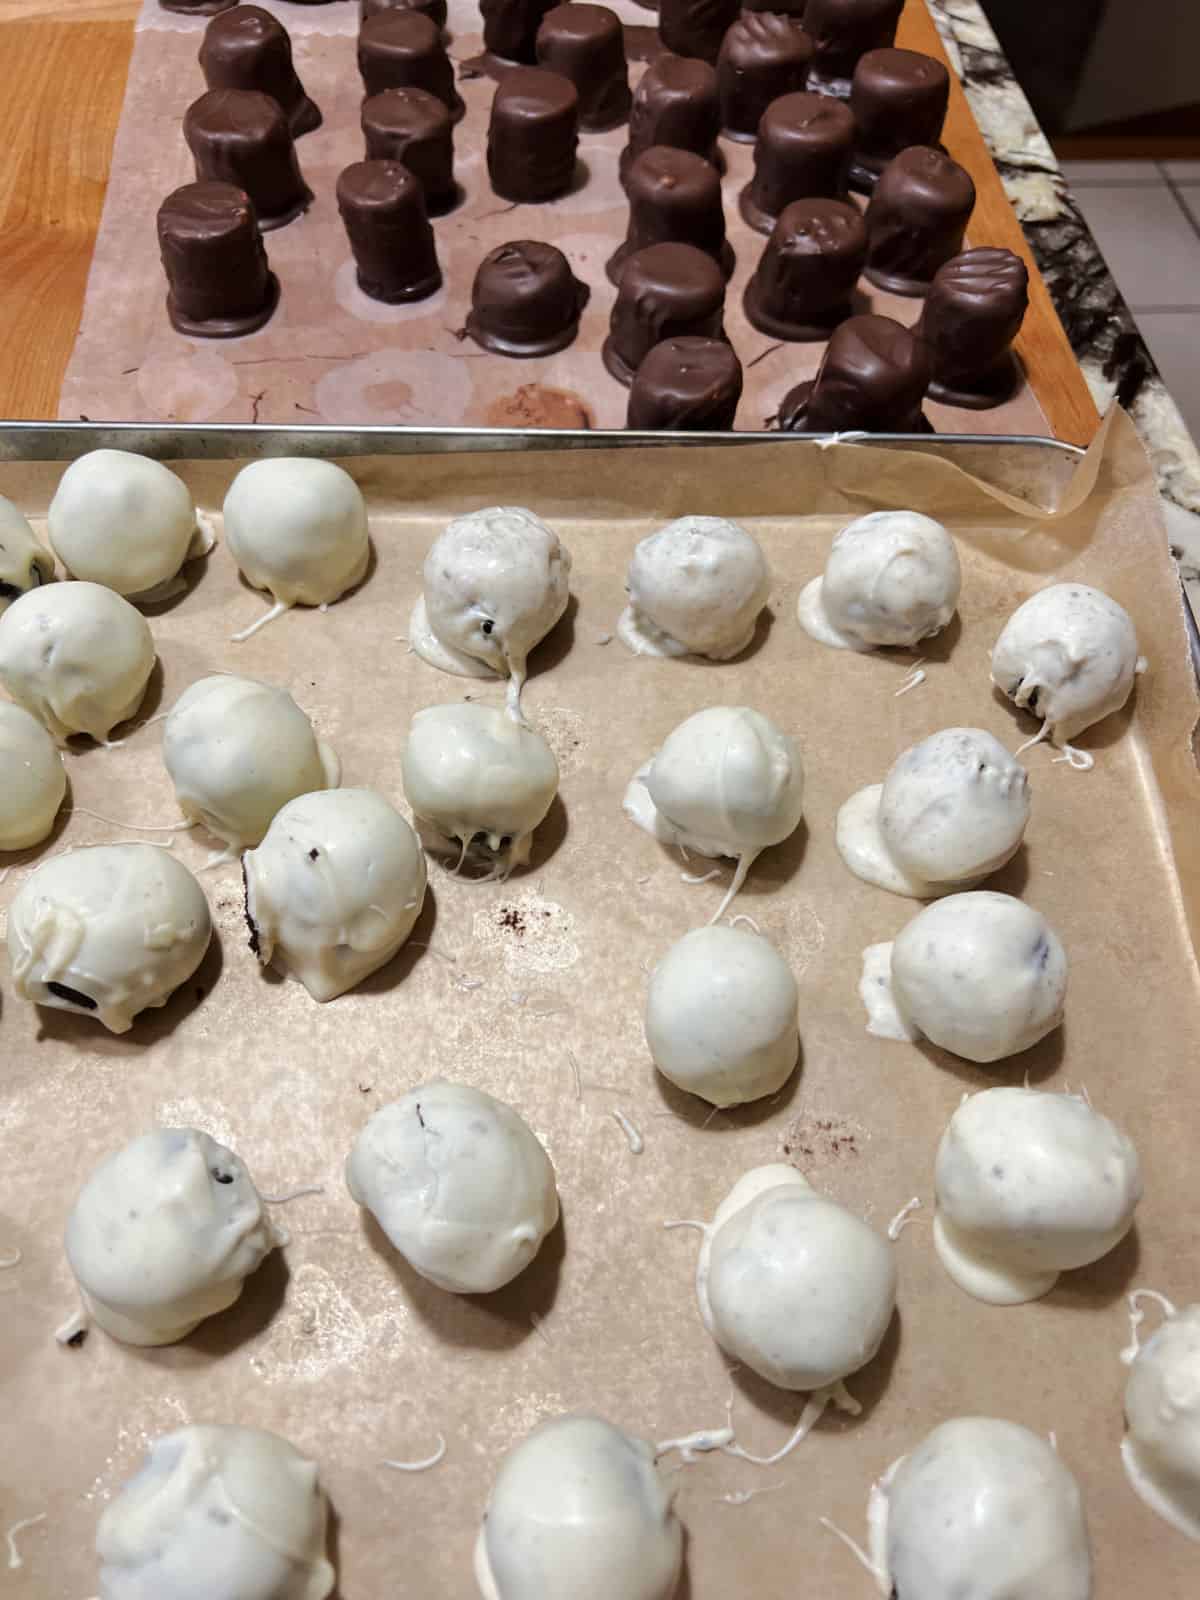
Place each coated ball back on the lined baking sheet. Repeat until all the Oreo balls are coated in white chocolate. Place the baking sheet in the fridge for a few minutes to harden the chocolate.
Reserve the remaining melted white chocolate for assembly.
Assemble the Snowmen
You now have dipped marshmallow hats and white chocolate coated Oreo balls. All you need to do is give each snowman a face and add a hat.
I like to add the face first. You can make your own frosting and draw the face with an icing bag and small tip if you like. But since the quantities are so small, you can also just buy the little tubes of writing gel. I use both black and orange, but making everything in black would also work if you want to save on that extra tube of gel.
Draw a simple face on the white balls first and give them a few minutes to set.
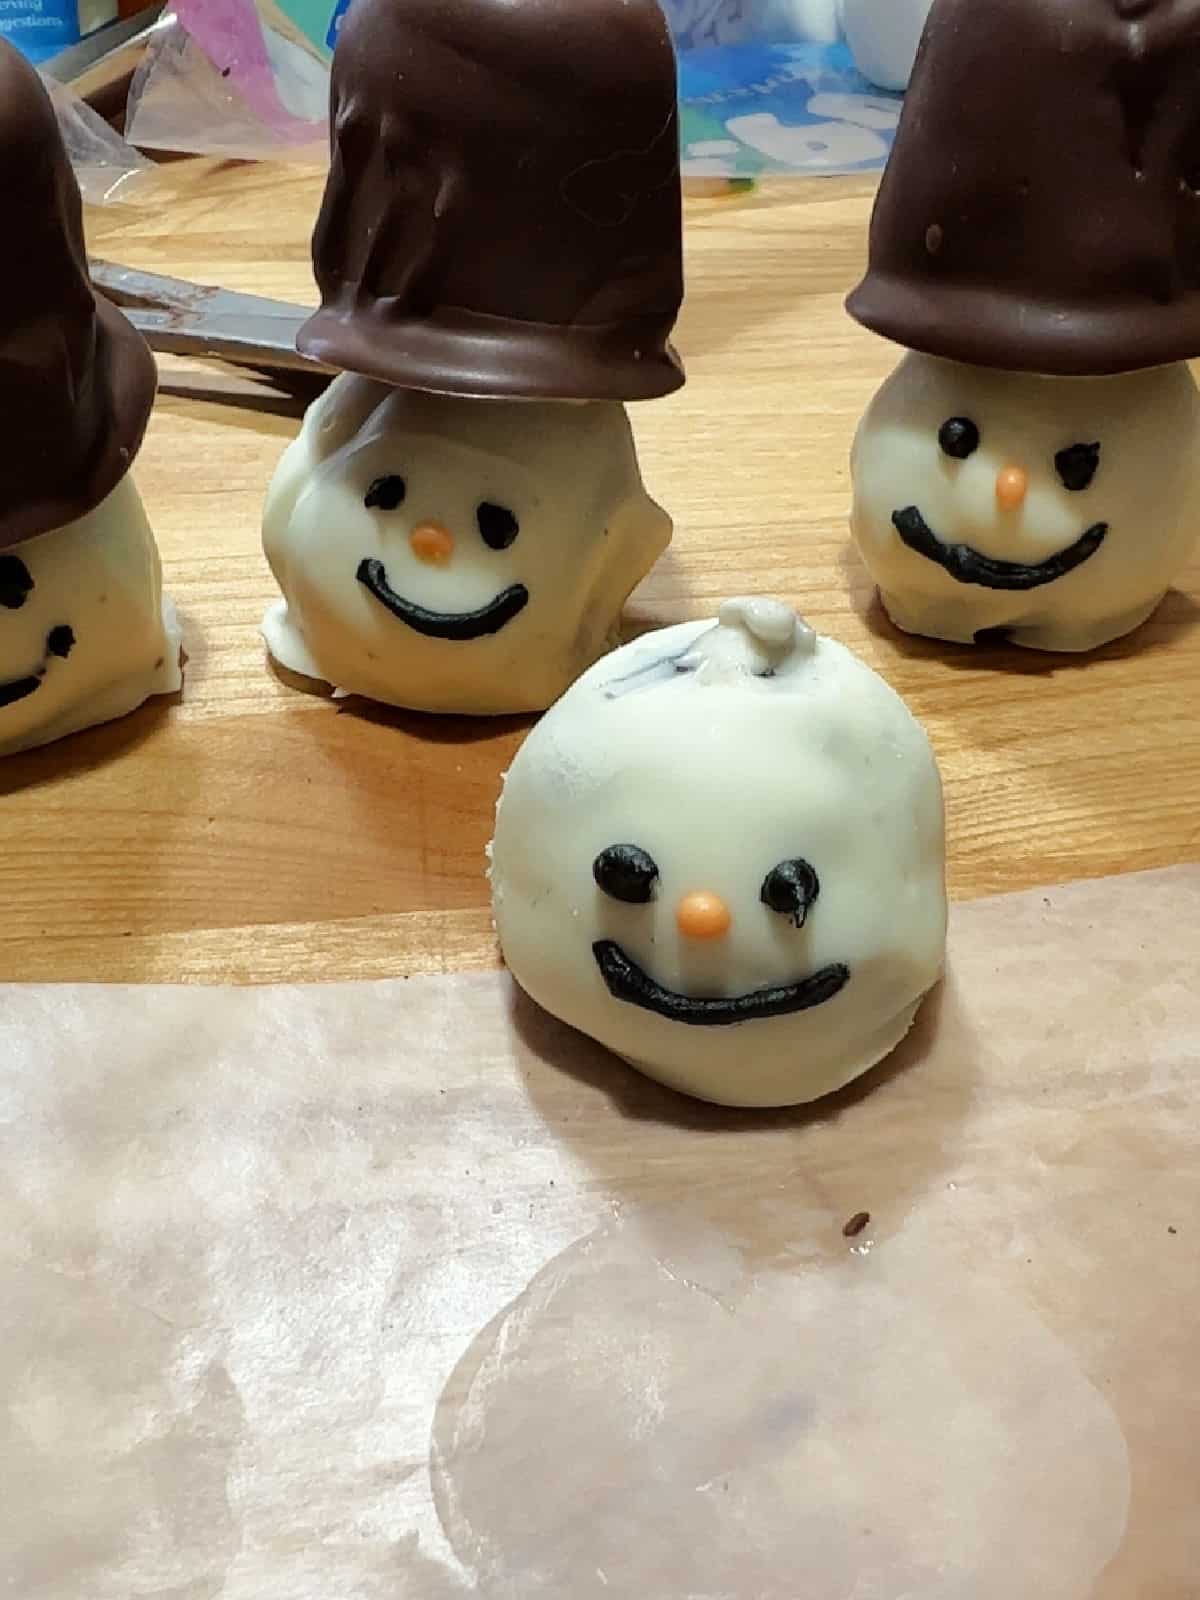
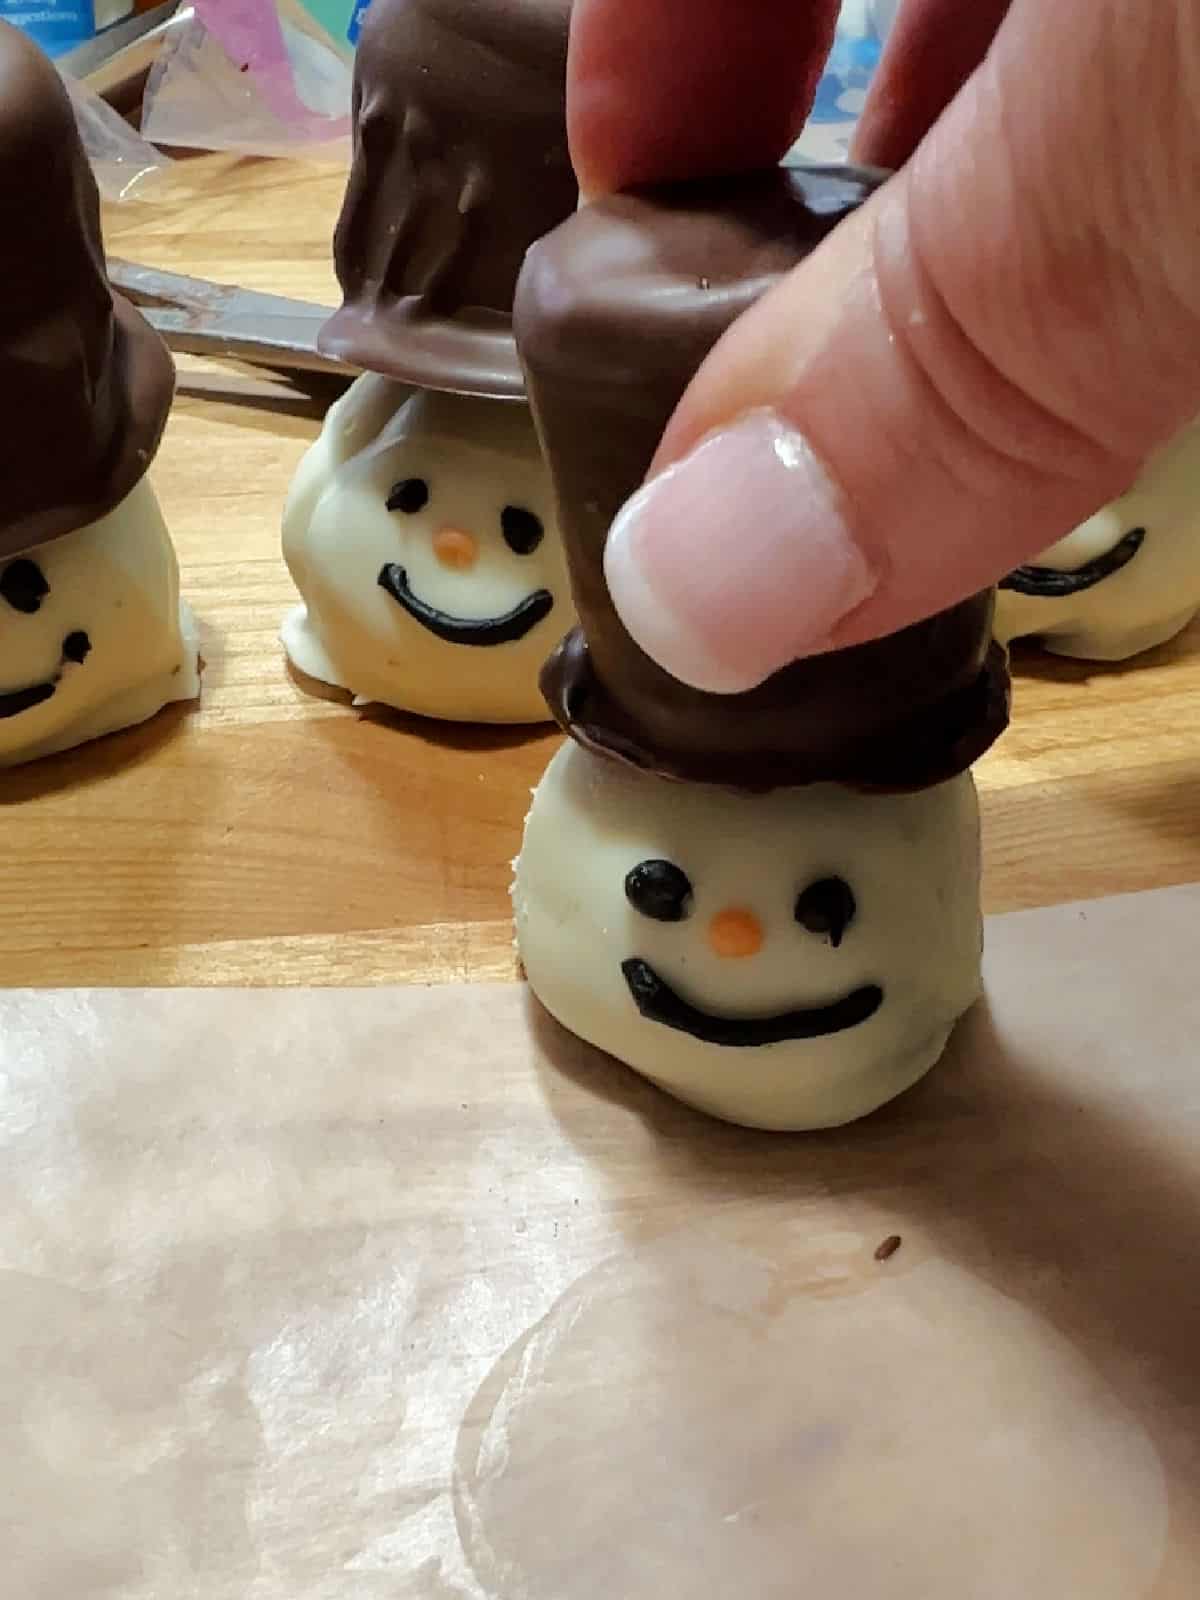
Then, place a hat on each ball. Use the reserved white chocolate by dabbing some on top of the ball to give the hat something to stick to. (you might have to re-melt it with a quick zap in the microwave)
If the top of the ball is very rounded or even a little pointy, I'll sometimes try to shave a little of the white coating off to make a flat surface. If you do this, be very careful and gentle. You only need a small surface for the hat to stick to.
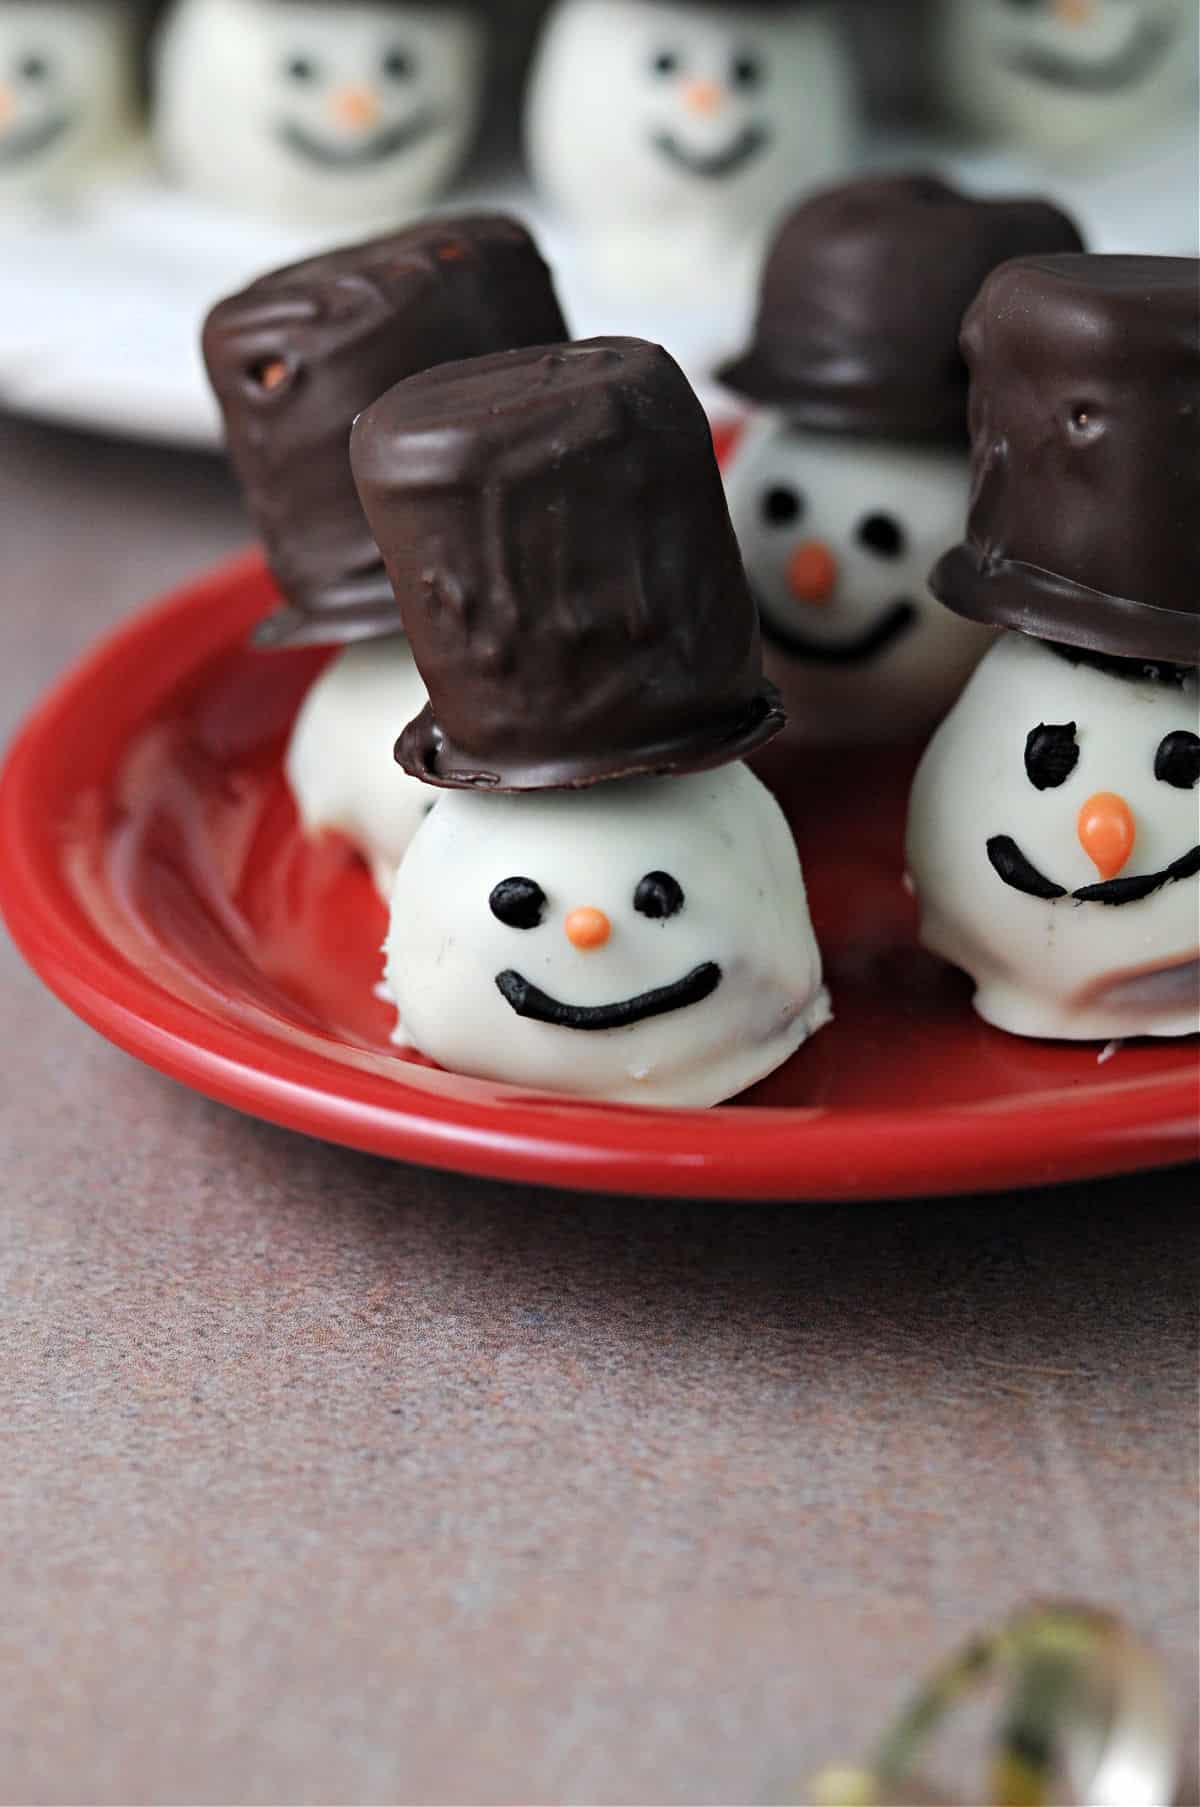
Once assembled, you will see that you have a super cute group of snowmen! They are guaranteed to make everyone smile!
And the taste? Well, like all Oreo balls, they are just TOO GOOD.
Expert Tips/FAQ
As I noted above, use regular Oreos for this recipe, not Double (or Mega) Stuf. The extra filling throws off the proportions. Save those for eating. Or maybe in Oreo Krispie treats. 😁
However, that does not mean you can't use flavored Oreos. I think mint flavor would be both delicious and appropriate to make Snowman Oreo Balls. Such a great holiday flavor!
And I'm super interested in using the Chocolate-Hazelnut Oreo flavor. Nutella meets Oreo cookie? That's the next one I'll be trying for my snowmen!
There are a lot of instructions to this and it might seem a little "steppy". If your time is short, simply spread this out over 2 days. Make and coat the Oreo balls the first day and then cover and store in the fridge to finish the next day. You can coat the hats either the first or second day, depending upon your timing and also whether you have fridge space to store them.
More delicious holiday treats to try


📖 Recipe
Would you like to save this recipe?
Snowman Oreo Balls
Video
Ingredients
- 36-38 Oreo cookies
- 8 ounces cream cheese room temperature
- 8-16 ounces melting chocolate wafers or candy coating
- 16 ounces white melting chocolate wafers or candy coating
- 36 marshmallows
For decorating
- Tube of black writing gel
- Tube of orange writing gel
Instructions
- Place cookies in a food processor. Pulse until they are fine crumbs.36-38 Oreo cookies
- In a separate bowl, beat the cream cheese until it is smooth. Add the Oreo crumbs and mix until well combined. (Alternatively, you could use a stand mixer or just add the cream cheese to the food processor, if desired. I feel more confident that the mixture is evenly distributed by using a separate bowl)8 ounces cream cheese
- Use a cookie scoop to get uniform sized pieces of the mixture and roll into balls. Place on a parchment (or wax paper) lined baking sheet. When all balls have been formed, place the baking sheet in the freezer for at least 15 minutes to get the balls to set.
Prepare the hats
- Melt the chocolate wafers according to package directions until smooth. Dip each marshmallow in the chocolate then place on wax or parchment paper, on a flat end. When you have dipped enough marshmallows to equal the number of Oreo balls, check each "hat" to verify that a small brim of chocolate has formed. If necessary, re-dip the bottom of the marshmallow and place again on the paper to cool and set.8-16 ounces melting chocolate wafers or candy coating, 36 marshmallows
Decorate the balls
- Melt the white chocolate wafers according to package directions until smooth. Dip each cold Oreo ball into the white chocolate, rotating to ensure it is evenly coated. Allow any excess to drip off a little before placing the coated ball back on the baking sheet to cool and set. Repeat with all the Oreo balls. Wait for the white coating to set fully before decorating (you can place the tray in the fridge or freezer for a few minutes to speed this up, if desired) Reserve the remaining white chocolate coating for assembly.16 ounces white melting chocolate wafers or candy coating
- Using the tubes of writing gel, make a face on each of the Oreo balls. I use black to make dots for the eyes and a simple smile, then an orange dot for a nose.Tube of black writing gel, Tube of orange writing gel
Assembly
- If the remaining white chocolate has set, microwave it briefly to melt. Then, place a small dab of the white chocolate coating on the top of each Oreo ball. Attach the hat, using the white chocolate as a sort of "glue" to hold it all together.
- When assembled, these snowman Oreo Balls are ready to eat!
Notes
Nutrition
Nutrition values are estimates only, using online calculators. Please verify using your own data.
Theresa
Cold I use the Chocolate Bark's instead of the wafers with this recipe. These look so fun to make. Thank you.
Sula
Yes, I think chocolate bark would work well, just pay attention to how well it is melting.
Eileen
Adorable! Can I use white and semisweet chocolate chips to coat the balls and hats? Thanks so much - grandchildren are going to flip when I add these to the hot cocoa bar!
Sula
You can, the only thing with chips is sometimes they don't melt as well, due to the coating that's sometimes on them. If so, add a drop of butter, shortening, or maybe oil to help loosen it up some.