The holiday season is here! What better time to make a special cookie to add to your cookie platter.
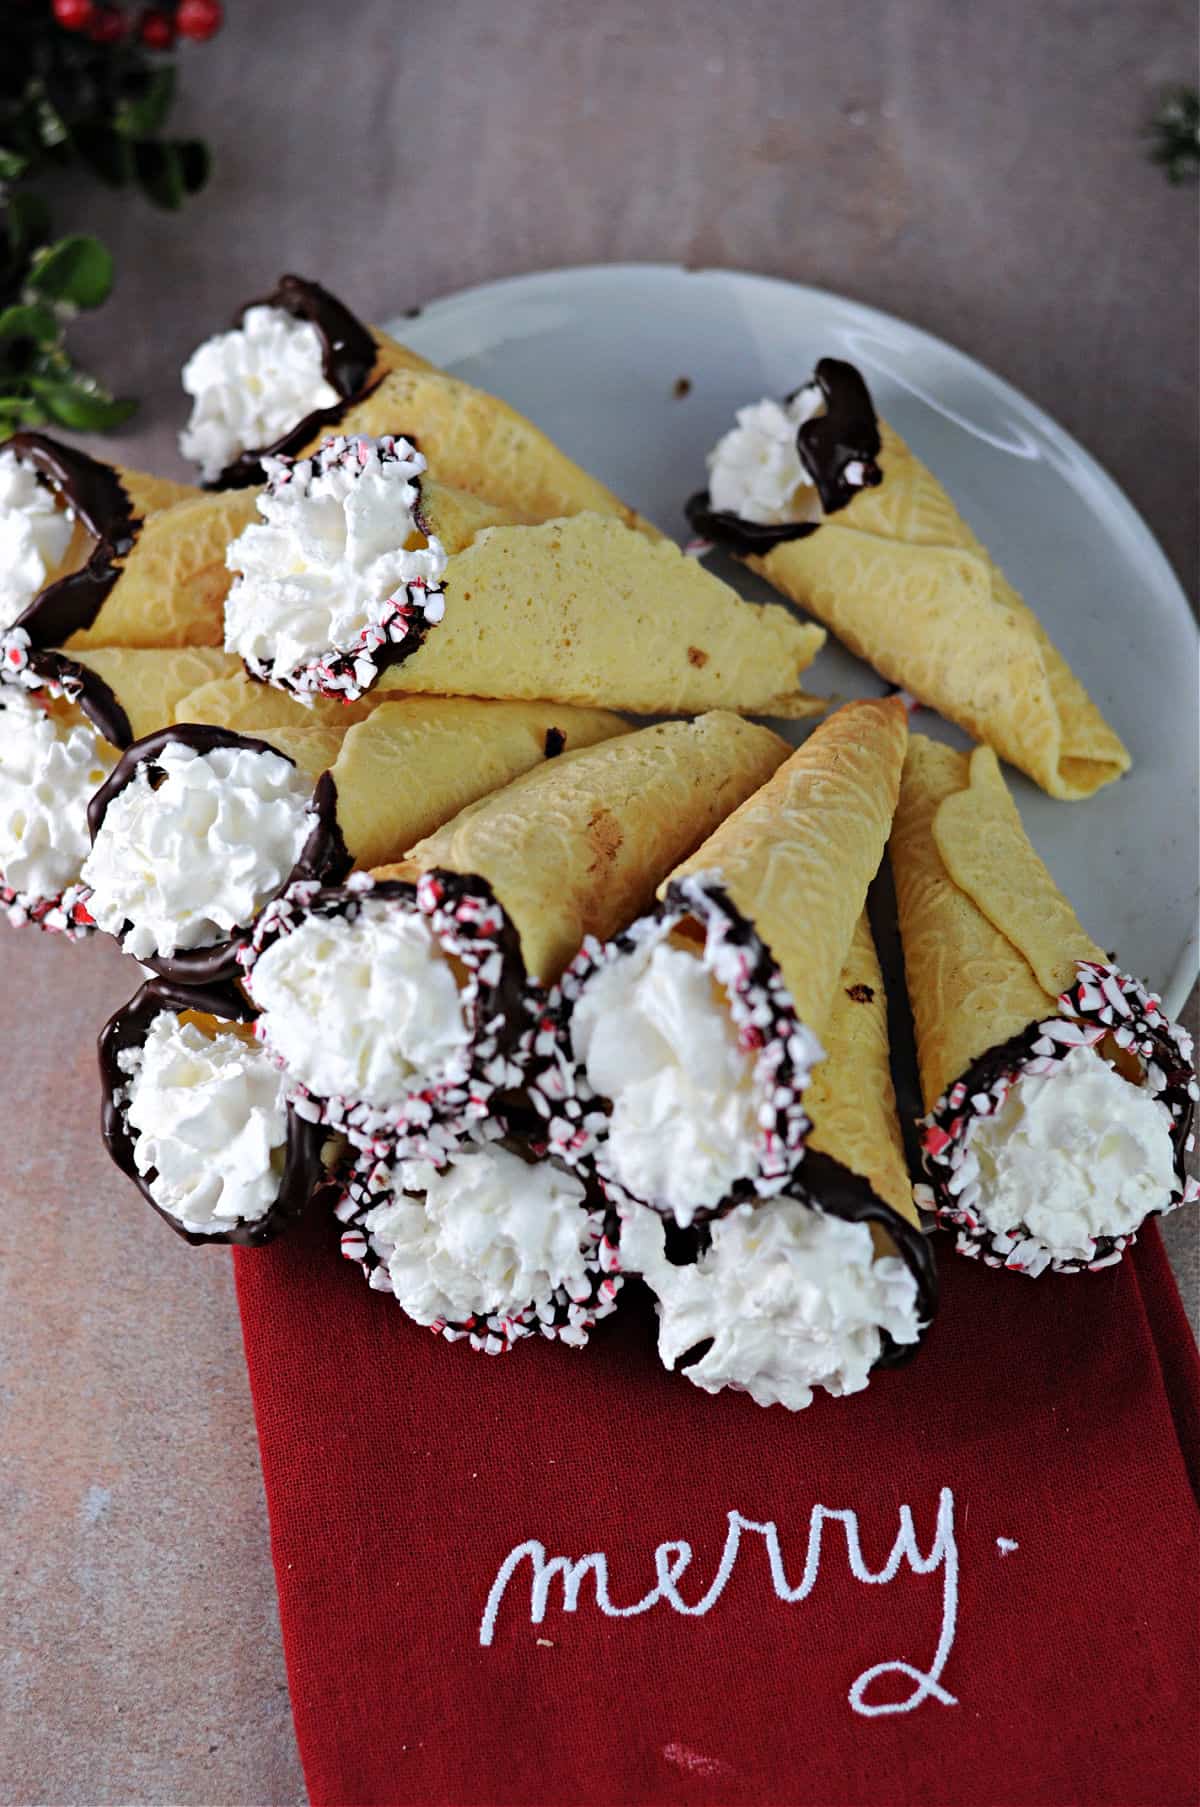
These krumkake cookies are a real treat. They are a delicate Norwegian waffle cookie made in a special electric iron and rolled into a cone shape.
Traditionally flavored with cardamom, I usually make mine with almond extract for a slightly different flavor. You’ll find directions for both versions below. 😃
Why I Love These Cookies
First of all, I like to celebrate my Scandinavian heritage. I’m not Norwegian but I think I have a little of every other Scandinavian country in me. I think that makes it close enough, right?
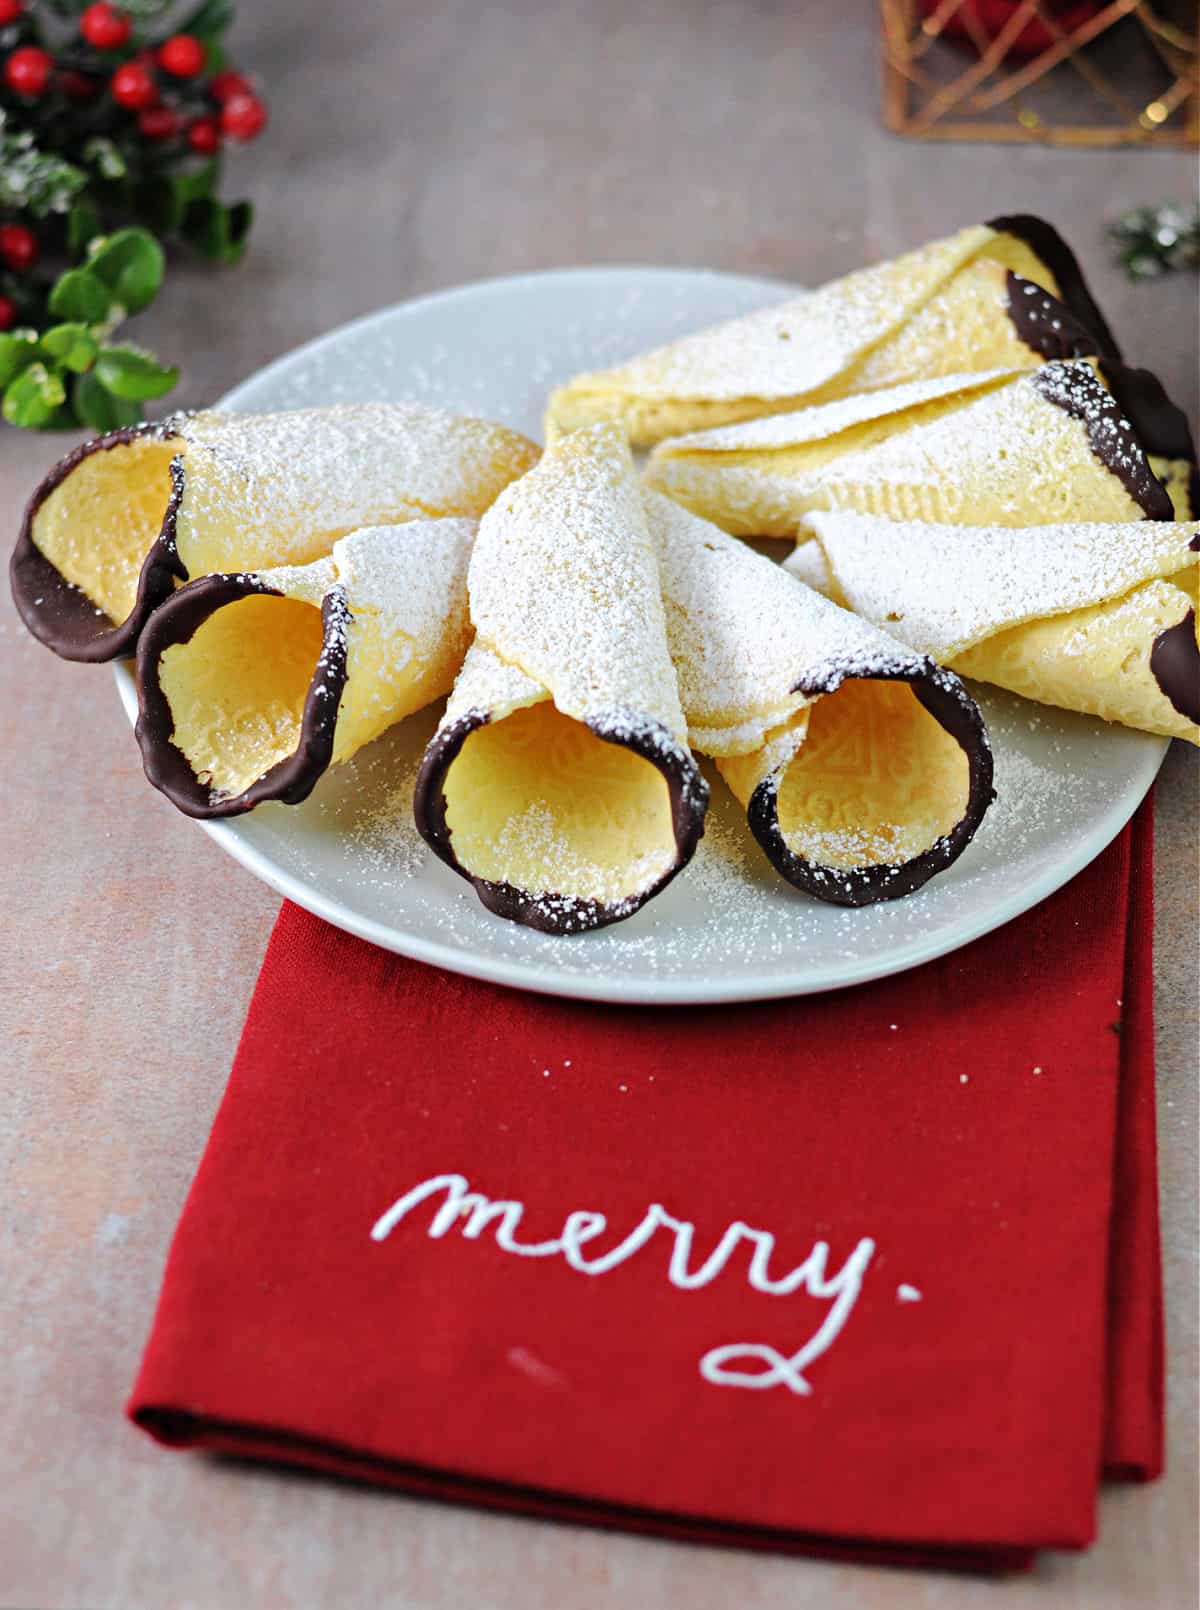
I love the way these lovely cookies look, with a delicate design cooked into the surface of the dough. When you roll them up in a cone shape they look a little bit like a waffle cone. And even though I wouldn’t recommend they be used for ice cream, many other fillings and decorations are possible.
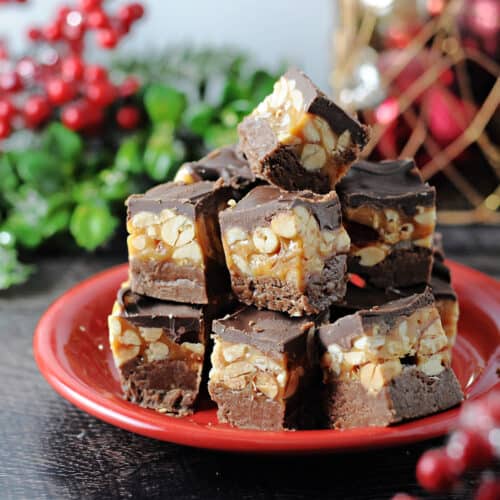
Krumkaker are a great way to dress up a holiday cookie tray. Fill the tray with easy fudge, cut out cookies, peanut butter brownie bites, and chocolate peppermint kiss cookies. Then top it off with krumkaker for a showstopper presentation!
And by the way, "krumkake" looks like a Norwegian spelling for "crumb cake" but it is actually pronounced kroom-kaka. Krumkaker is the plural form of the word.
Ingredients Needed
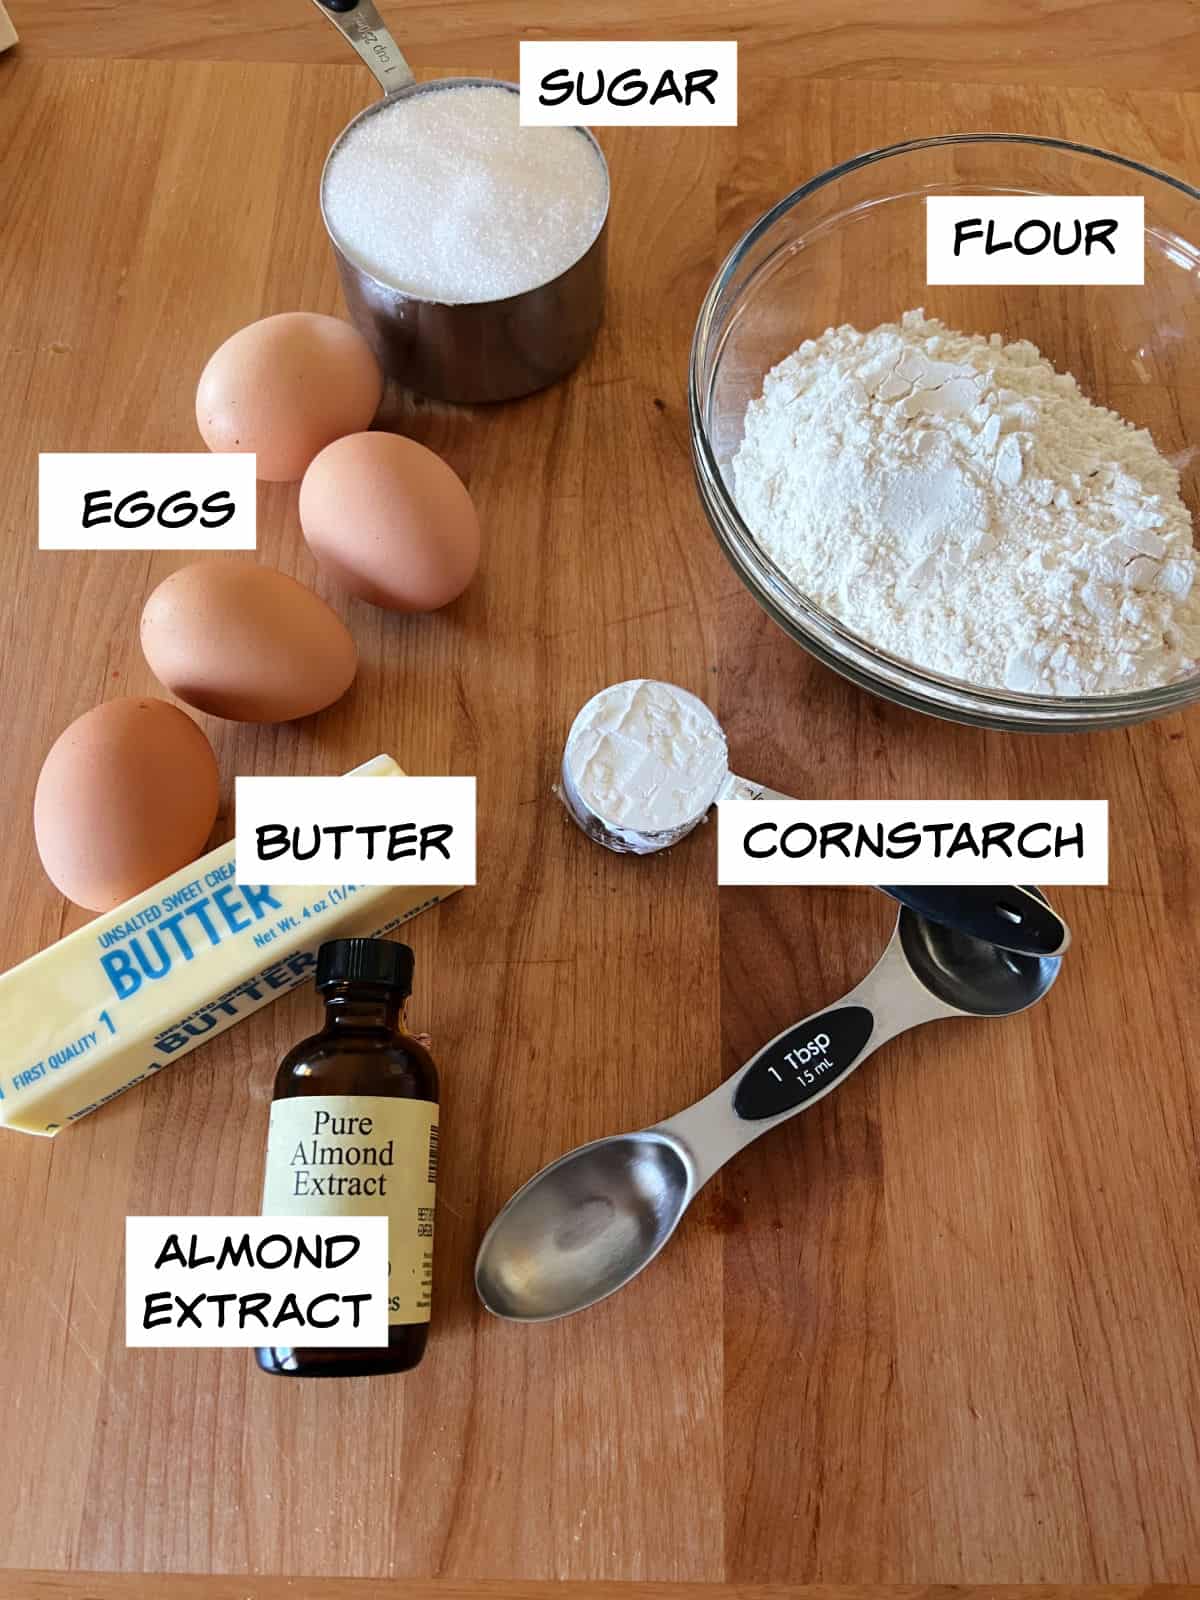
**Be sure to scroll to the recipe card for detailed quantities and directions**
How to Make this Krumkake Recipe
The batter is very simple. First beat together the eggs and sugar for 2 to 3 minutes. The eggs should lighten slightly in color.
Then, add butter (melted and cooled) and almond extract and mix well to combine.
Now, sift together the flour and cornstarch and add it to the batter. Mix very well. I use a hand mixer for all these steps; no need to switch to a spoon or spatula.
You need a special appliance for these Norwegian Christmas cookies
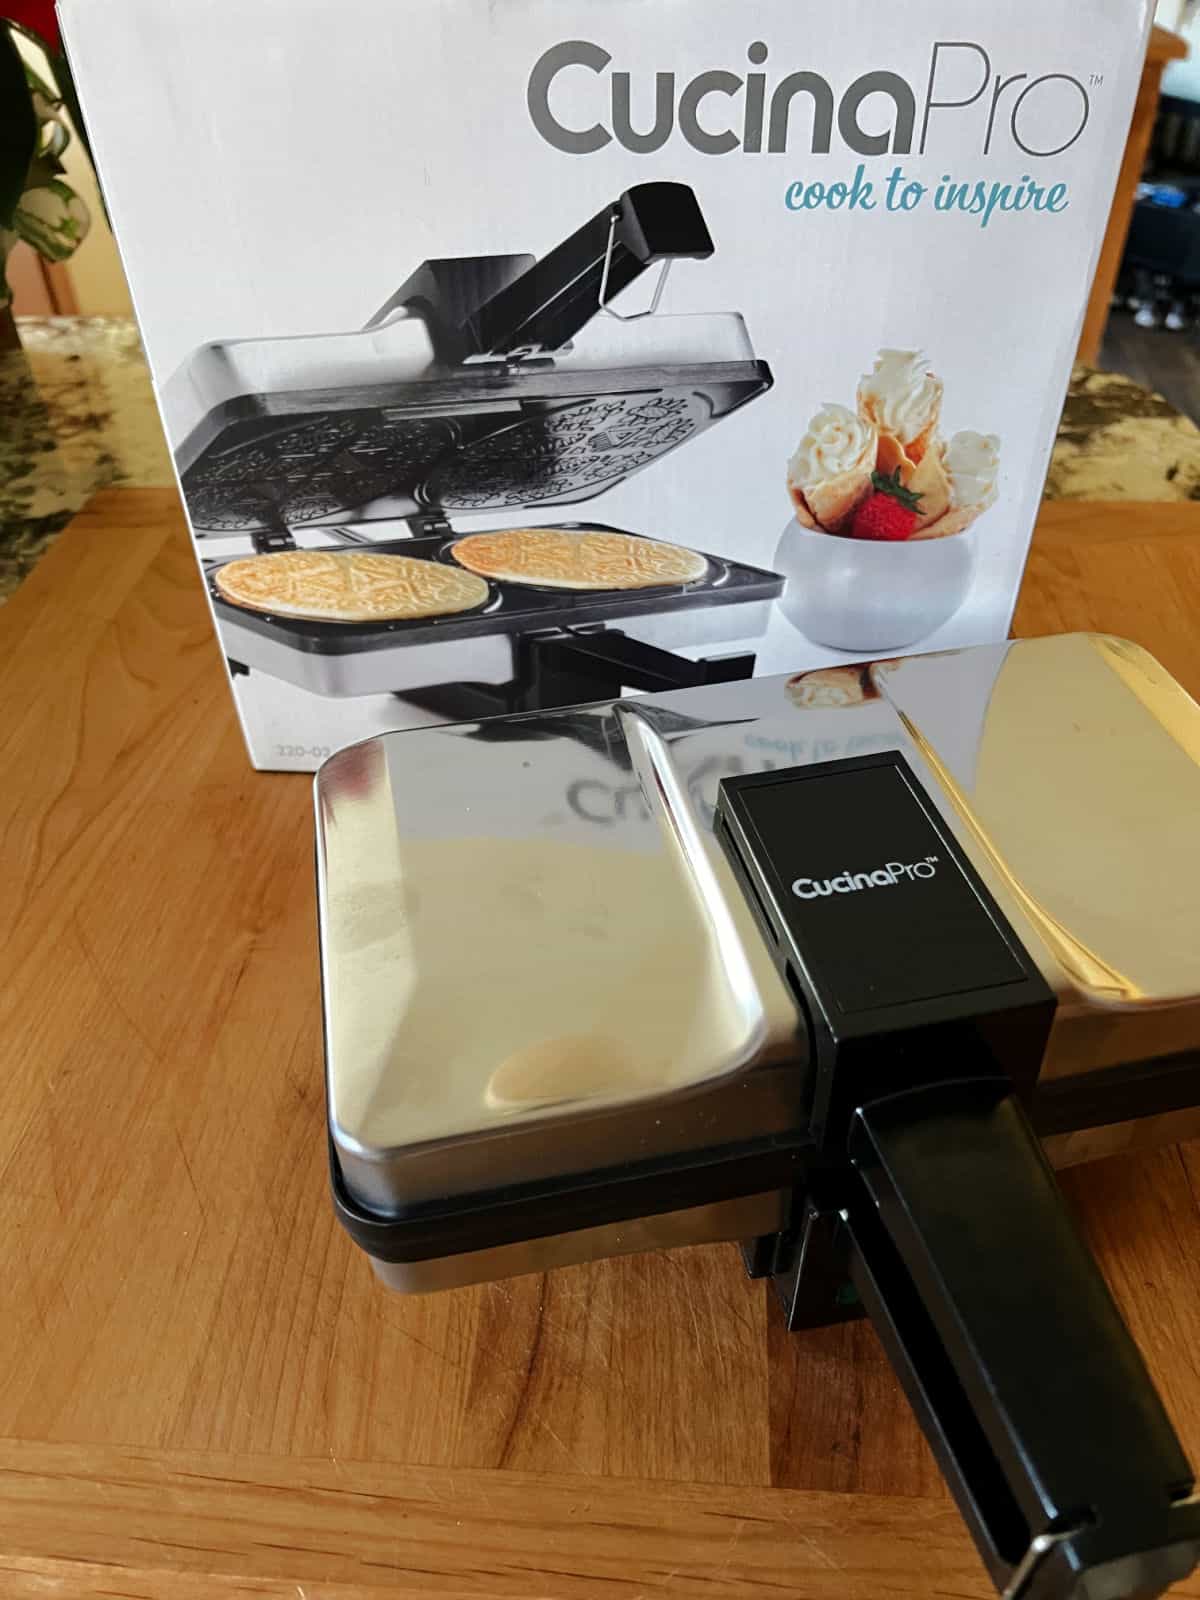
Krumkaker are cooked in a special electric iron. Traditionally they were made using a stovetop version made of cast iron. I’ve seen these in local antique malls and I give so much credit to anyone who successfully used one. I can’t imagine how tough it must be to keep an even temperature with one of those!
I found my (affiliate link) electric krumkake baker on Amazon and I’m so happy I did! It makes 2 cookies at a time to help speed the whole process along.
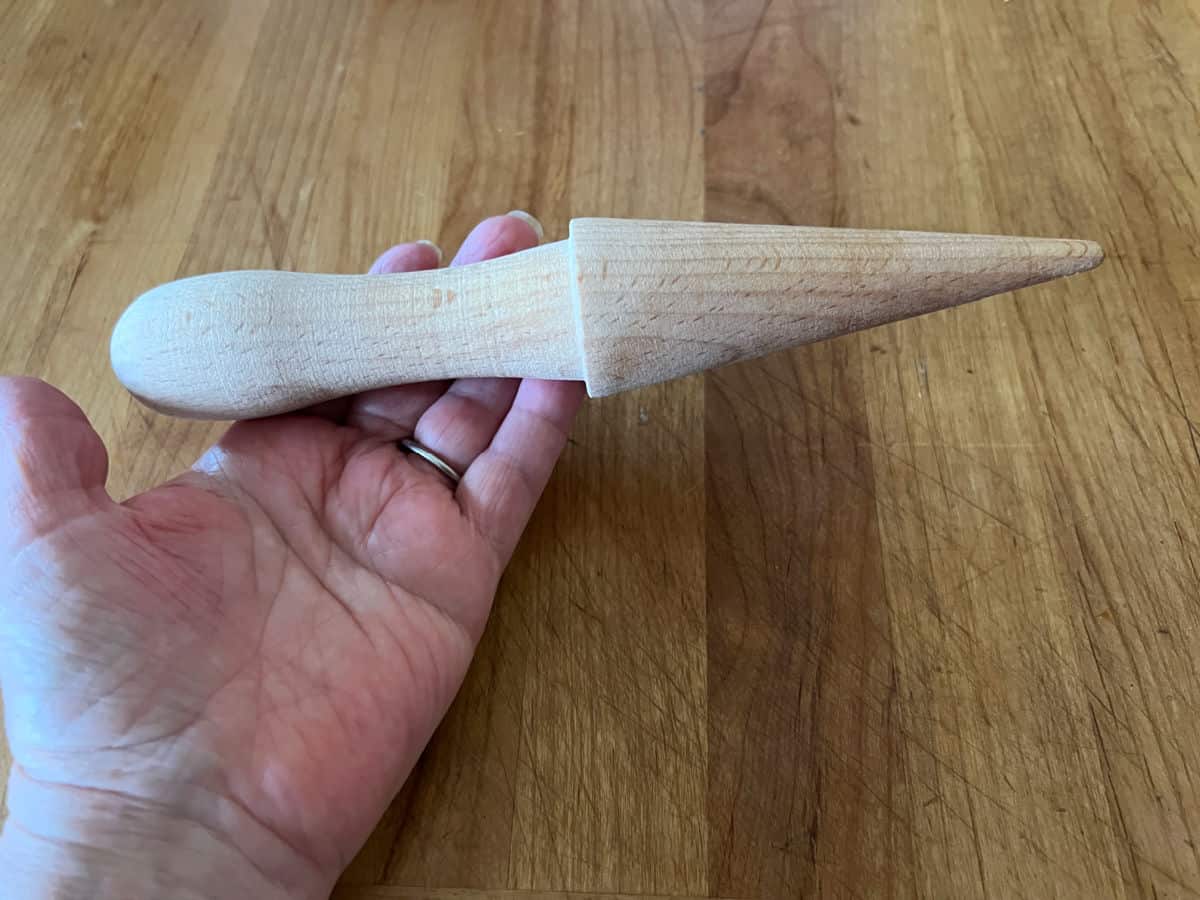
Also, the wooden tool (affiliate link) I use to roll the warm cookies was also found on Amazon. In theory, you could roll these around a wooden spoon but the special tool makes it so much easier. And I am all about the easy button!
Baking with the Electric Iron
Once the iron is hot, place about a tablespoon of batter into each cooking grid. I use a small cookie scoop for this, which measures it perfectly.
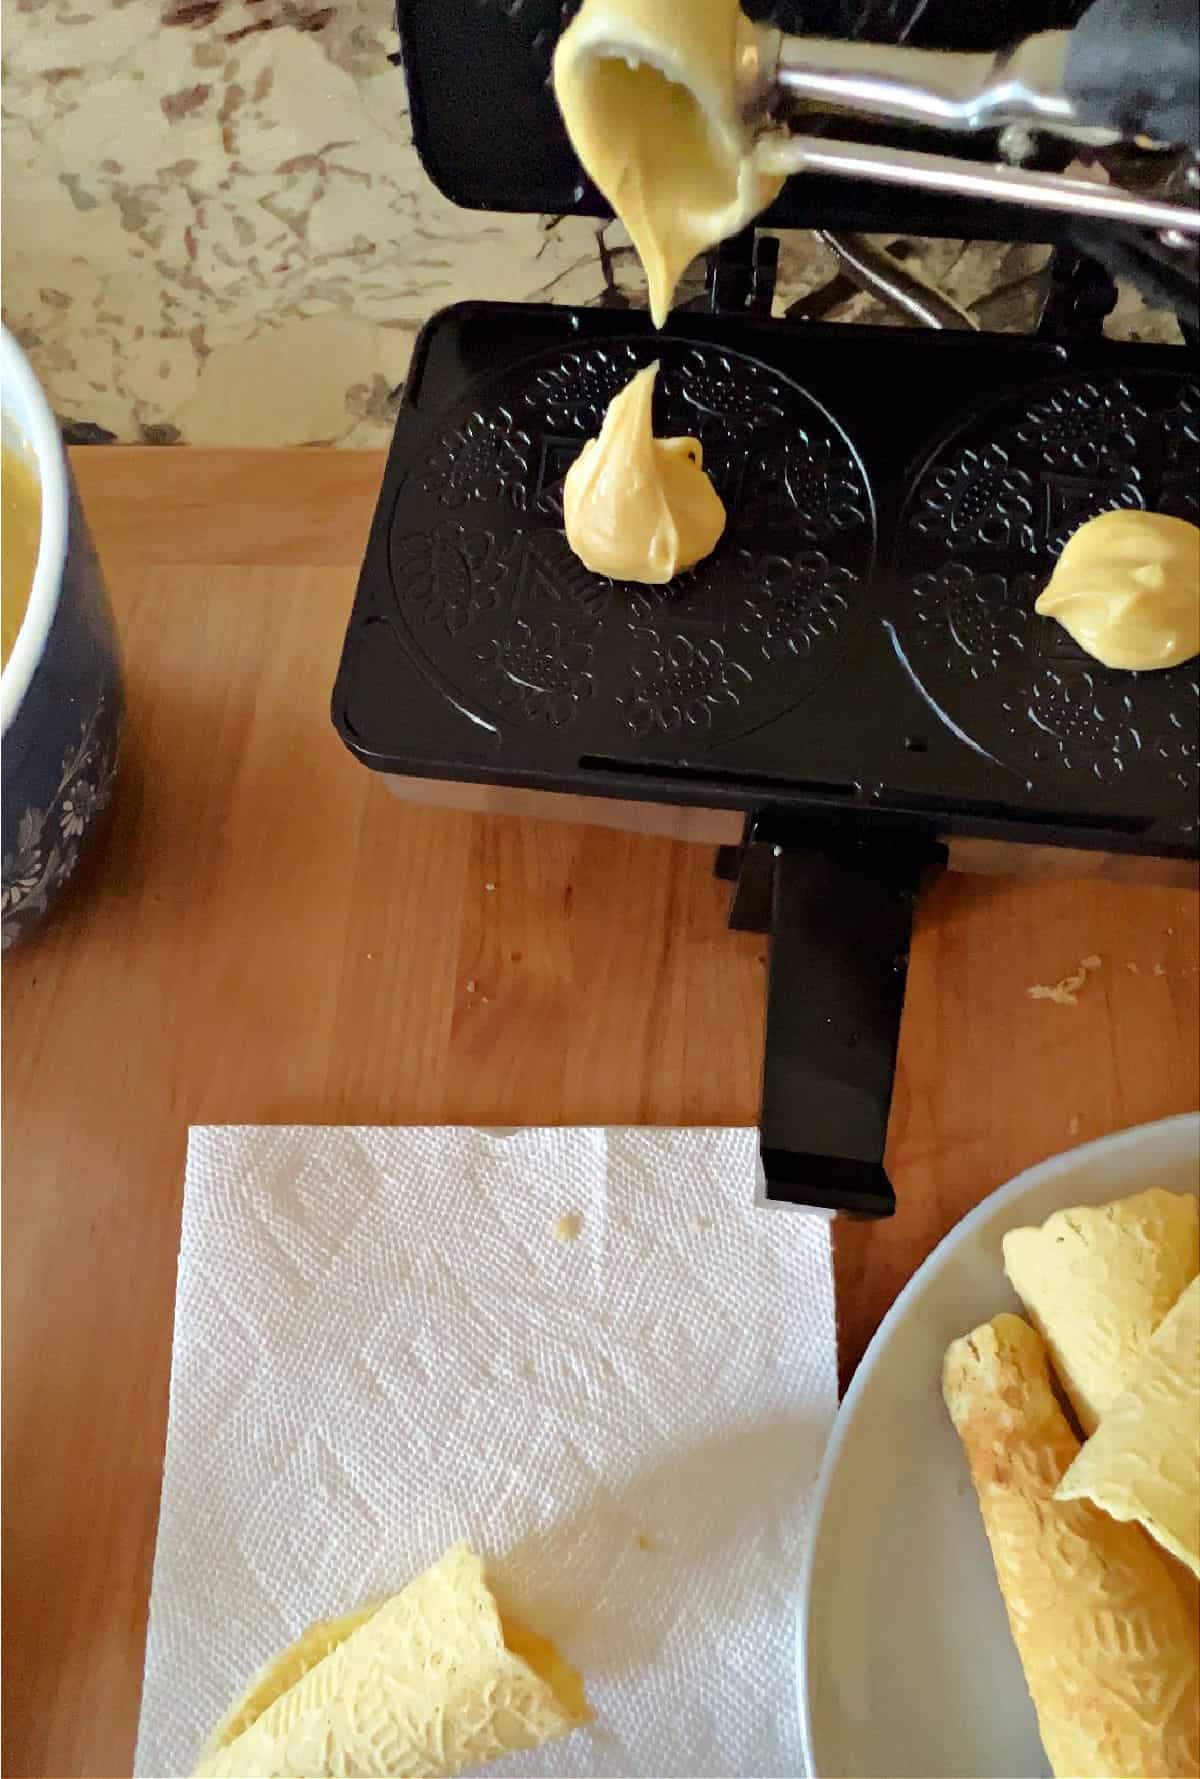
Close the lid and check your watch. You’ll need to get your timing down for these. With my electric iron, the perfect time is typically about one minute and 15 seconds. I like to peek at the one-minute mark just to be sure the cookies are not brown yet.
For me, the perfect krumkake is one that is just barely starting to brown around the edges, but is still light colored. Sometimes this takes an extra 10 to 15 seconds. You just have to keep a close watch.
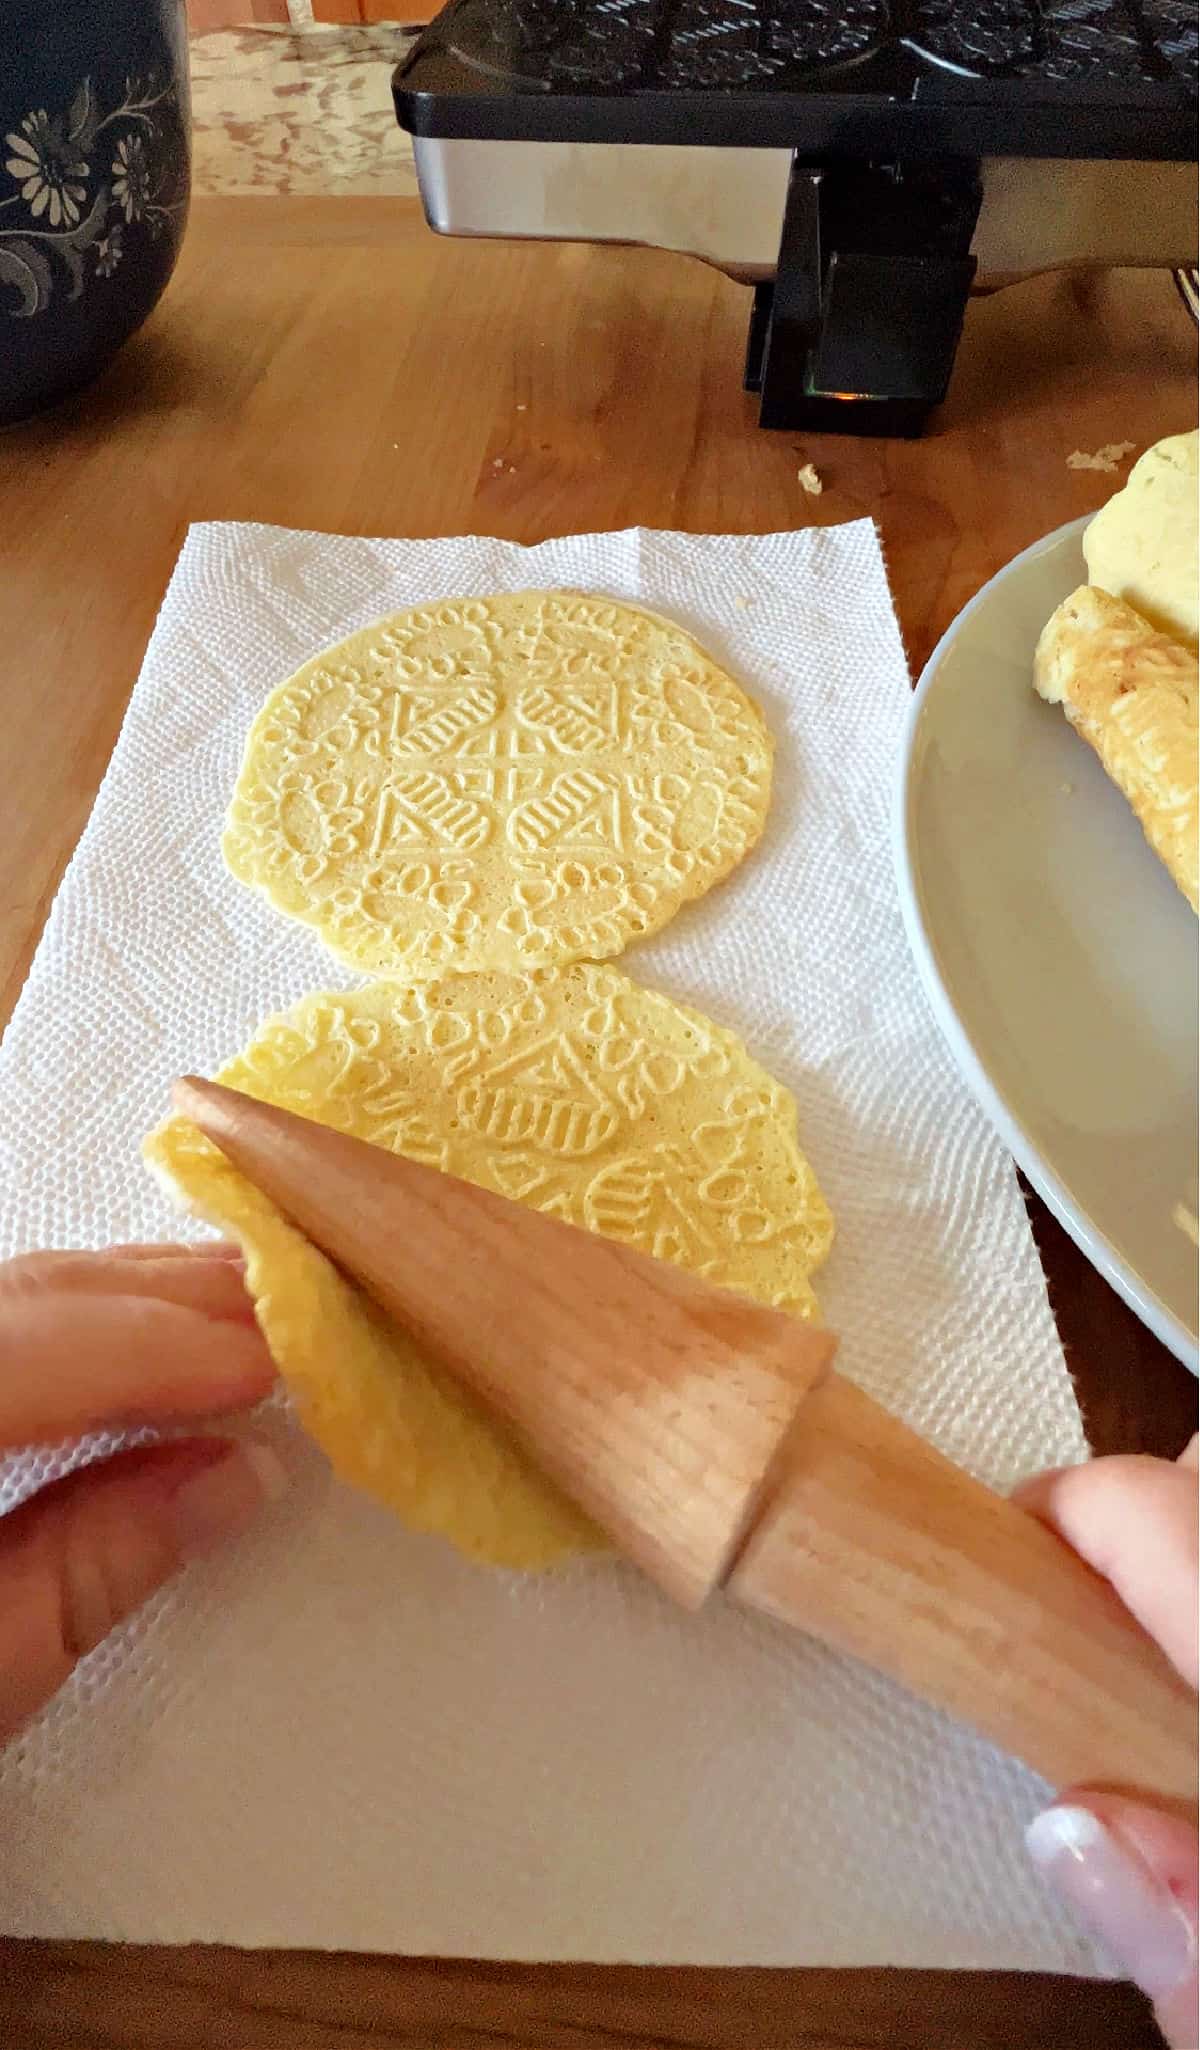
Once done, remove the cookies and immediately roll around the wooden cone to form a cone shape. I like to roll the first, then pause a few seconds before removing the cone to roll the second cookie. It’s a delicate balance between getting that first cookie to start to cool in the rolled-up position and getting to the second cookie before it cools too much in the unrolled state.
Decorating the Krumkaker Cookies
Of course, you have many opportunities for creativity here. These cookies are very tasty just as-is, with a soft crunch and delicate almond flavor.
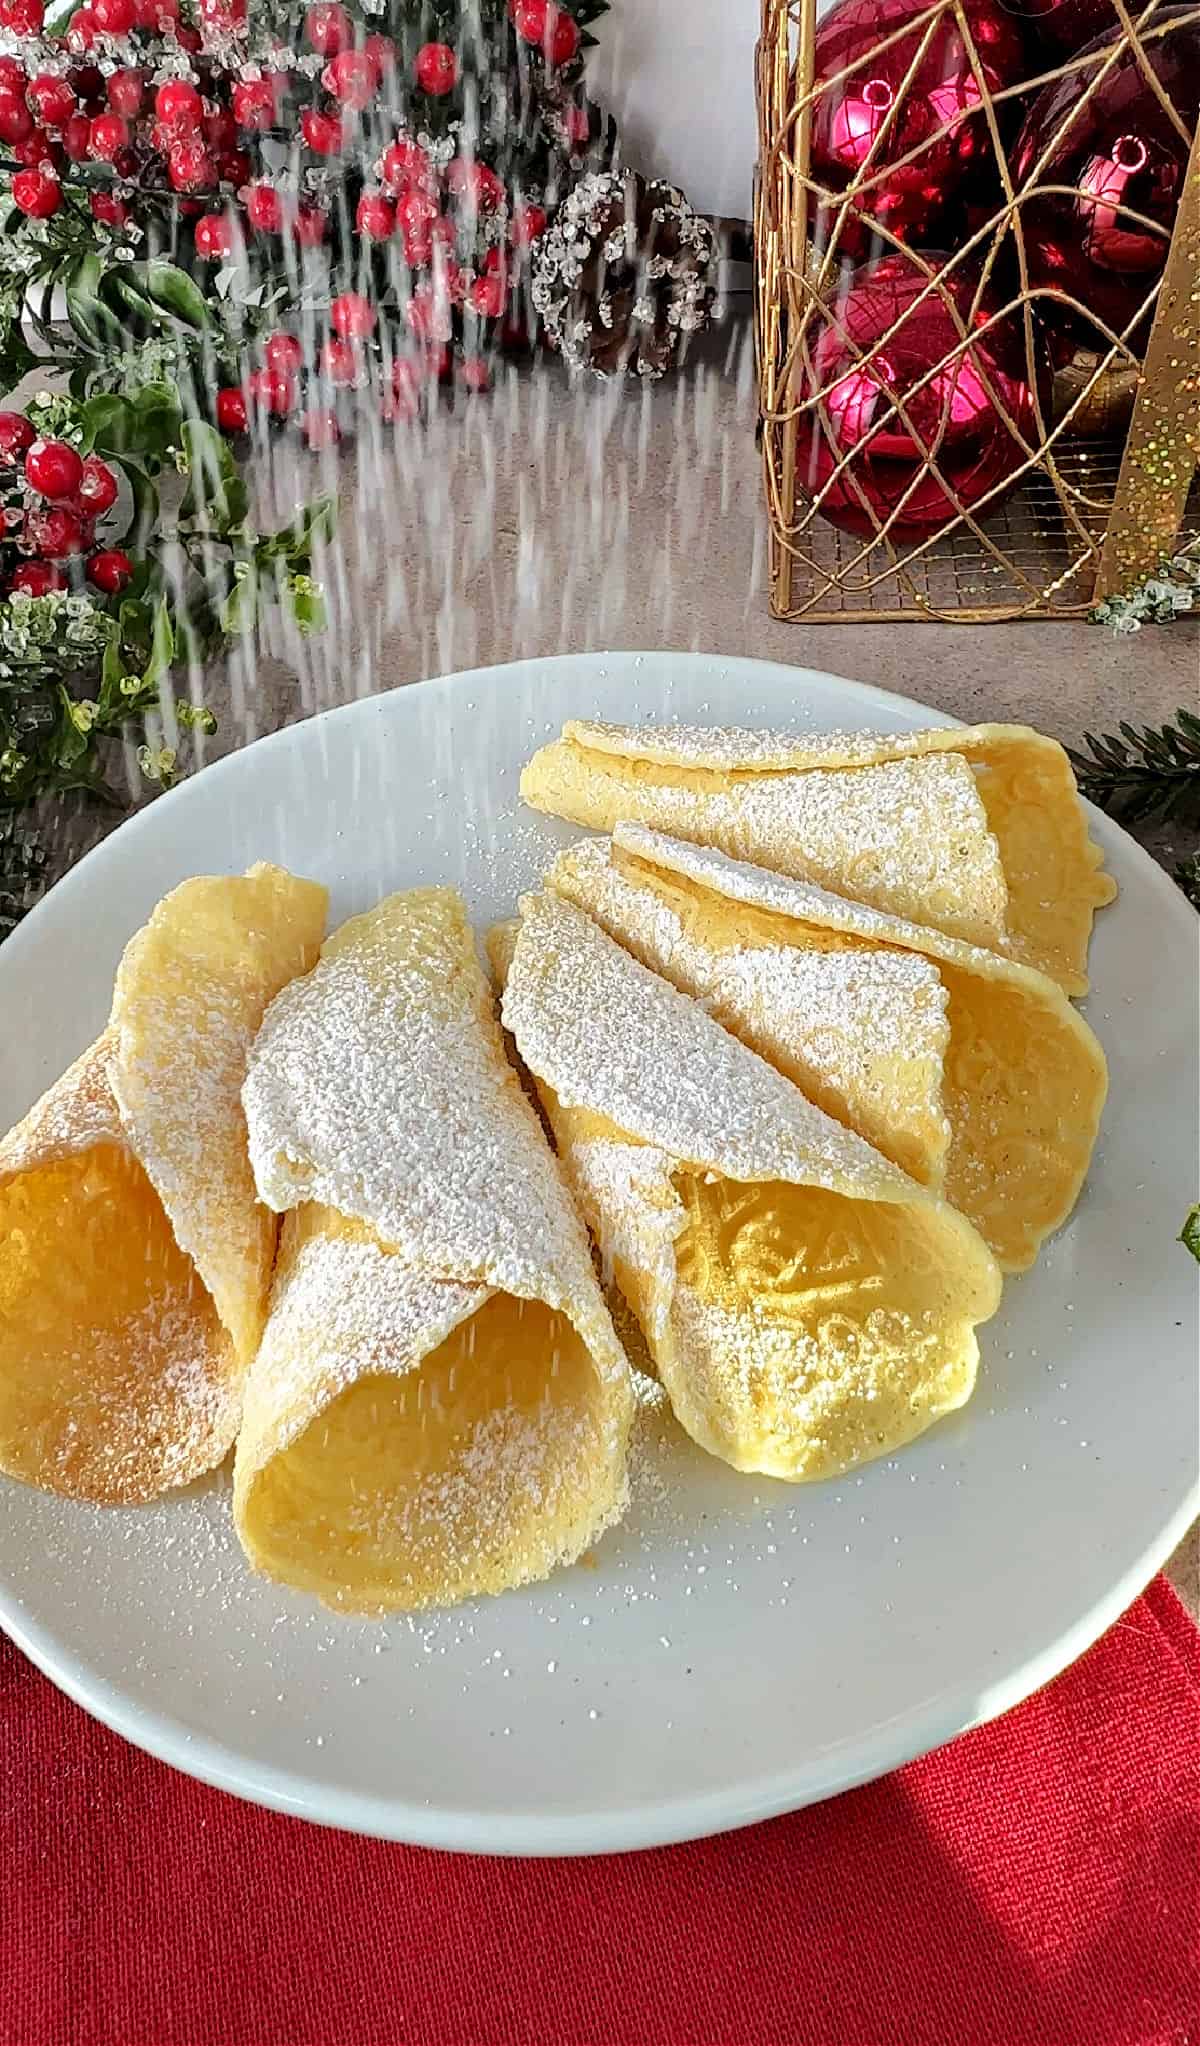
You can dust the cookies with a little powdered sugar to add just a little extra sweetness.
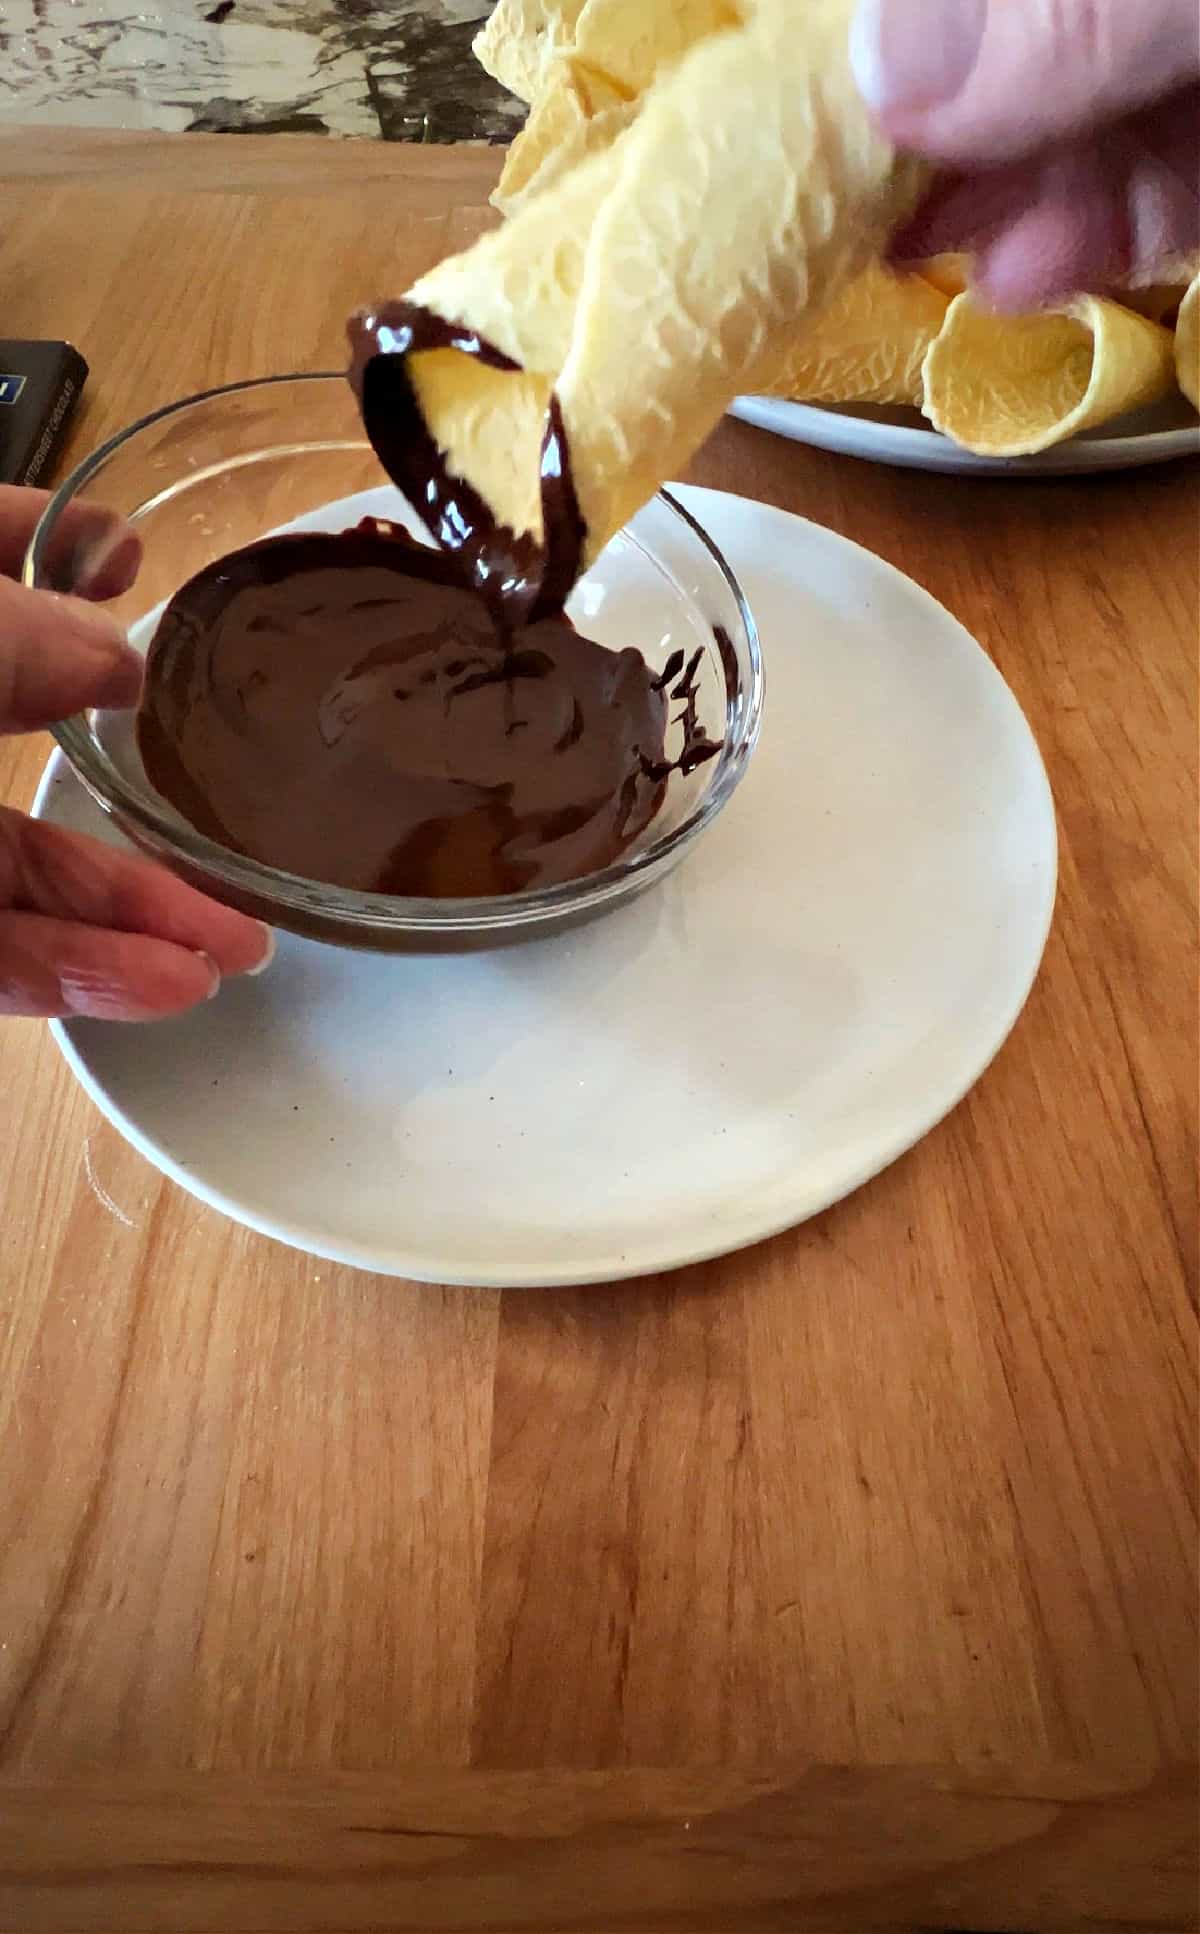
I also really enjoy dipping the open end in dark chocolate. It makes a fabulous flavor complement to the almond.
To take it one more step, you can also dip those chocolate coated ends in crushed peppermint candy. So perfect for the holiday season!
And of course, there’s whipped cream. Once you fill these with whipped cream, their life span is shorter. I recommend you do any filling in batches. The recipe makes about 3 dozen, so if you fill them 12 at a time, you’ll be able to serve them as a beautiful dessert for 3 different dinners!

Krumkake Variations
The traditional krumkake cookie is flavored with cardamom. It’s quite delicious, but I have found I have a slight preference for the almond flavored version.
To make the cardamom version, replace the almond extract with ½ teaspoon of vanilla extract and ½ teaspoon of ground cardamom. All other baking directions are exactly the same.
More Holiday Cookie Favorites
If you love to make something special for your holiday tray, check out this recipe for vegan baklava from sinful kitchen.
Here are a few more holiday favorites:
📖 Recipe
Krumkake Cookies (Krumkaker)
Ingredients
- 4 eggs large
- 1 cup sugar
- ½ cup butter melted and cooled (1 stick)
- 1 tablespoon almond extract
- 1 ½ cups flour all-purpose
- 2 tablespoons cornstarch
Instructions
- Beat eggs and sugar for 2-3 minutes on medium-high speed, until eggs have lightened slightly in color. Add butter and almond extract and mix well.4 eggs, 1 cup sugar, ½ cup butter, 1 tablespoon almond extract
- Sift the flour and cornstarch together into the bowl and then mix well to combine with the batter.1 ½ cups flour, 2 tablespoons cornstarch
- Preheat the electric krumkake baker and brush the grids with a little butter to prevent sticking.
- Use a cookie scoop or similar sized spoon to place about a tablespoon of batter onto the center of each cooking grid.
- Close the iron and cook for one to one and a half minutes. Check your cookies starting at one minute. When the edges are just beginning to turn brown, remove the cookies.
- Roll the warm cookies around a wooden cone to form a cone shape.
- Allow the cookies to cool completely on a plate or wire rack before filling.
- Decorate by dusting with powdered sugar, dipping in melted chocolate, and/or filling with sweetened whipped cream.
Notes
Nutrition
Nutrition values are estimates only, using online calculators. Please verify using your own data.



David de Felice
Yum!
Sula
They are as delicious as they are beautiful!