

The recipe I am about to reveal is a family secret!
For years, my mother made the most delicious pies for the holidays: pumpkin, one or two fruit pies, and chocolate.
The recipe to make this no-bake chocolate pie was challenging to find. Every time I went home to visit, I would be all “stealthy” in trying to find the recipe card.
I never found it . . . because it didn’t exist! My mom had her own way of revising a completely different recipe to make chocolate pie, and never saw a need to write it down. Thank goodness I finally broke down and asked for the secret!
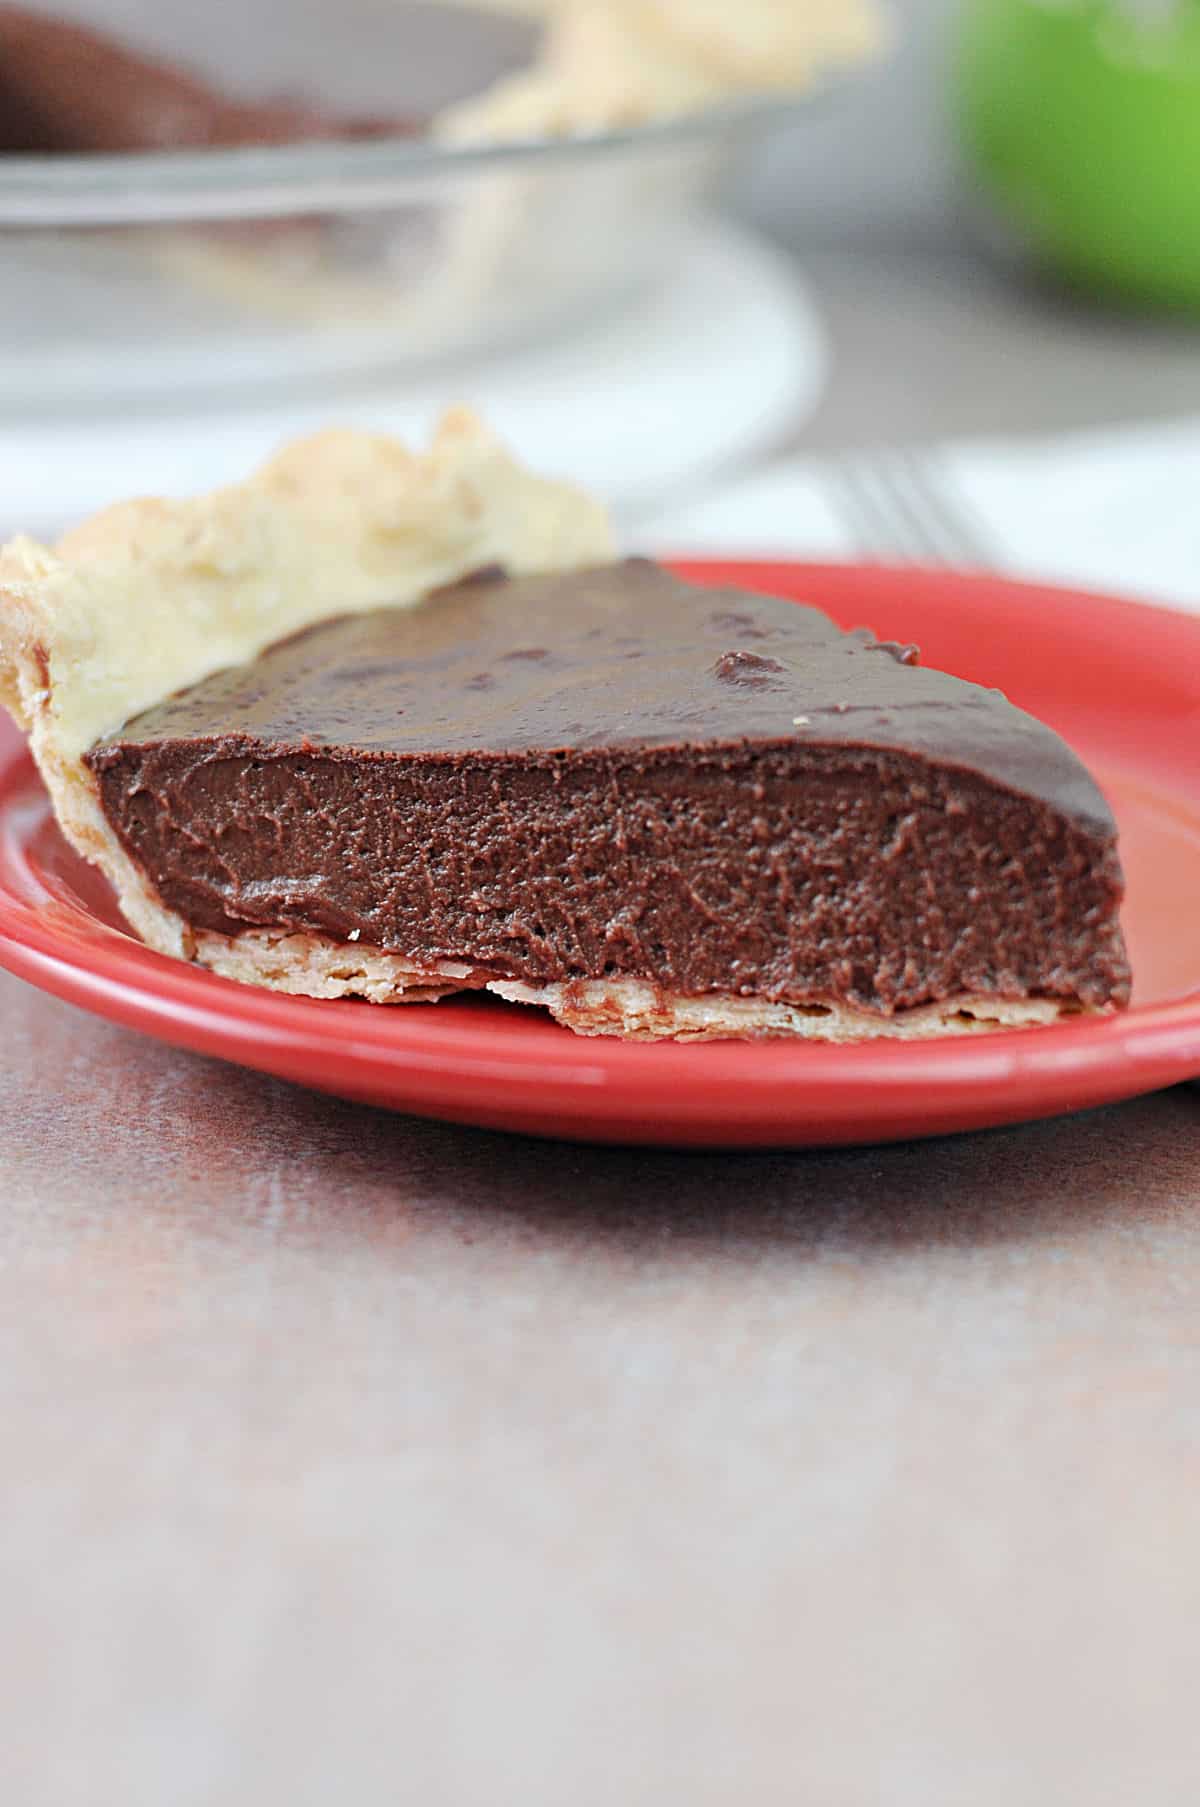
This makes the best chocolate pie ever!
Jump to:
Why I Love this Recipe
This pie has always been my favorite, of all the holiday pies my mom would make.
When I became a mom myself, my son also chose it as his favorite. And he asked me why I didn’t make a pie “just like grandma” so we could enjoy it any time we wanted.
How hard could it be, I thought. And I set out to try to re-create my mom’s delicious chocolate pie. I can’t tell you how many times I set a piece in front of my son, who, with the absolutely truthfulness of an eight-year-old, would tell me that it was “good, but not as good as grandma’s”.
As I described above, I finally had to specifically ask my mom for the secret, which she had never written down. I’m so glad I did!
Now, I’m a grandma in my own right. And every year around the holidays, my daughter contacts me to ask for the directions to make the chocolate pie. I’m sharing it here for everyone to enjoy!
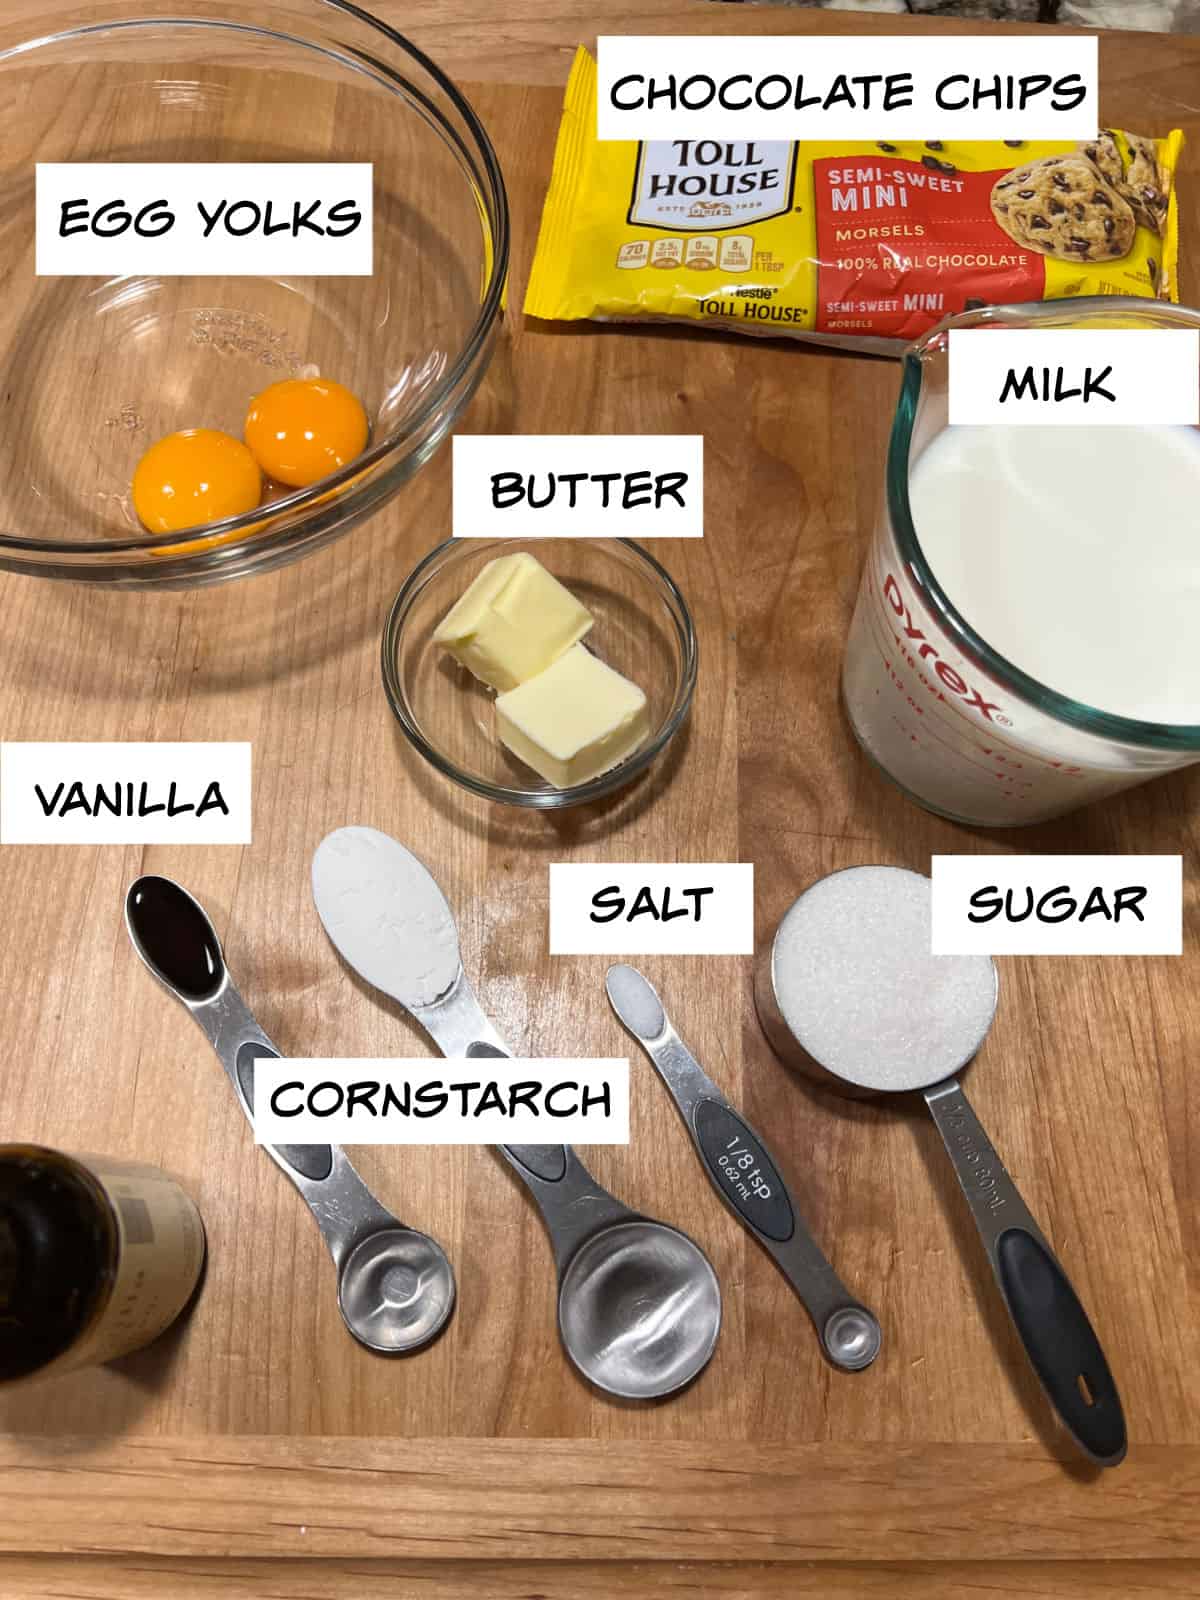
Ingredients Needed
How to Make this Delicious No Bake Chocolate Pie
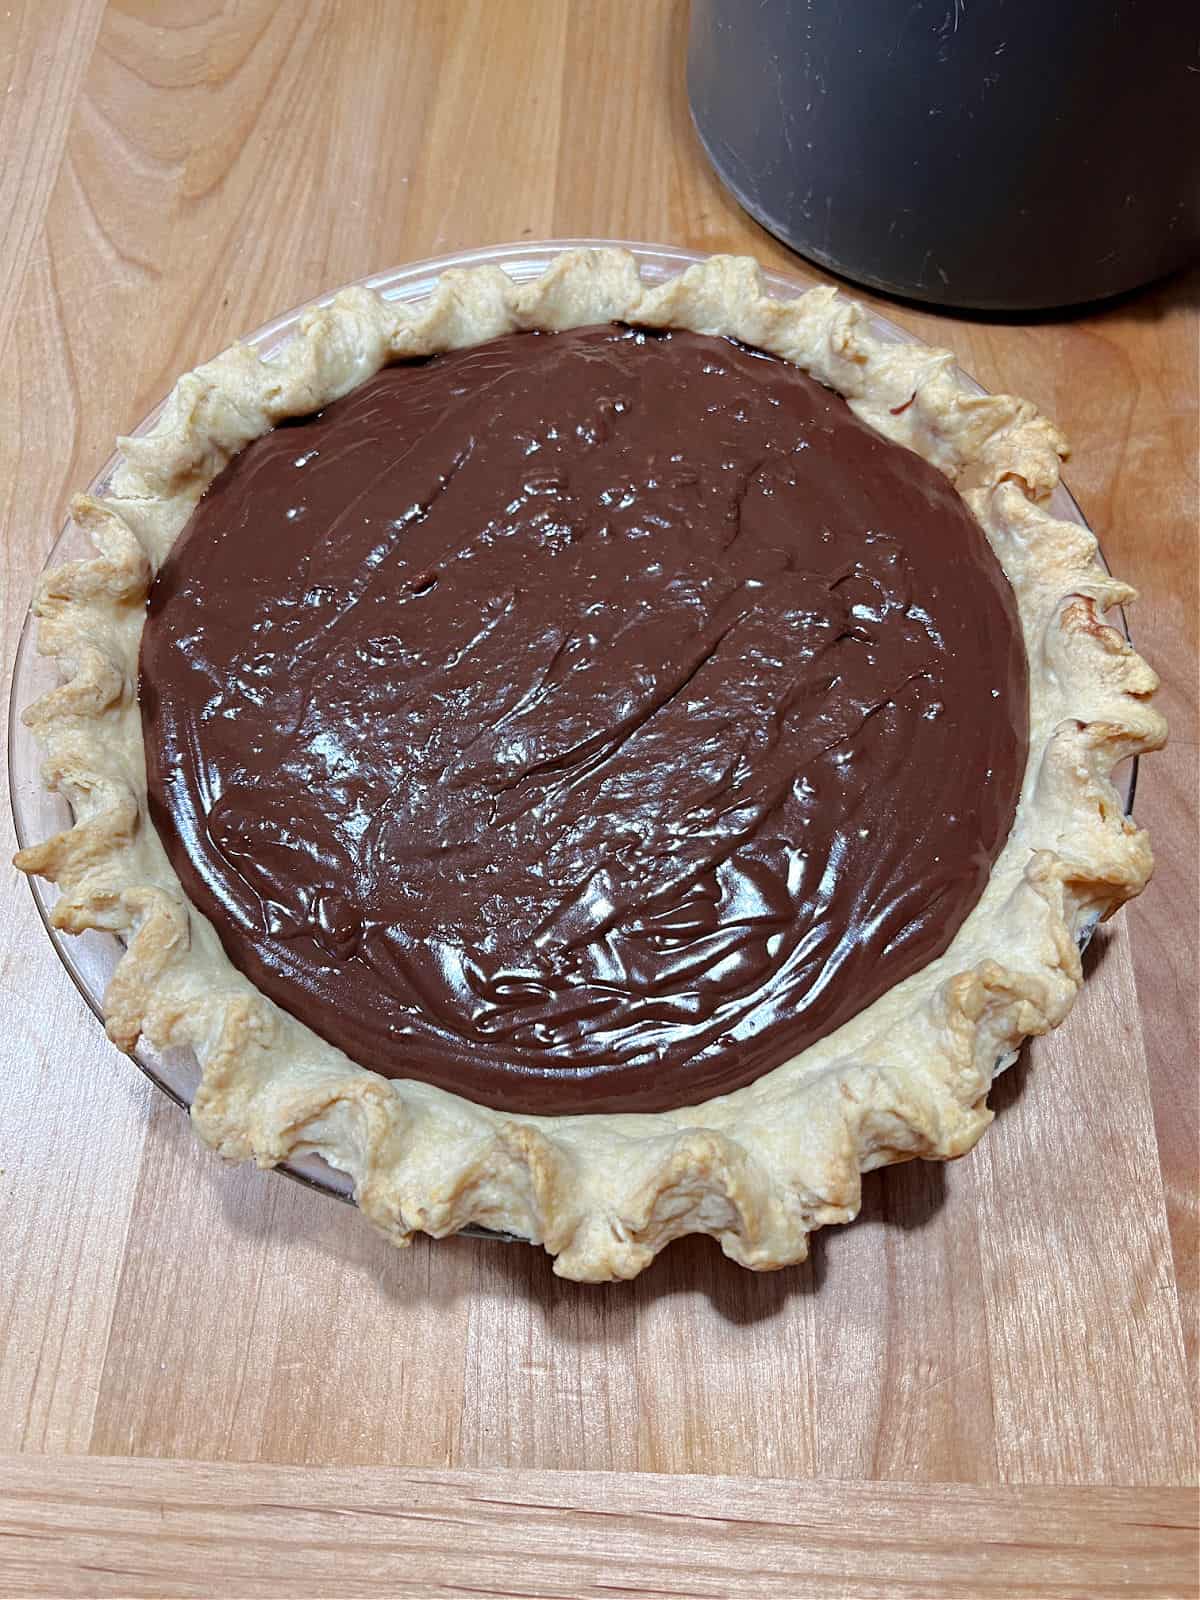
First, let’s talk about the crust. We’ve always traditionally had this pie on homemade pie crust. Which does require baking. But you can do that a day or 2 ahead of time if you wish.
And of course, you do have options. To make this completely no-bake, you can pour the filling into a pre-made shortbread or graham cracker crust. Because I think we can all agree that the combination of chocolate and graham crackers will always work!
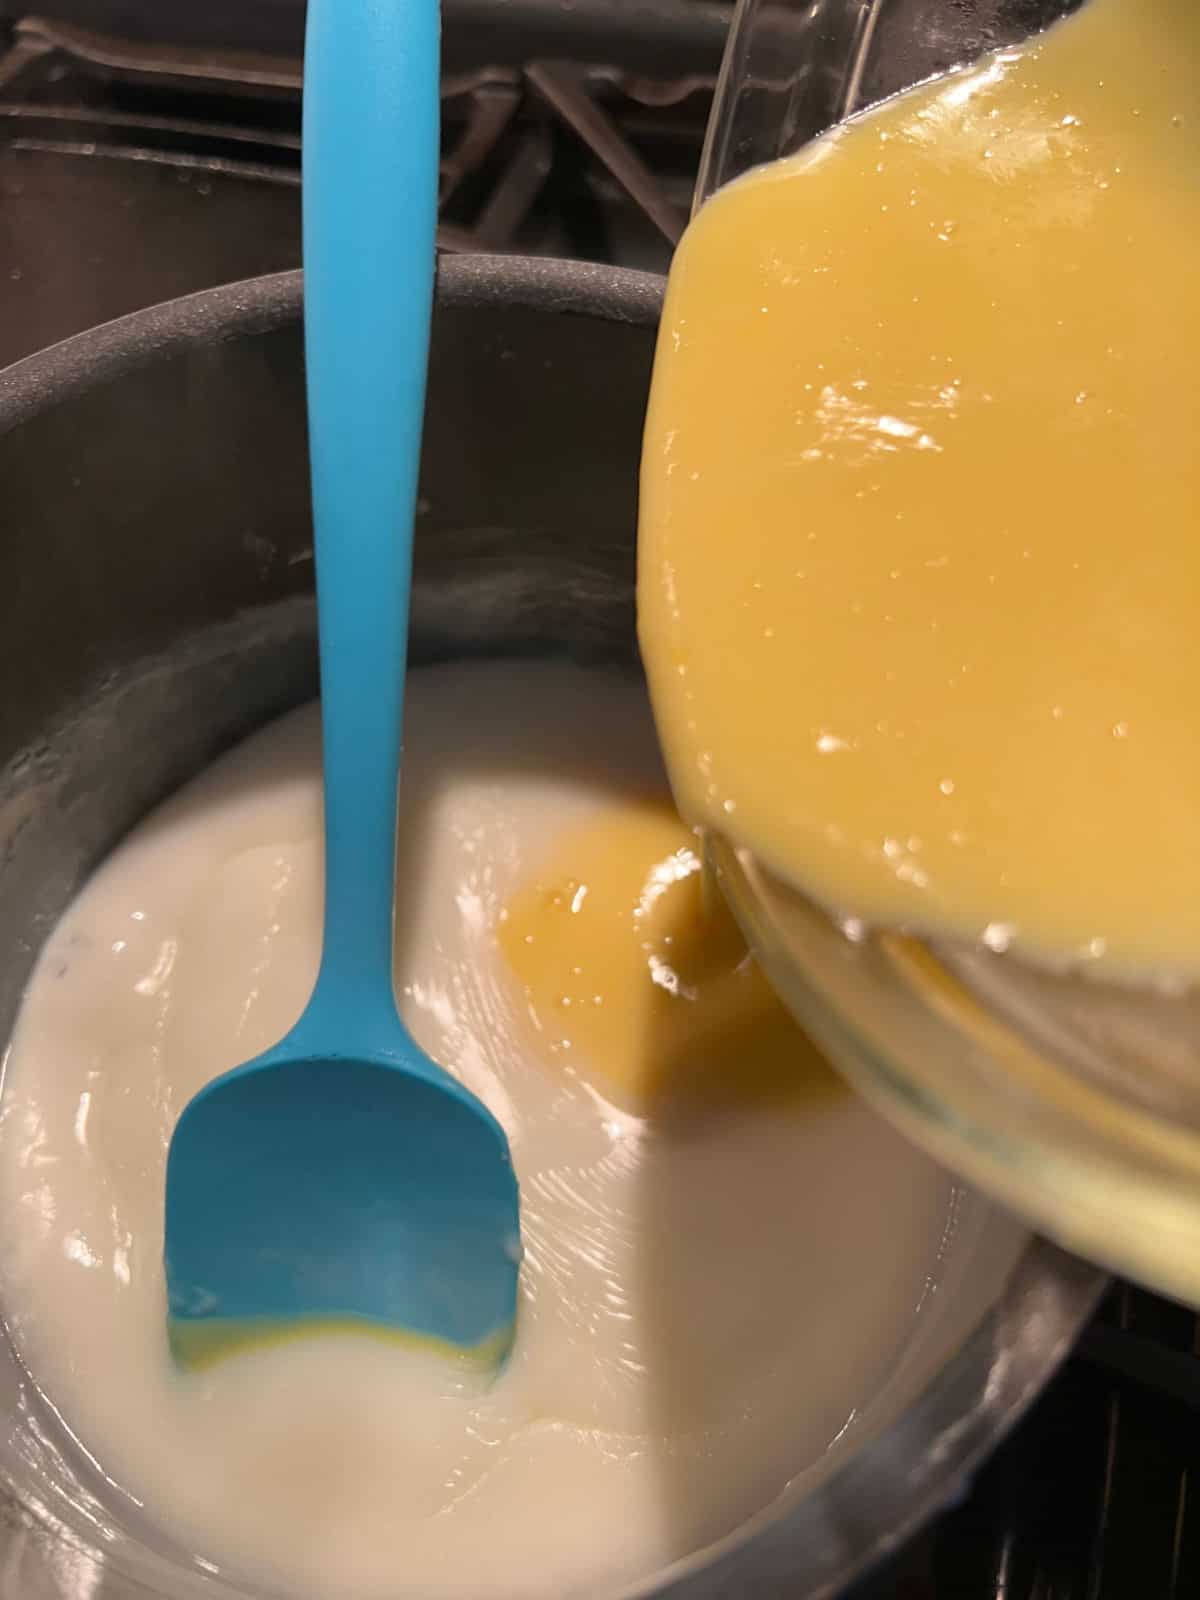
The pie filling is cooked on the stovetop, like an old-fashioned pudding. You bring a mixture of milk, cornstarch and sugar in a saucepan to boiling, then add eggs by first whisking some of the hot mixture into the eggs, then adding it all back to the saucepan. This process is called “tempering” and it is done to bring the temperature of the eggs up slowly. If you don’t do this, you risk ending up with scrambled eggs in your pie filling!
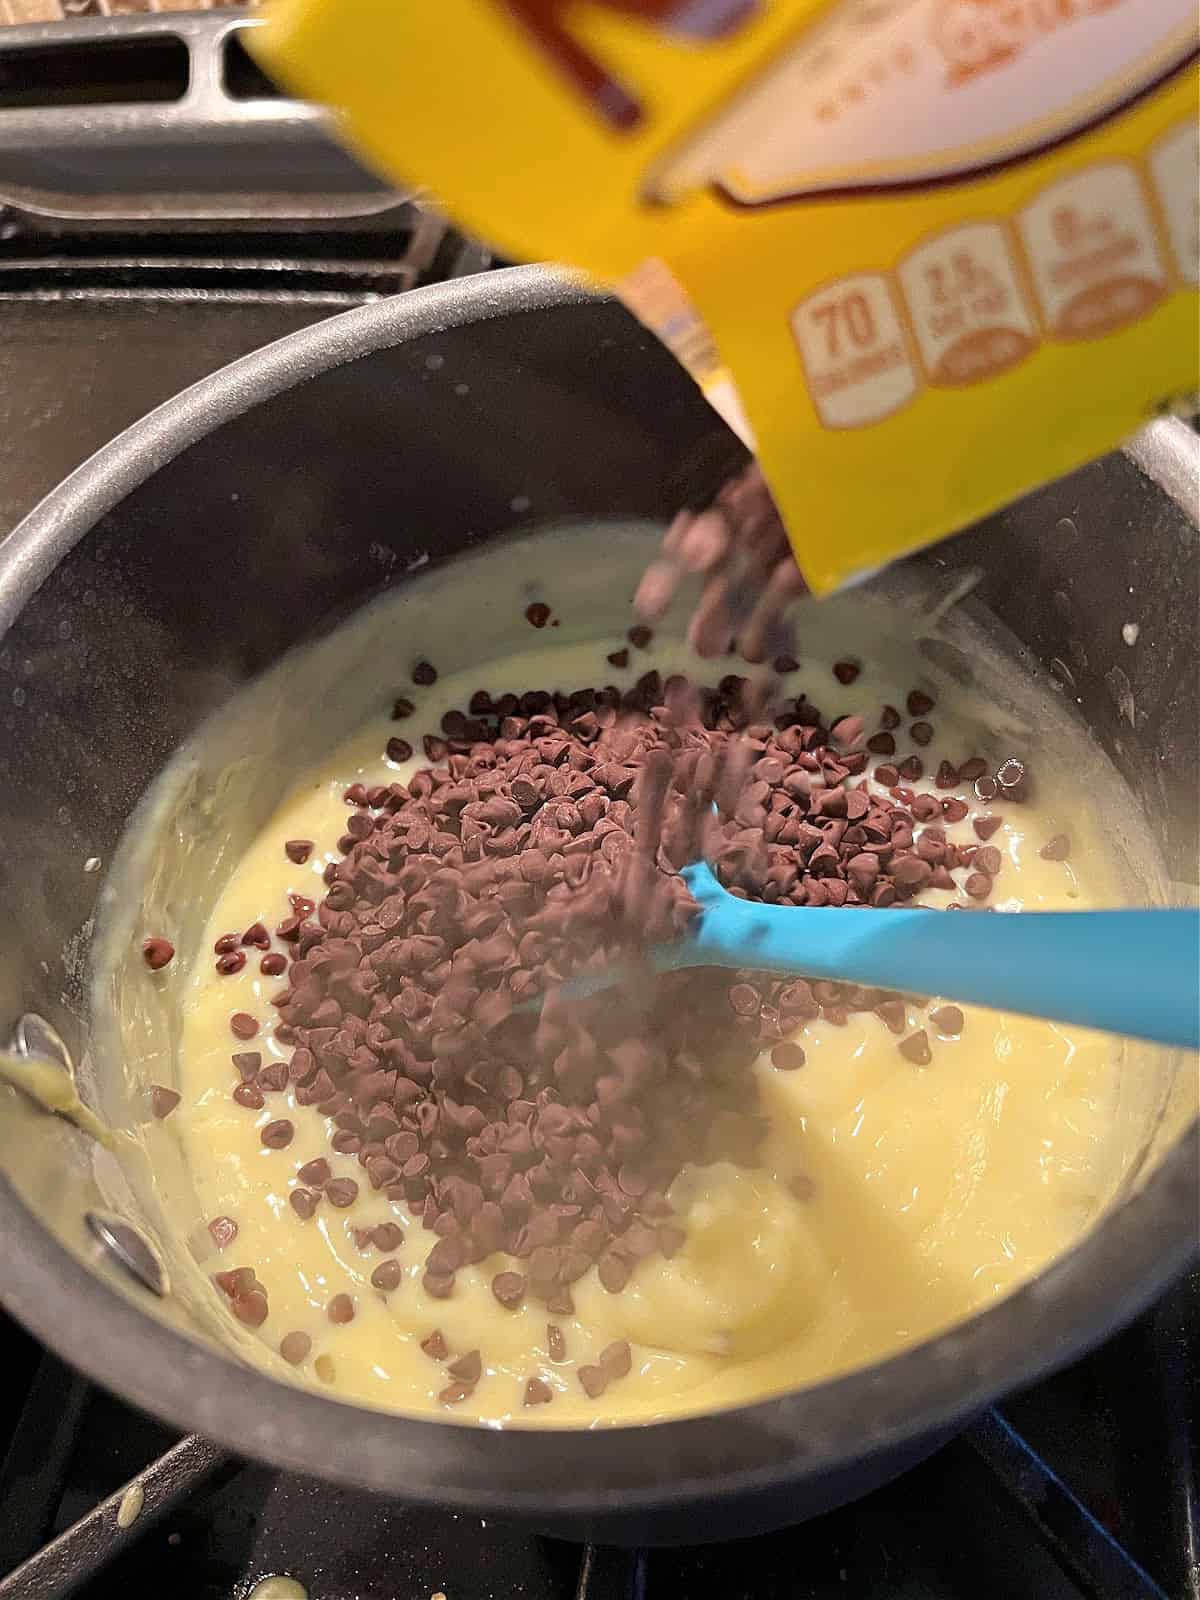
Bring the filling back to a boil, then boil and stir for a minute. Add the chocolate chips and stir to melt. I use mini chips because they melt that much more quickly!!
Remove the pan from the heat, add a little butter and vanilla and stir.
Pour the filling into the prepared crust. Let this pie cool at room temperature for a bit, it will thicken as it cools. Once at room temperature, cover and refrigerate until you are ready to serve.
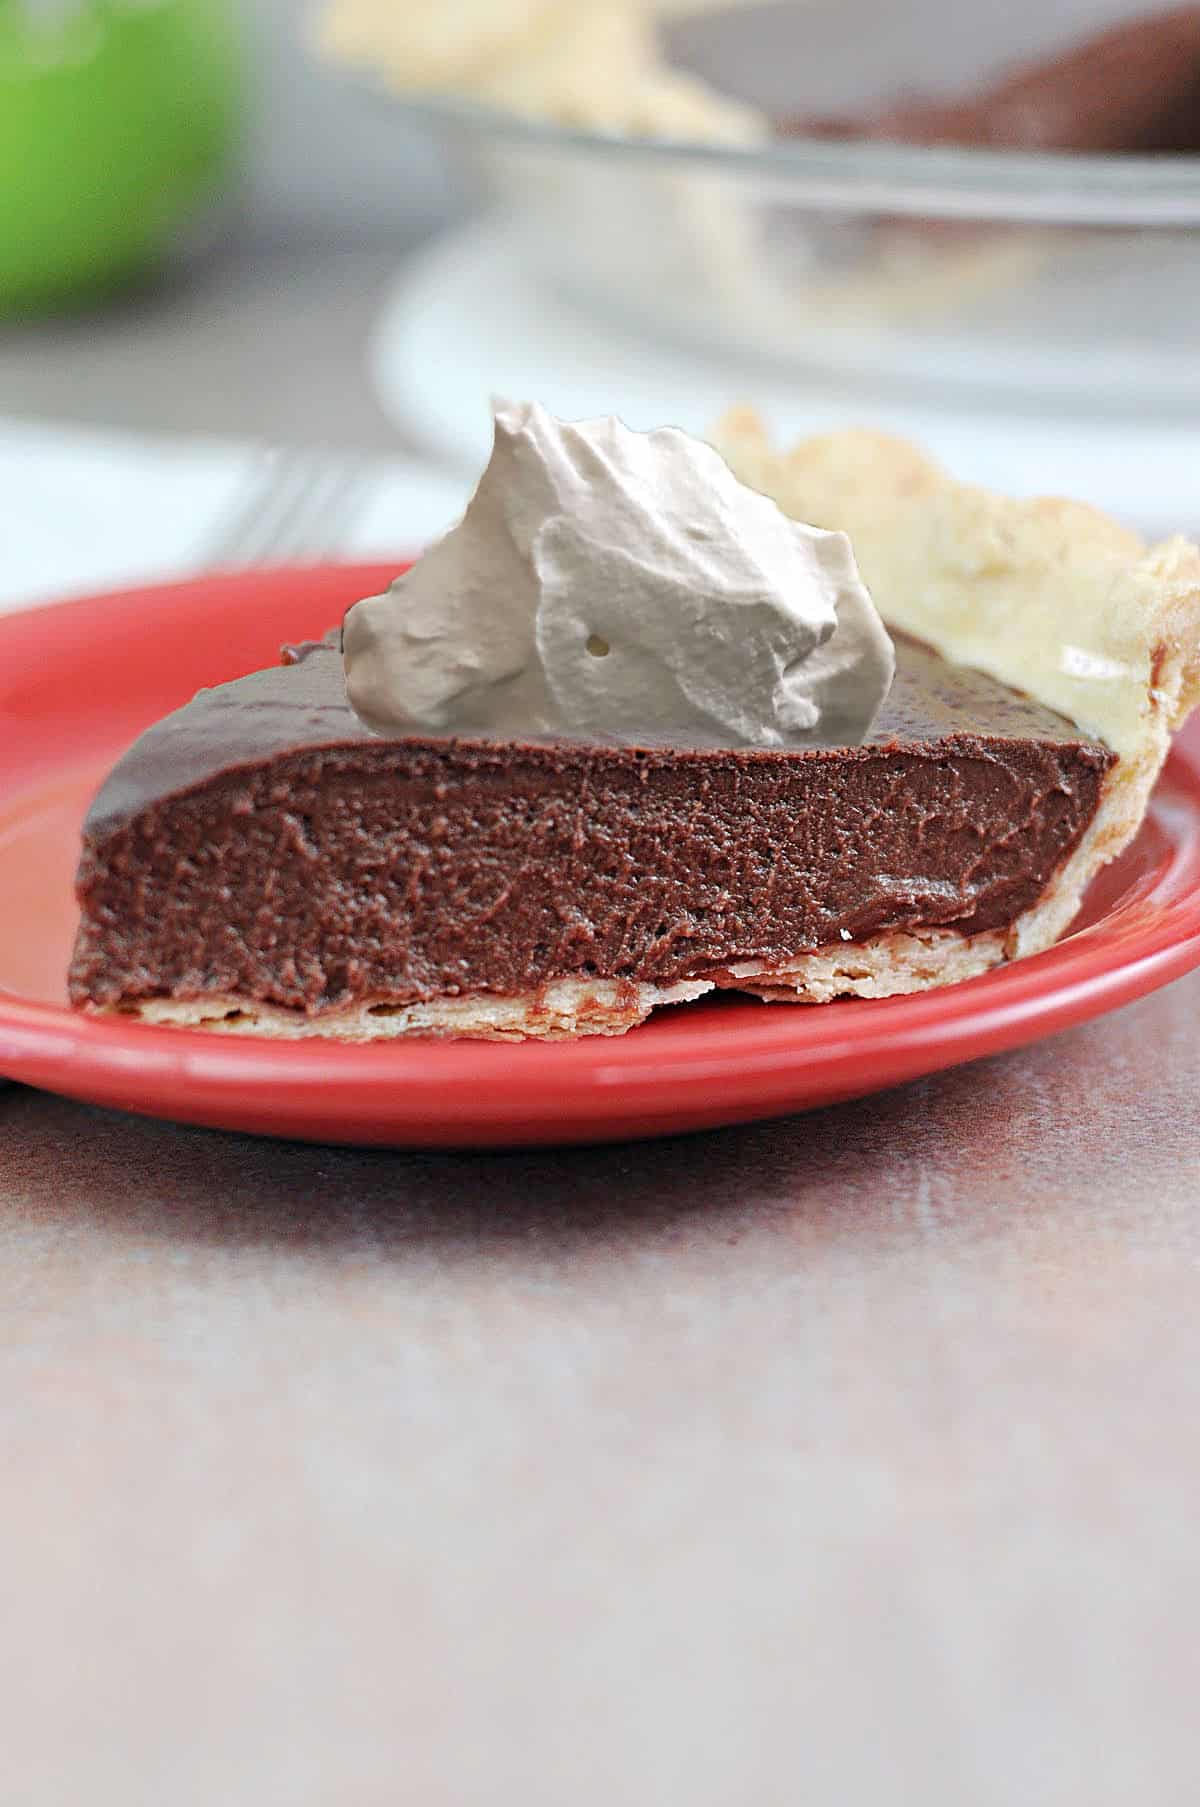
And speaking of serving, you really want to include a dollop of sweetened whipped cream on every slice of this pie. It really takes it over the top!
Sula’s Tips
When making the pudding, you need to boil and stir for a full minute at 2 different times. This cooking time is needed to activate the cornstarch so it properly thickens the filling.
When adding the chocolate chips, be very careful with the heat. You don’t want burned chocolate! You can even turn the heat off right away if you’d like – you just need to ensure that the filling is warm enough to fully melt the chips. Stir, stir, stir!
Here are Some More Sweet Treats to Explore!
For some more old-fashioned chocolate goodness, check out the chocolate shortbread cookies from real life of lulu. A 5 ingredient cookie!
And if pie is your thing, you can make no corn syrup pecan pie to add to your holiday pie selection!

📖 Recipe
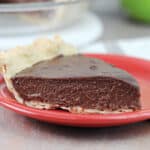
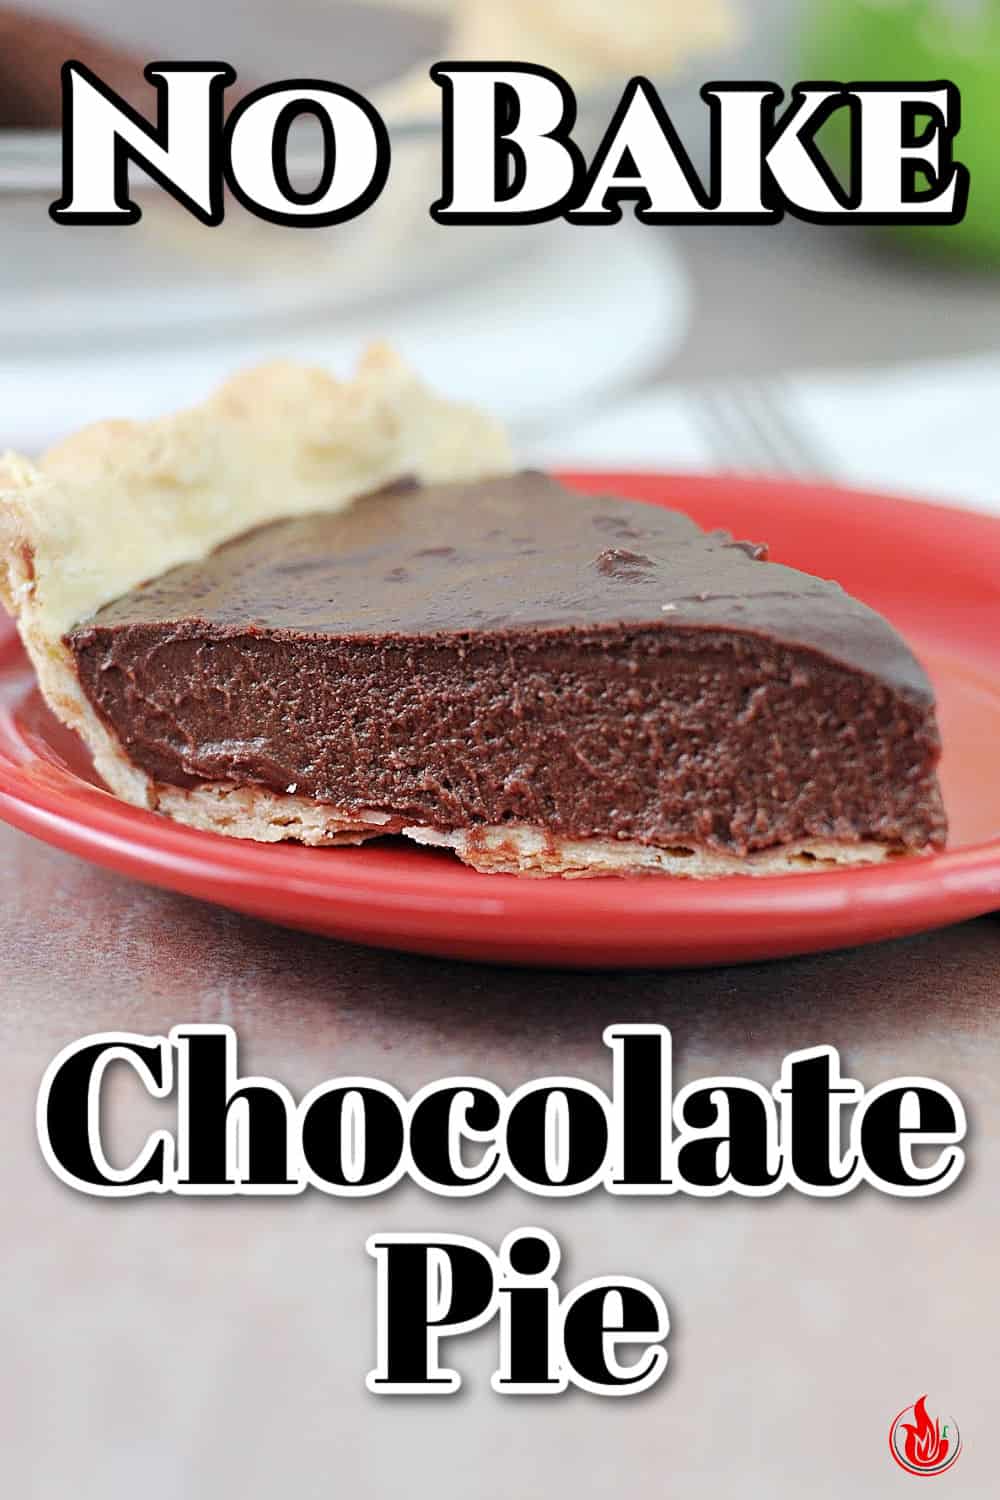
No Bake Chocolate Pie
Ingredients
- 1 pie crust, baked
- ⅓ cup sugar
- 2 tablespoons cornstarch
- ⅛ teaspoon salt
- 2 cups milk
- 2 egg yolks slightly beaten
- 2 tablespoons butter
- 2 teaspoons vanilla
- 10 ounce bag semi-sweet chocolate chips I use mini chips
Instructions
- In a medium (2-ish quart) saucepan, mix the sugar, cornstarch, and salt. Gradually add the milk, while stirring well.⅓ cup sugar, 2 tablespoons cornstarch, ⅛ teaspoon salt, 2 cups milk
- Cook the mixture over medium heat, stirring constantly, until it thickens and boils.
- Boil and stir for one full minute.
- Slowly whisk about half the mixture into the bowl of beaten egg yolks. Stir well, then pour back into the saucepan and stir to blend.2 egg yolks
- Bring back to a boil; boil and stir for one minute.
- Add the entire bag of mini chocolate chips to the saucepan and stir until the chips have melted. Turn off the heat when the chips are about half melted.10 ounce bag semi-sweet chocolate chips
- Remove saucepan completely from heat. Stir in the butter and vanilla.2 tablespoons butter, 2 teaspoons vanilla
- Pour into the prepared crust. Cool to room temperature, then refrigerate to chill completely before serving.1 pie crust, baked
- Serve with sweetened whipped cream.
Notes
Nutrition
Nutrition values are estimates only, using online calculators. Please verify using your own data.

Jennifer
Loooove this! This was so easy and so good! I think I'll be making it often!
Sula
It's required for every holiday with my family!
Sarita
Oh yum, I am bookmarking this one for my Sunday dinner dessert! I have a huge back of chocolate chips with an expiry date of December 31, 2022 - perfect for this.
Sula
Oh yes, don't let those chocolate chips go to waste!